Download the 3D files here and print each of the files using supports and 3 top and bottom layers for light tightness. You can also send these files to any print service (try Craftcloud3d for a pretty good quote in your area), or to your local library if they offer 3D printing services.
Print all the pieces using supports, with 3 or 4 top/bottom layers and 25% or so infill. Print the base using a small layer height (.1mm is good) to achieve the maximum strength and iron the top if possible. Sand the bottom side of the base and where it mates to the bottom of the cartridge (the wide edge is to the right of the cartridge right side up, or on the same end as the gears), then glue it to the bottom with the ridges protruding from the bottom.
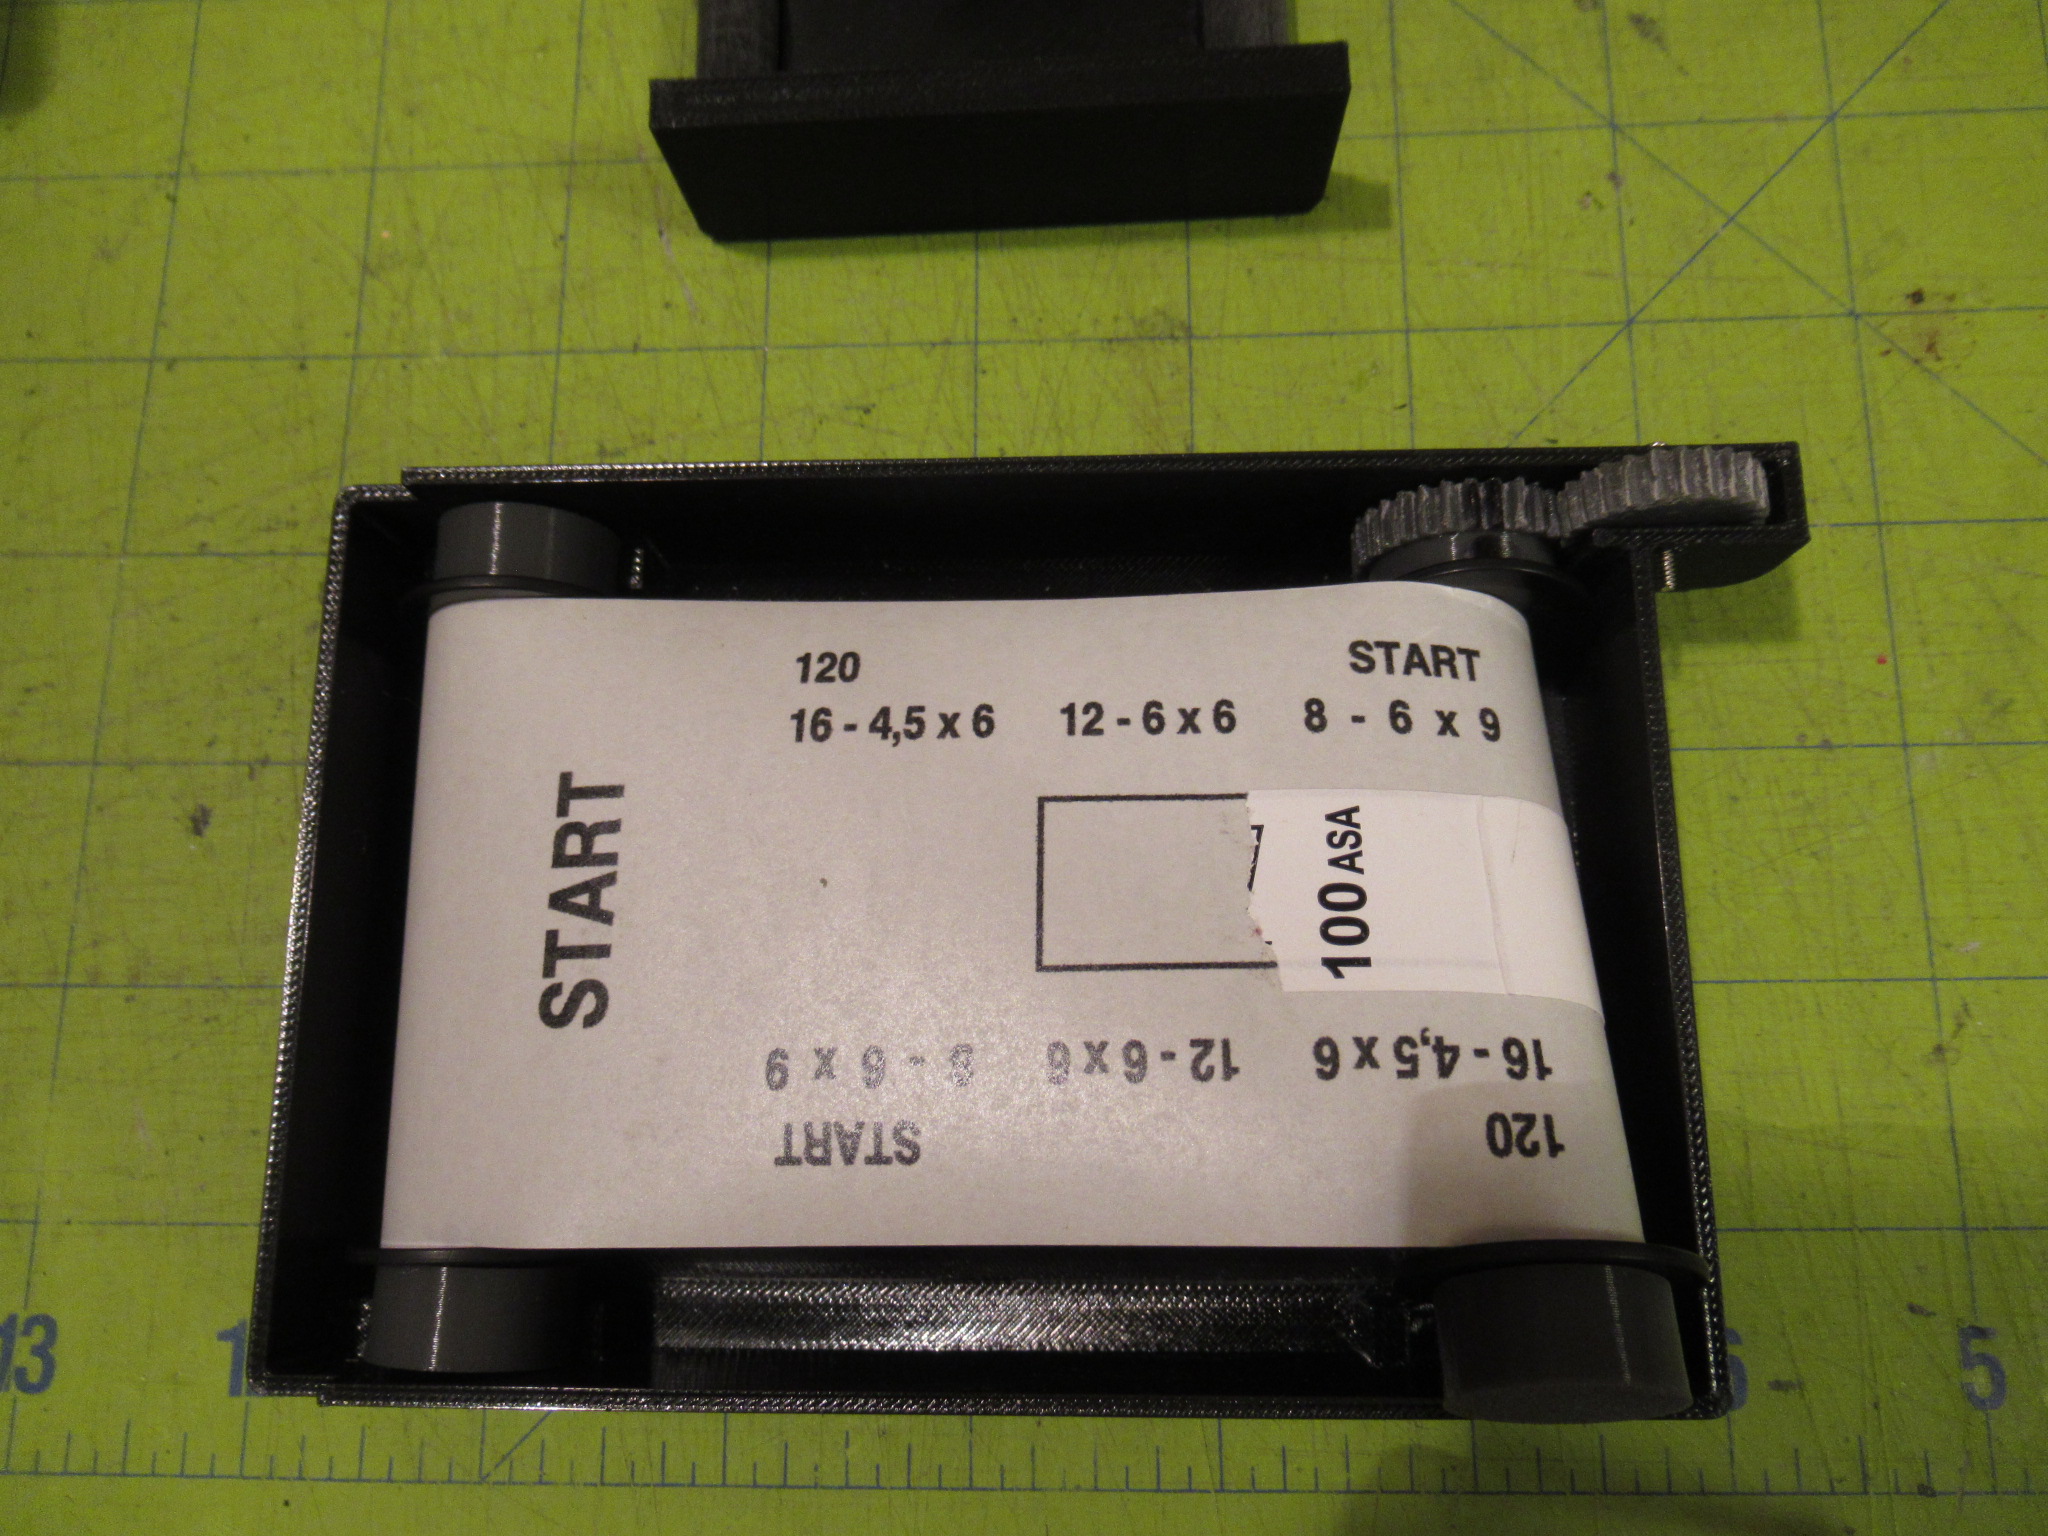
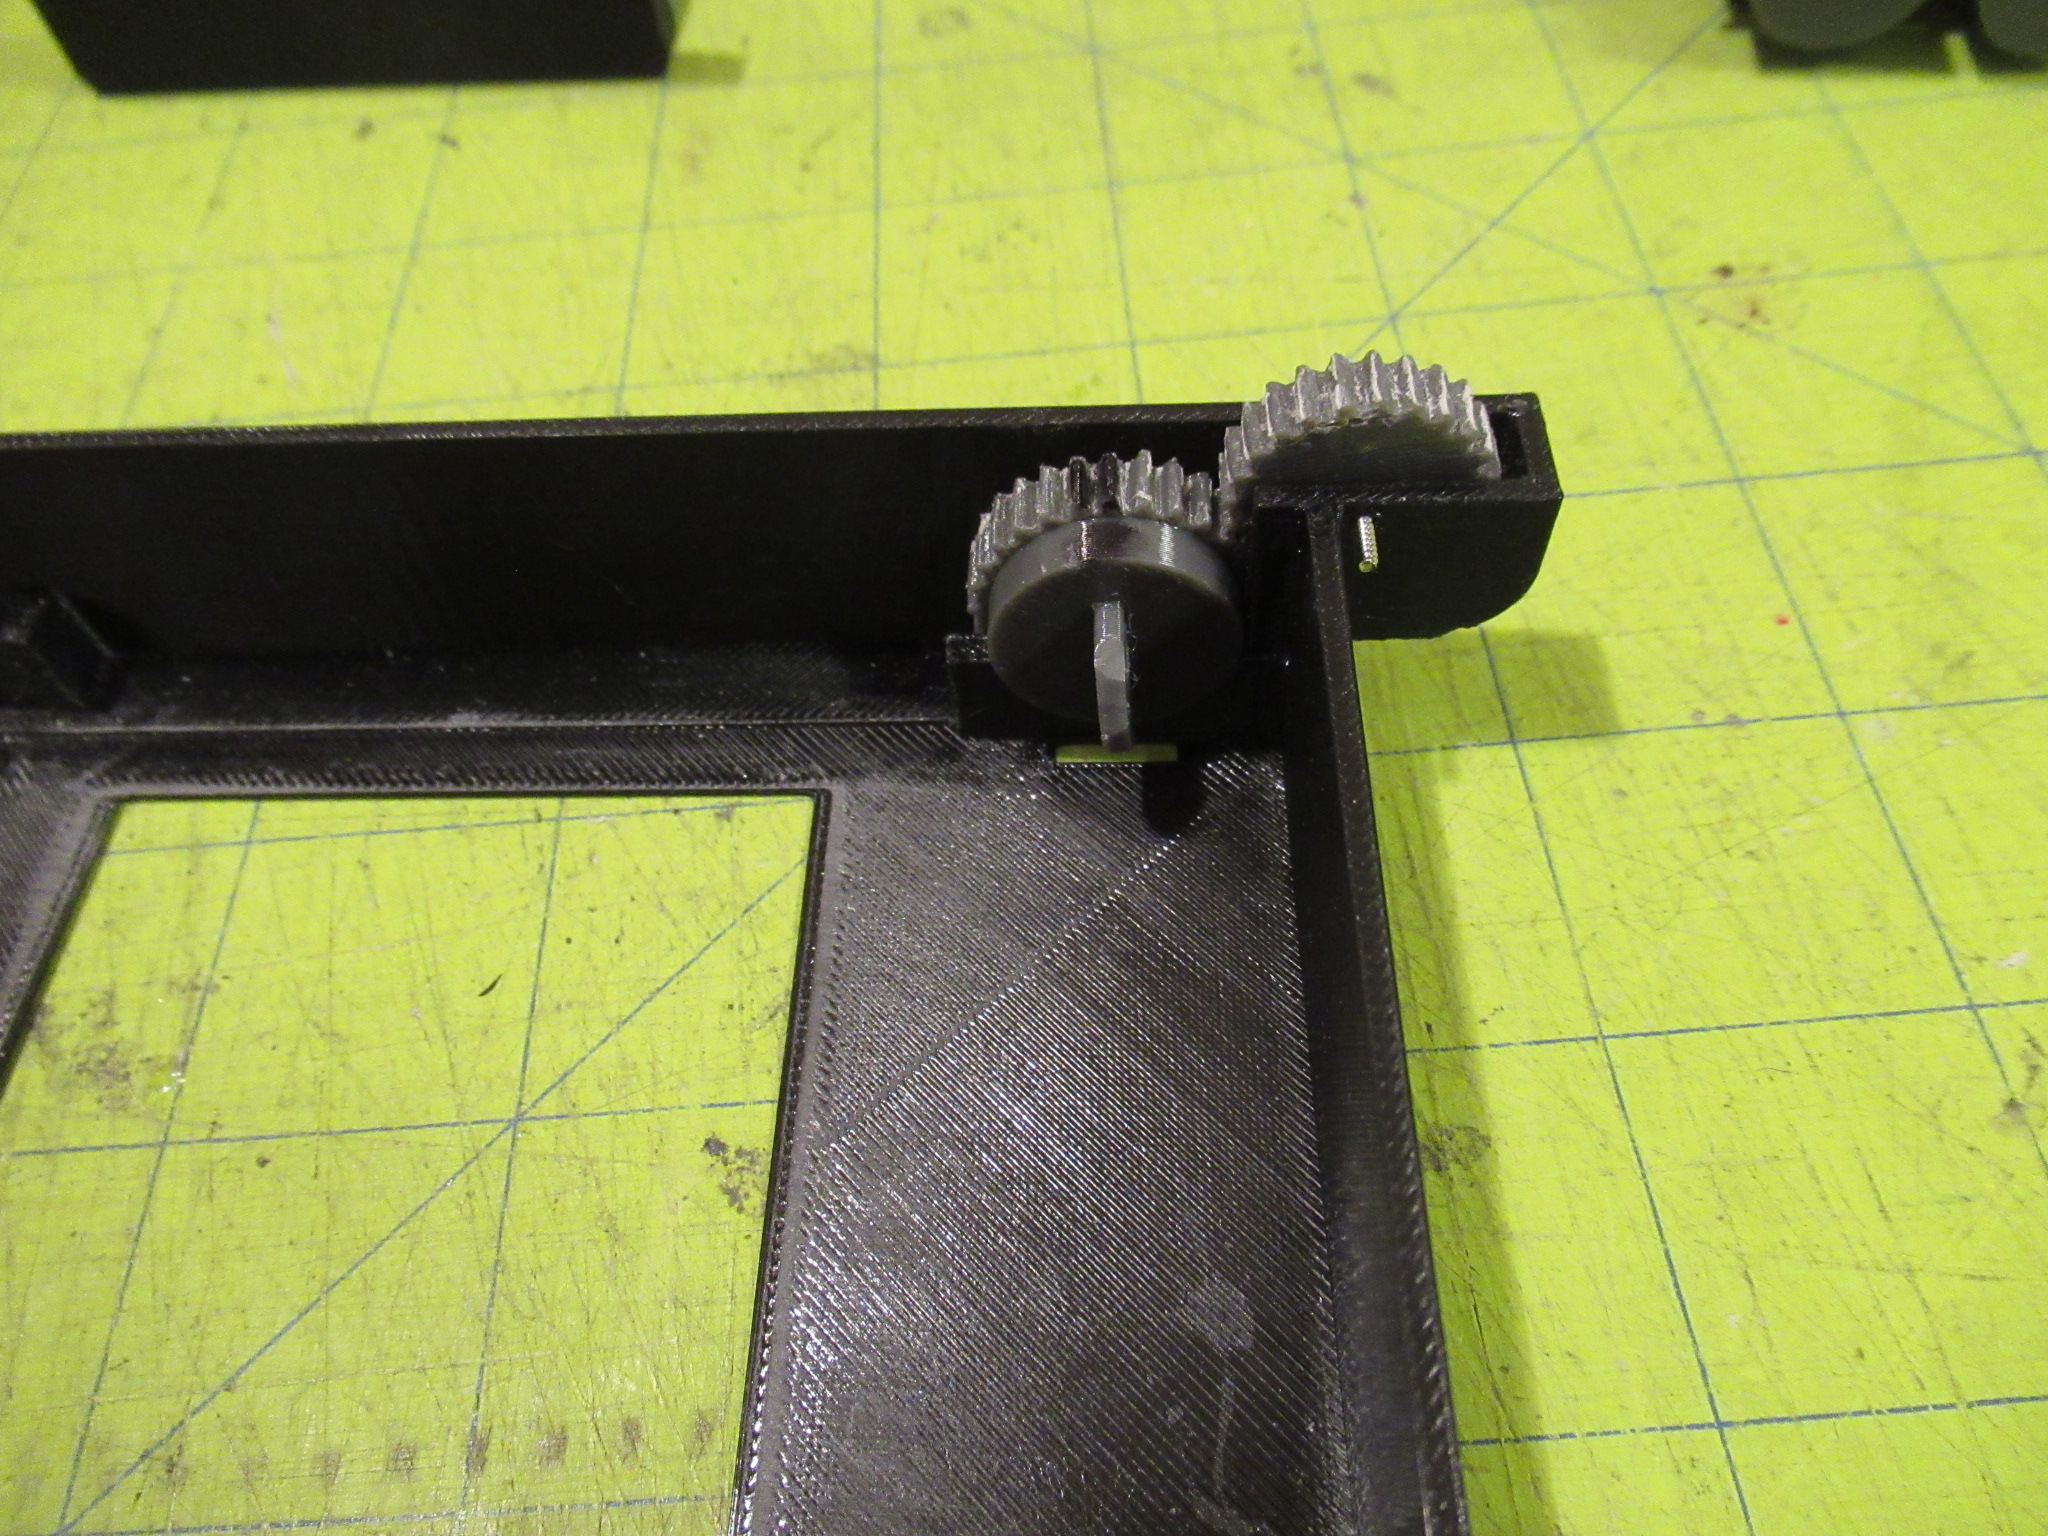
The drive gear drops in place in the top right of the cartridge and should snap in with a slight click. The thumb gear installs with a small screw through the hole in the cartridge. The film winds forward when the thumb gear is spun to the left. The gear cover, which prevents light leaks, glues in place after the gears are installed. Sand down the mating surfaces before gluing, use glue sparingly, and ensure the gears move freely after installing. Sand down any surface that contacts the film down to 600 grit so the film won't get scratched as it's pulled through the cartridge.
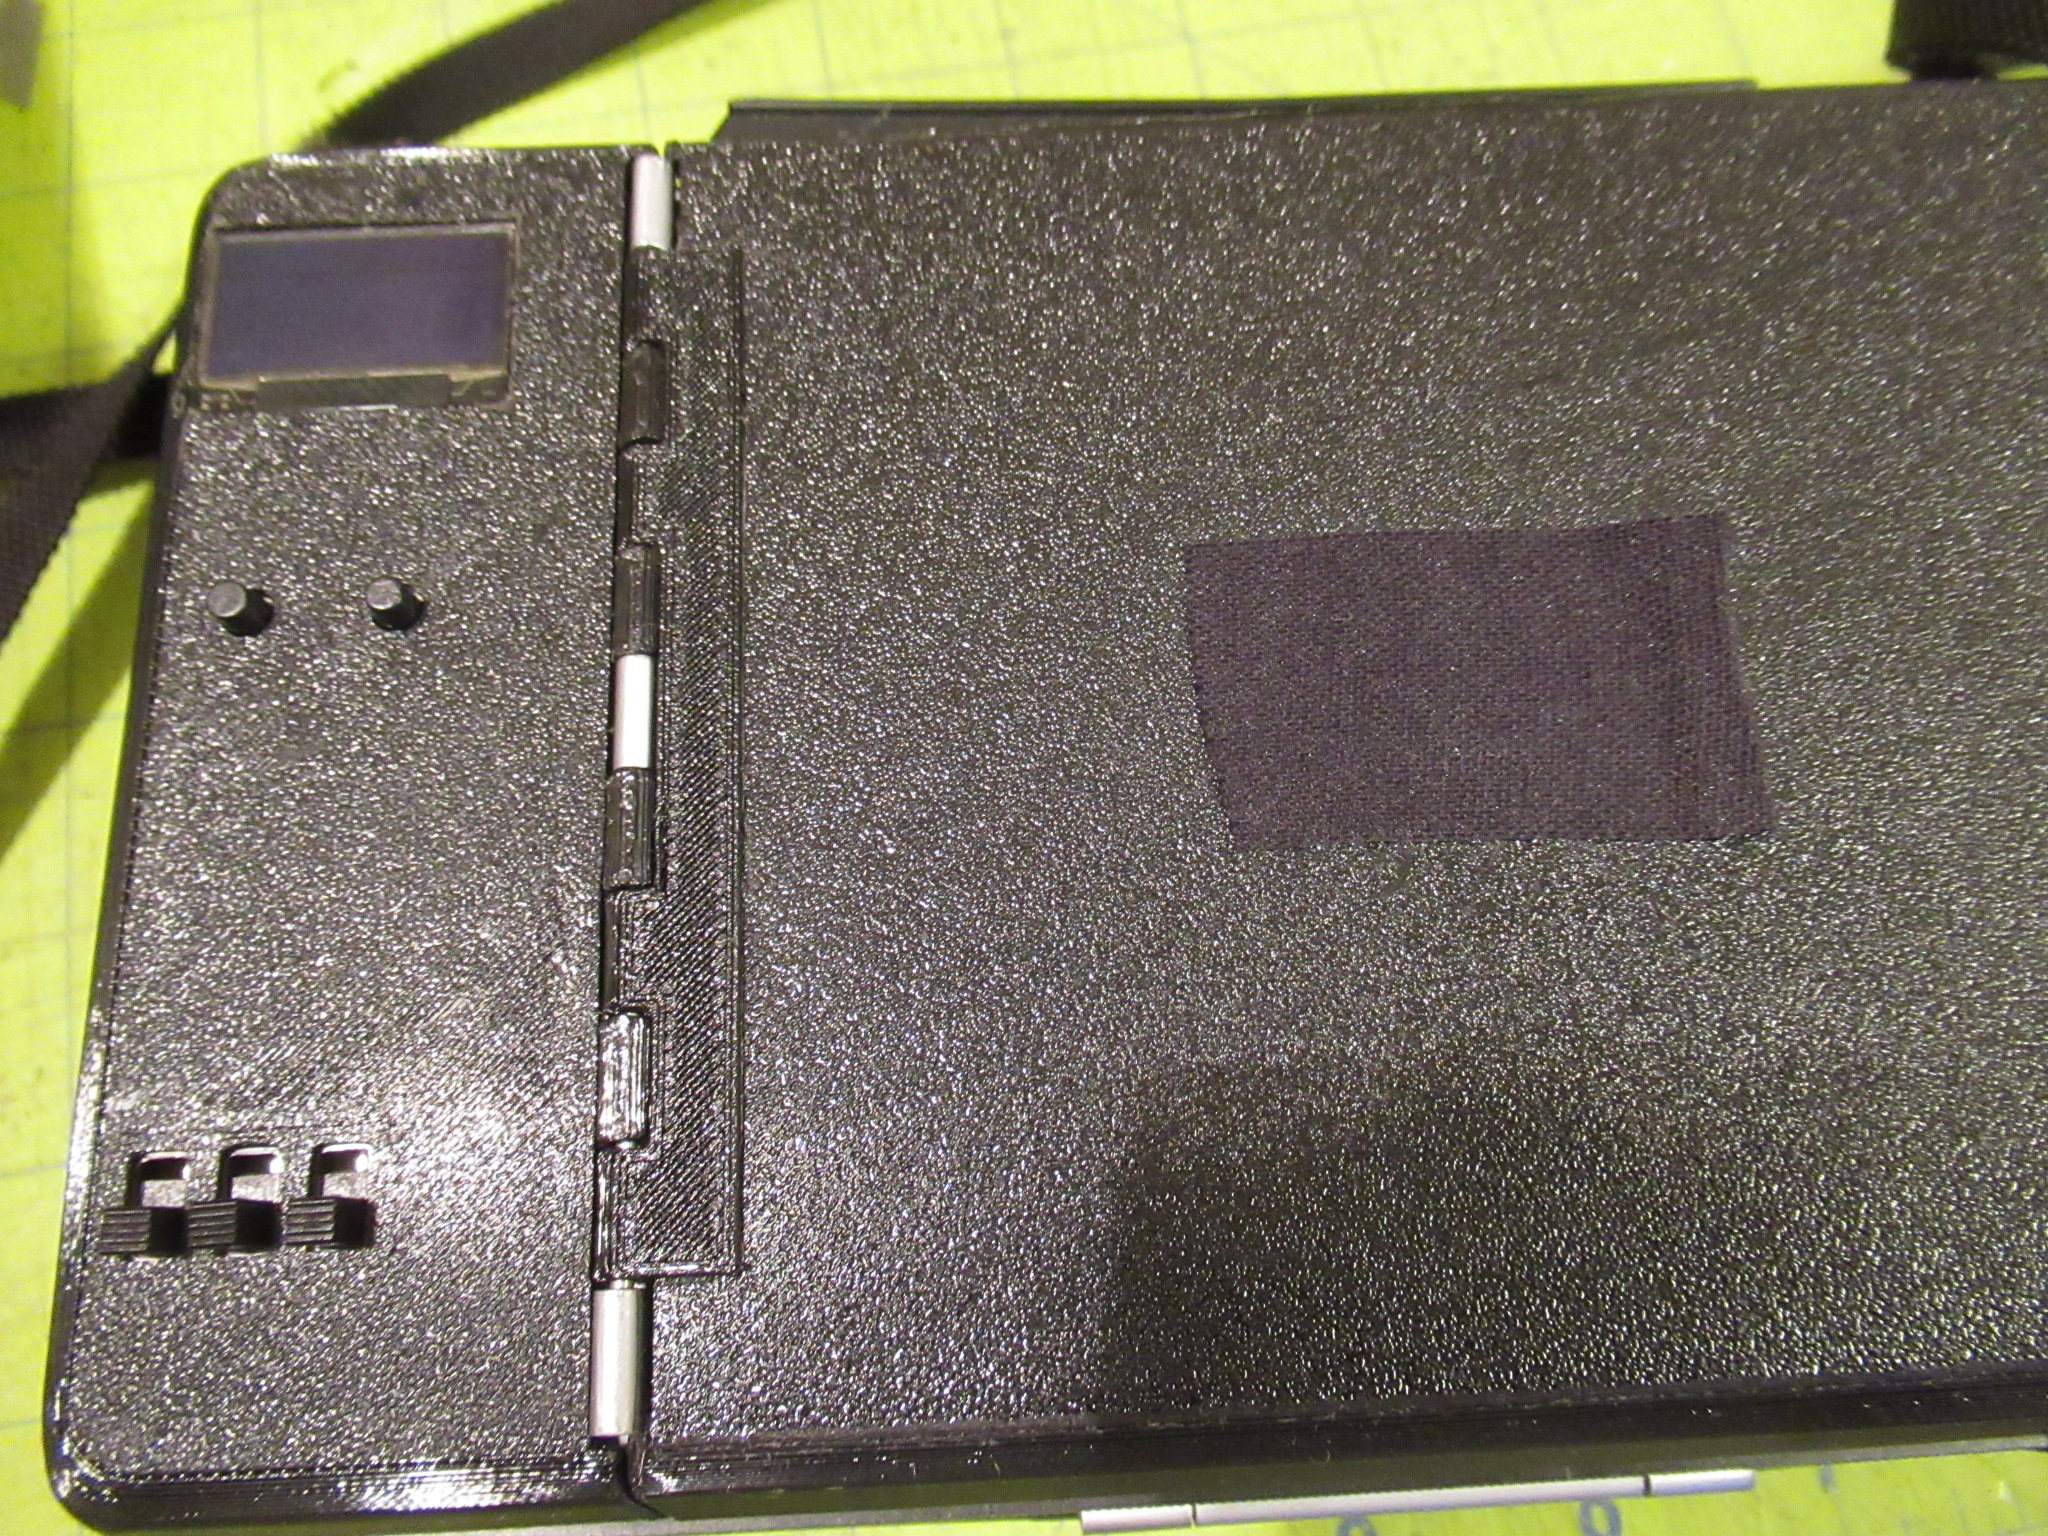
Turn the door over so the bottom of the door is facing up. You'll notice 2 small notches at the left end between which the hinge is glued. Glue the hinge so the hinge loops are facing down, aligning it between the two notches. Clamp in place until dry.
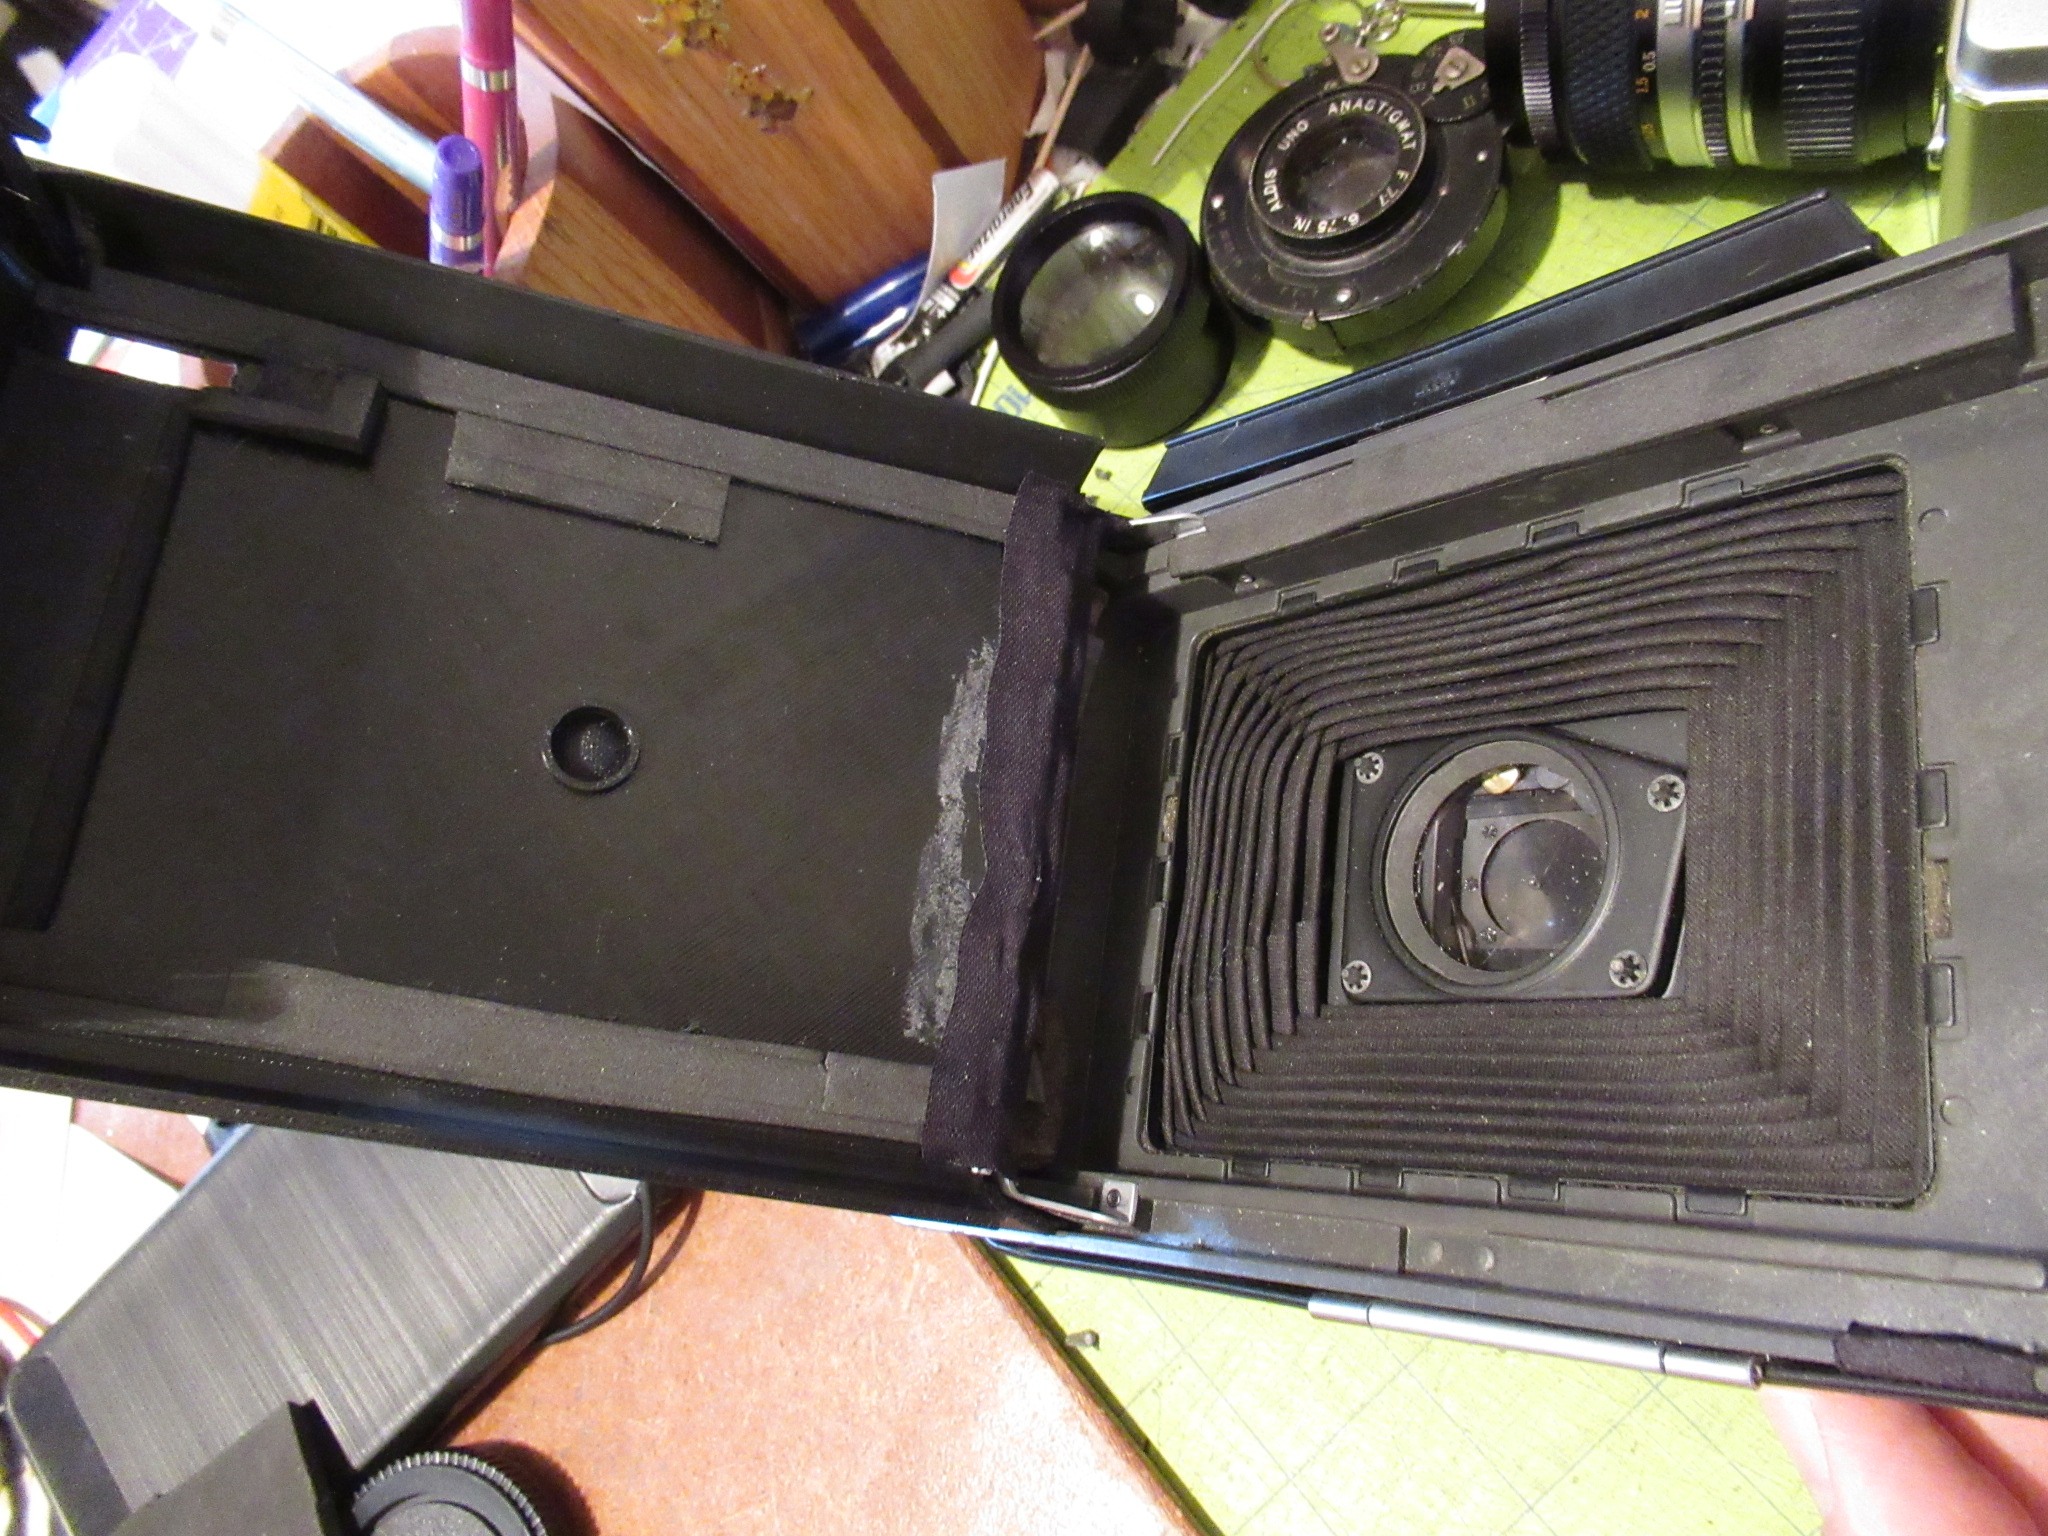
Remove the original back door by removing the hinge (you may have to remove the plastic pieces at both ends of the hinge) and install the new door. It may be tricky to align the hinge while inserting it. It would be best to insert the hinge pin into the 3D printed door before installing it, to ensure the print left enough room for the hinge. Close the door while pressing on the release latch and be sure the latch engages securely. If the latch doesn't seem to return freely, file a bit off of the bottom and tip of the latch hooks on the back. Be careful as the hooks are somewhat fragile. You can either cut/glue a red filter over the film counter hole, or you can place a piece of black tape over it to prevent light leaks through the exposure counter hole.
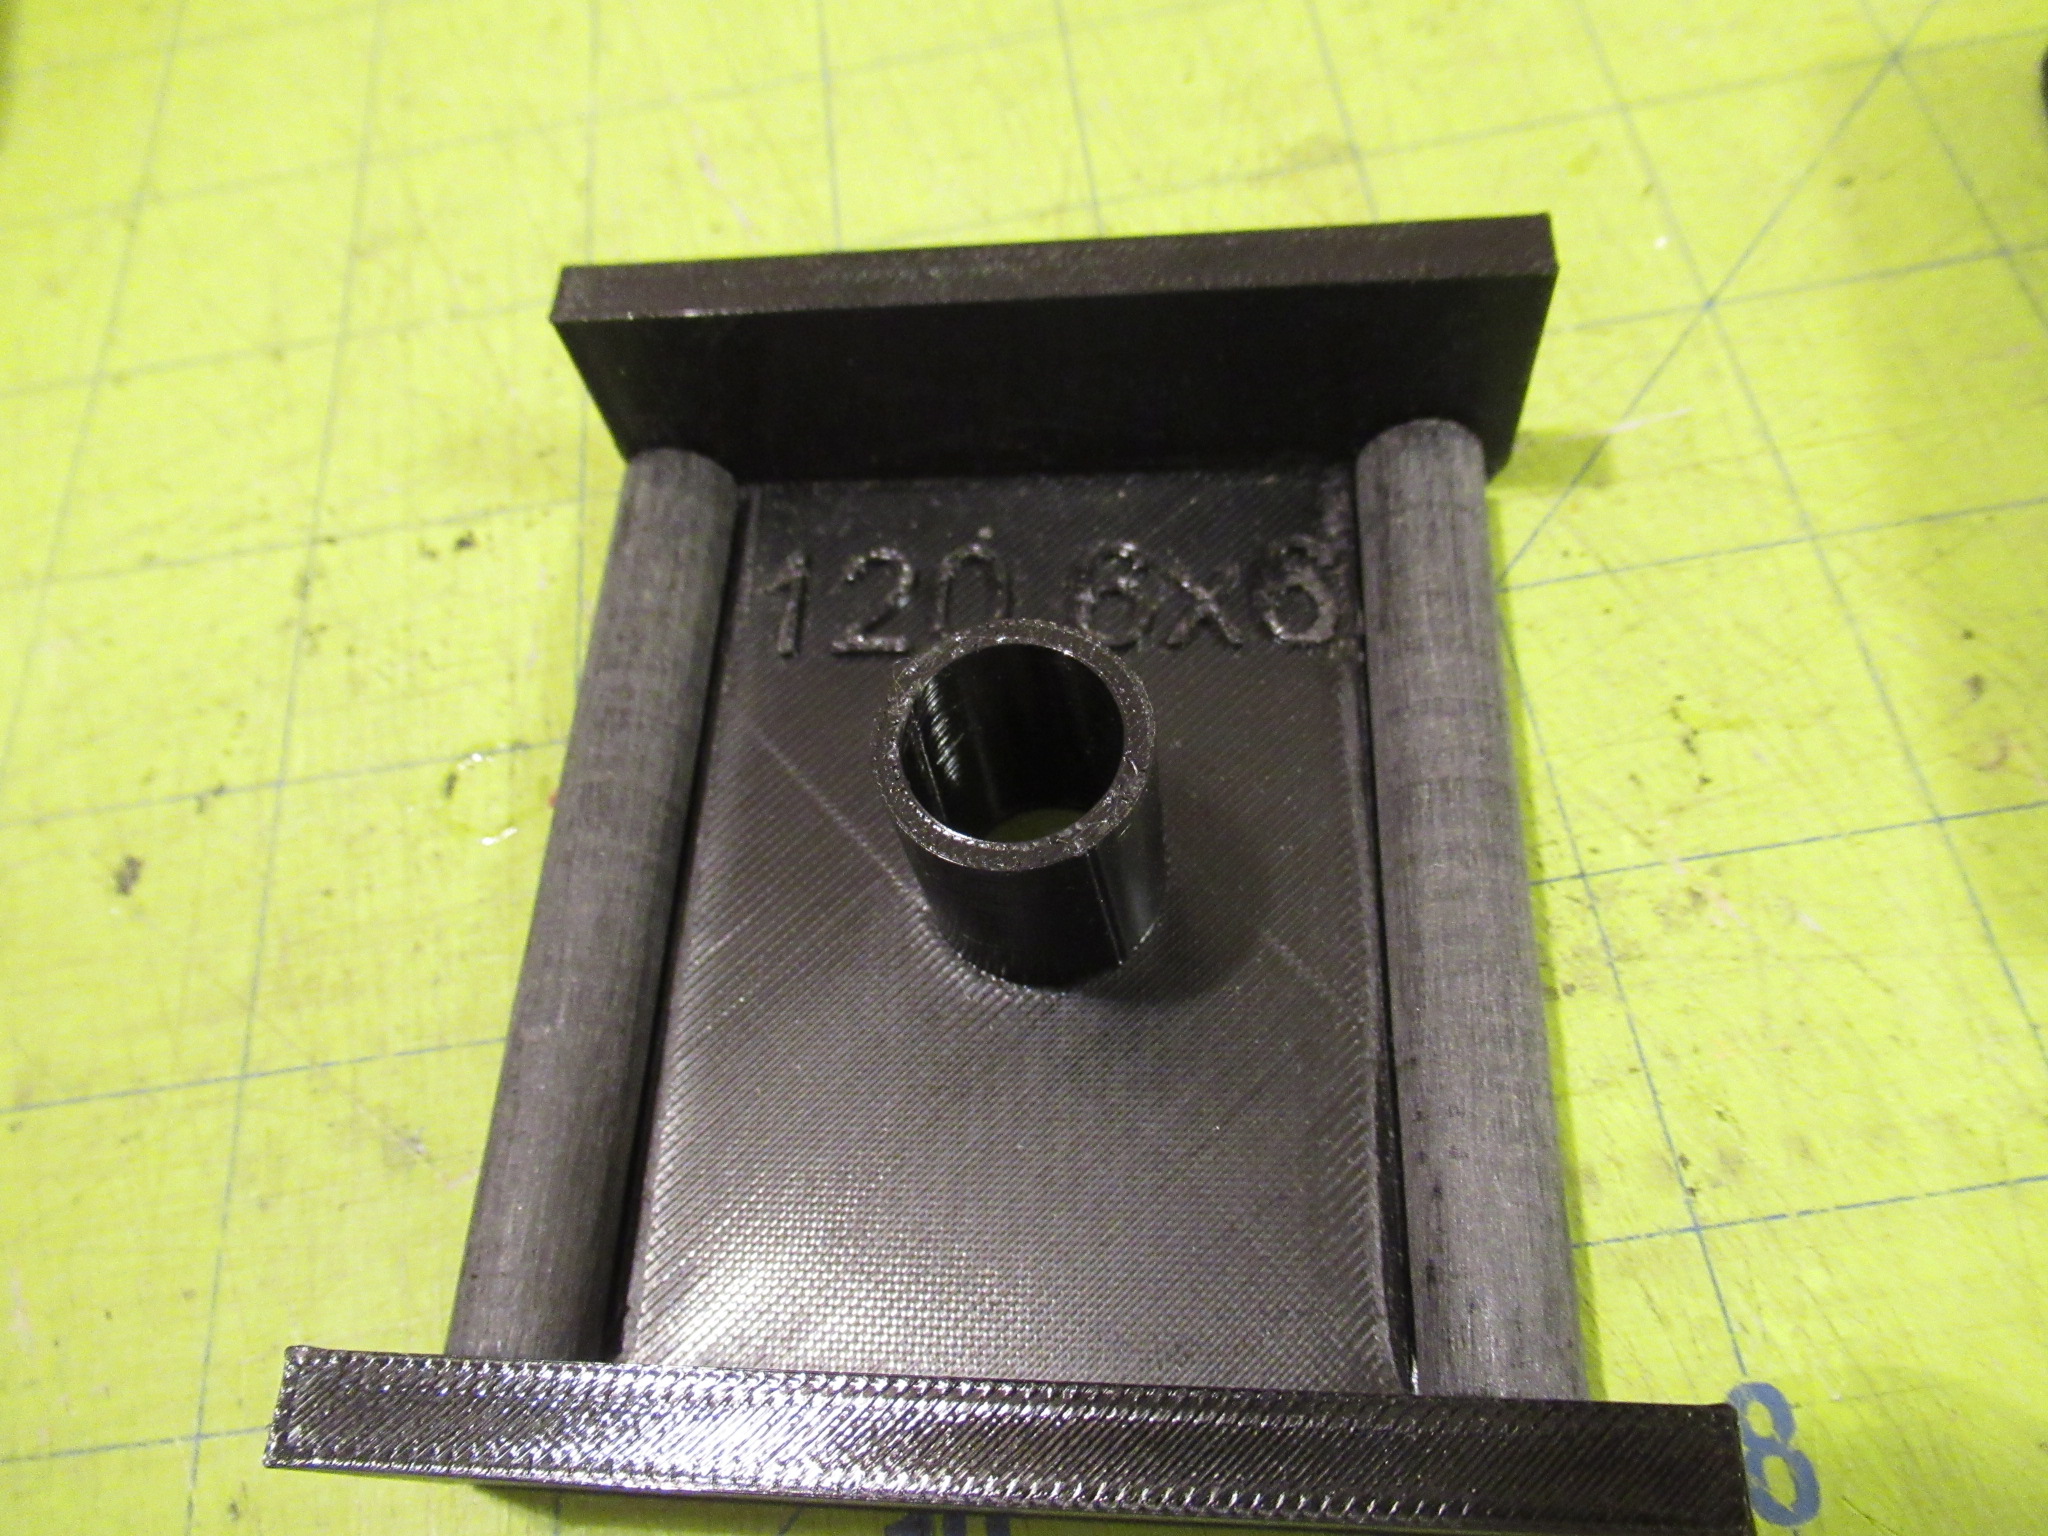
File the ridges off of the 2mm end shafts of the pressure rollers so it will roll freely once installed into the pressure plate. Sand the rollers with 100 grit so they are smooth but will have a little bit of friction. If they can spin while the film roll goes through, there will be less friction, though there is minimal friction even if they stop rolling.
Take a piece of black hockey stick or gaffers tape and line the inside of the hinge to prevent light leaks there.
Feel free to contact me with any questions or news about your build!