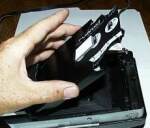
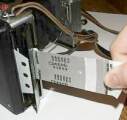
- Open the back of the camera and insert the pack film as shown, making sure that the white tabs are all curving towards the front of the camera but aren't scrunched under the film pack when inserting it into the camera.
| 
|
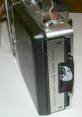
- The large black tab needs to stick out of the camera when the back is closed.
| 
|
- Pull the black tab straight out of the camera with a firm pull.
| 
|
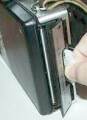
- After taking the picture, grasp the white tab and pull it out of the camera with a firm, steady pull. You'll notice that pulling on the white tab causes a door to open on the side, which allows the second, larger tab to start passing through the rollers. The white tab then tears off.
| 
|
- Pull this larger second tab straight out of the camera with a firm, steady, and straight pull.
| 
|
- Time the development of the film as per instructions on the tab. The time varies depending on the ambient temperature. If it is too cold, you may have to use the "cold clip", which is an aluminum sandwich in which you put the film, which you then put under your arm for warmth!

| - Peel apart the picture from the negative after the time is up. Admire the print or try to figure out what went wrong by referring to the user manual!
| 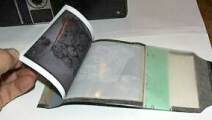
| - Interested in how the film pack works? Click here to find out.
|
|