

This will require one Instax wide camera and one metal bodied Polaroid pack film camera. The Polaroid camera should have the extra exposure settings which allows it to be set for 300 ASA, so that metering with Instax film is possible. It may be possible to use any camera by setting it to 3000 ASA and using a 2 (or 3) stop ND filter over the electric eye. I found that exposing with the 300 ASA setting is pretty close since these cameras are getting old and often need exposure compensation of 1 mark toward lighten anyway because of the aging electric eye. Or, you can convert this camera to manual shutter capability. An overview of the upside down conversion is described in this video. An overview of preparing an Instax 100 to be used as a back is shown in this video.
You can mount the Instax wide back upside down or right side up. Regardless of the method, you will need to start by getting the Instax wide camera ready to use as a back.
This operation involves taking the Instax camera apart and removing the electronic guts, leaving just the motor, gears, and rollers. If using an Instax 100, the lens body needs to be cut off with a hacksaw blade or other tool. The lens body on a 210 is not attached to the back, so won't need to be cut off. Because motor run-on is a problem with Instax wide drivetrains, previous instructions detailed reducing the time the cycle switch is on. New instructions on how to wire the back with a relay which prevents run-on is detailed below.
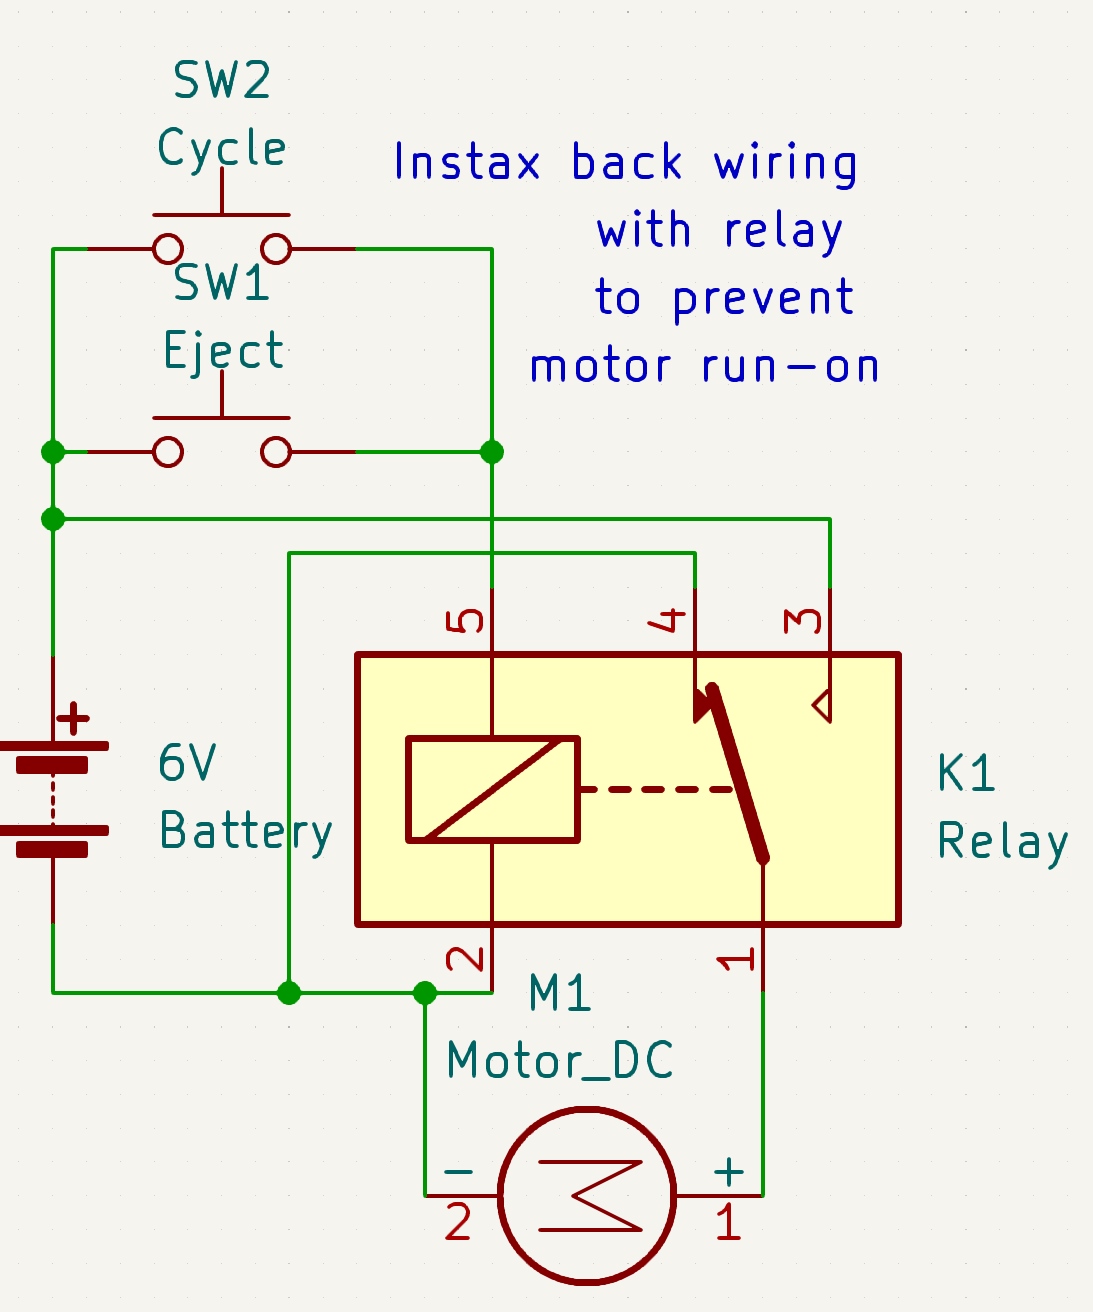
A 6v relay is used to prevent motor run-on which will eject the whole pack of film if the cycle switch is wired in series with the battery. The relay shorts out the motor when turned off, instantly stopping it.
| Wire the back according to the wiring diagram below, using a 6 volt relay using the schematic provided here |
|
| The carbon dot under the rubber shutter on an Instax 100 is replaced with a piece of aluminum foil for a better contact. The Instax 210 has a microswitch for a shutter button and needs no modification. |
|
| Solder a wire onto the appropriate battery terminal depending on the voltage requirement of the camera. Check the comparison chart to see what voltage your camera needs. Run this and the negative wire outside the camera. |
|
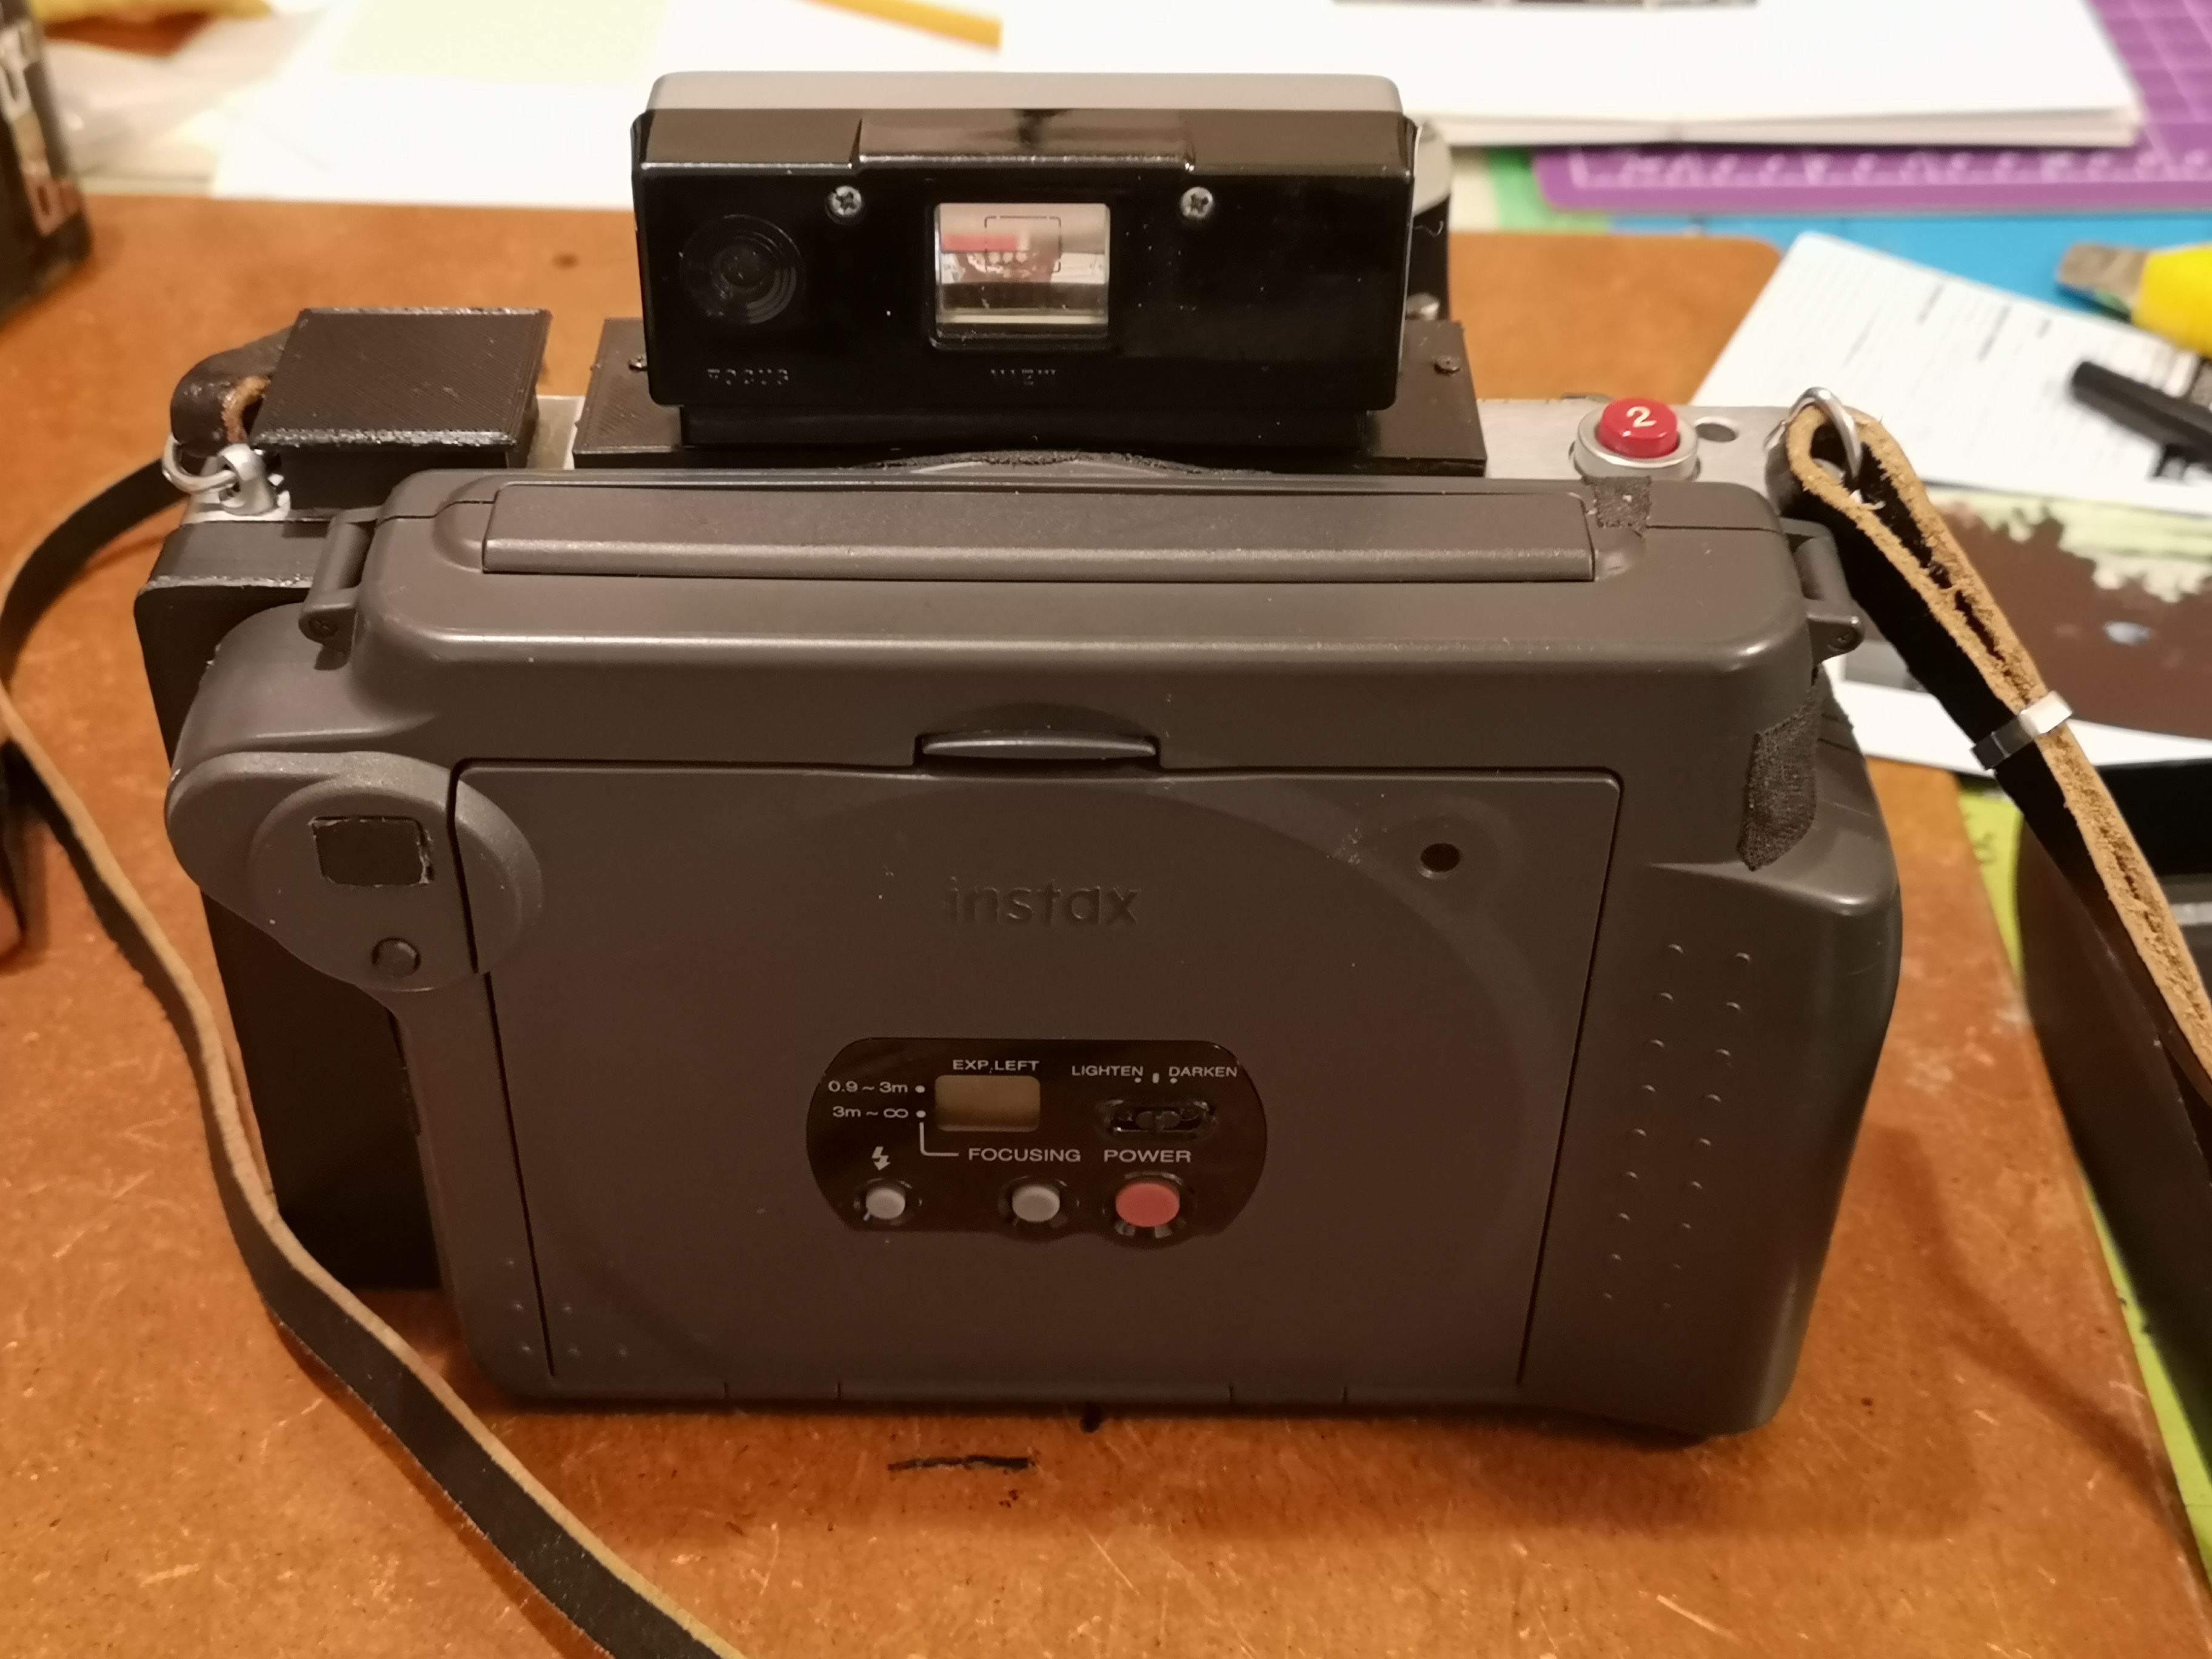
| Attach the back of the Instax case to the back and run the battery leads to the front. Place a piece of craft foam over the rollers protruding down so it clamps against the camera when mounted to prevent light leaks. |
|
This conversion is easier to do but winds up being thicker (around 15mm) than the upside down conversion. It also requires access to a 3d printer, but it doesn't require any cutting of the Polaroid frame. It also retains the use of the tripod socket. You will need to get and print the 3d files for this conversion since it needs various pieces to complete it. You will also need a single AA battery holder, some wire, solder iron, a momentary switch for the eject button, and some small screws as well as basic tools.
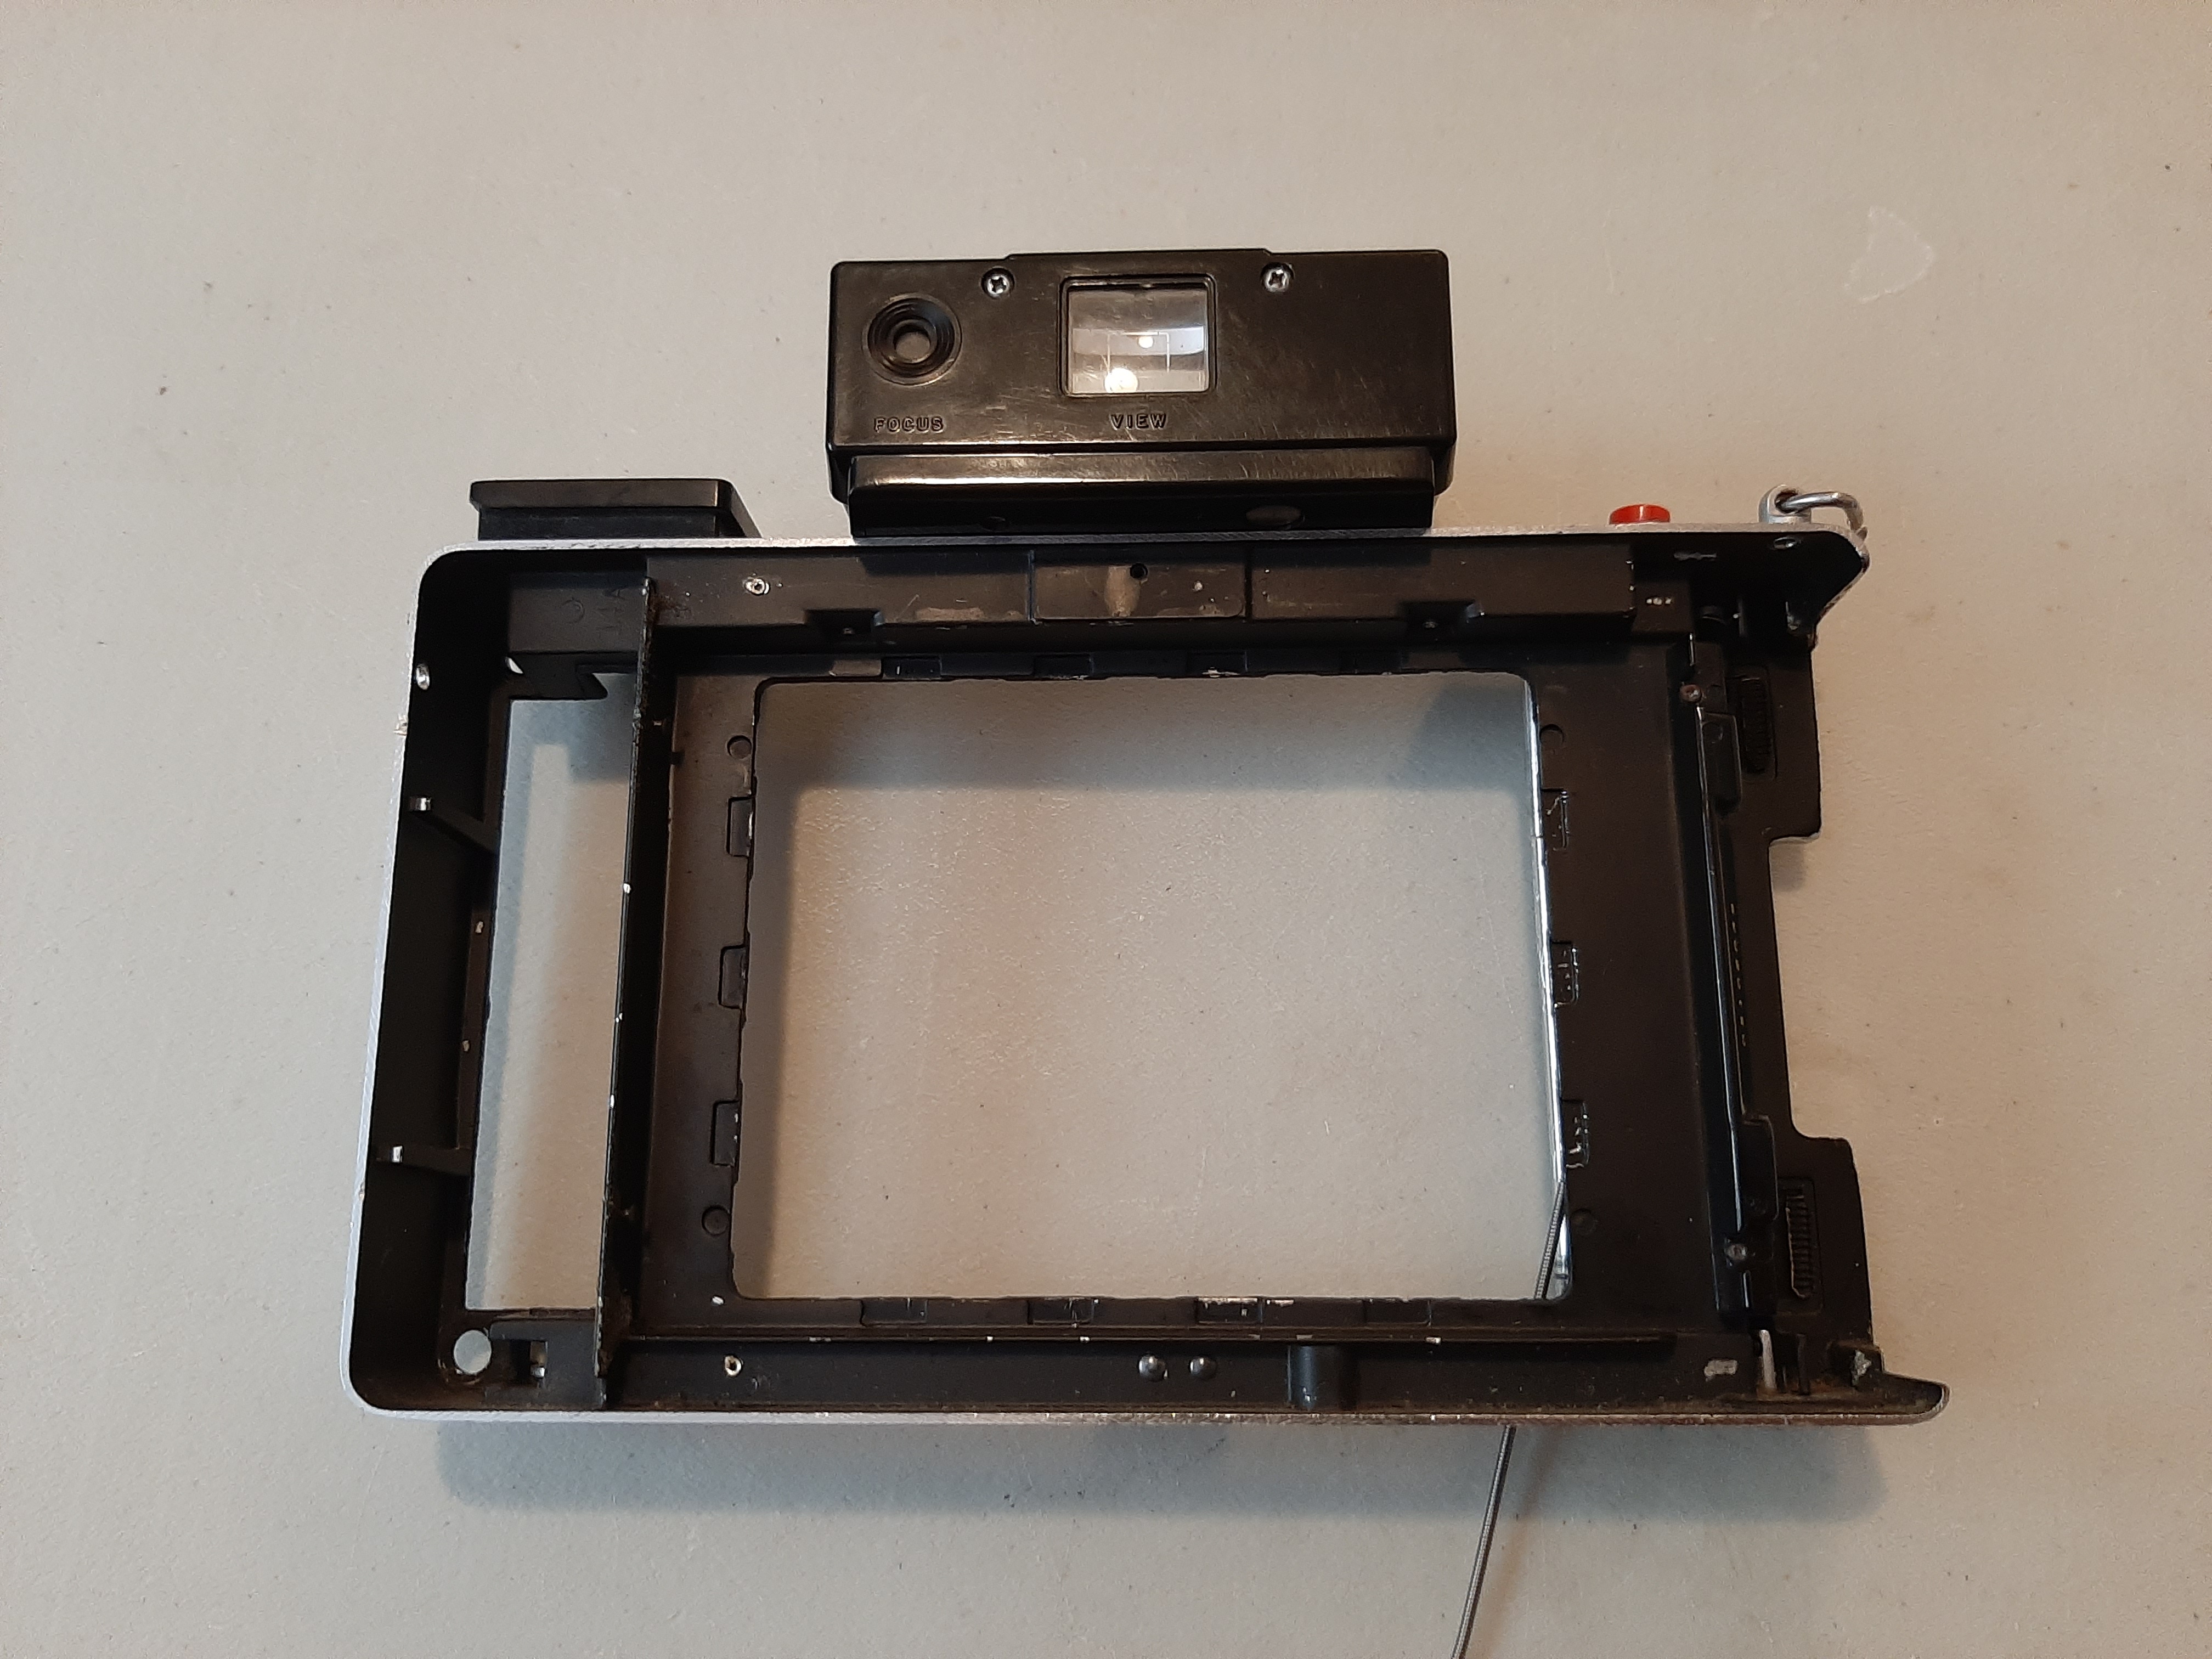
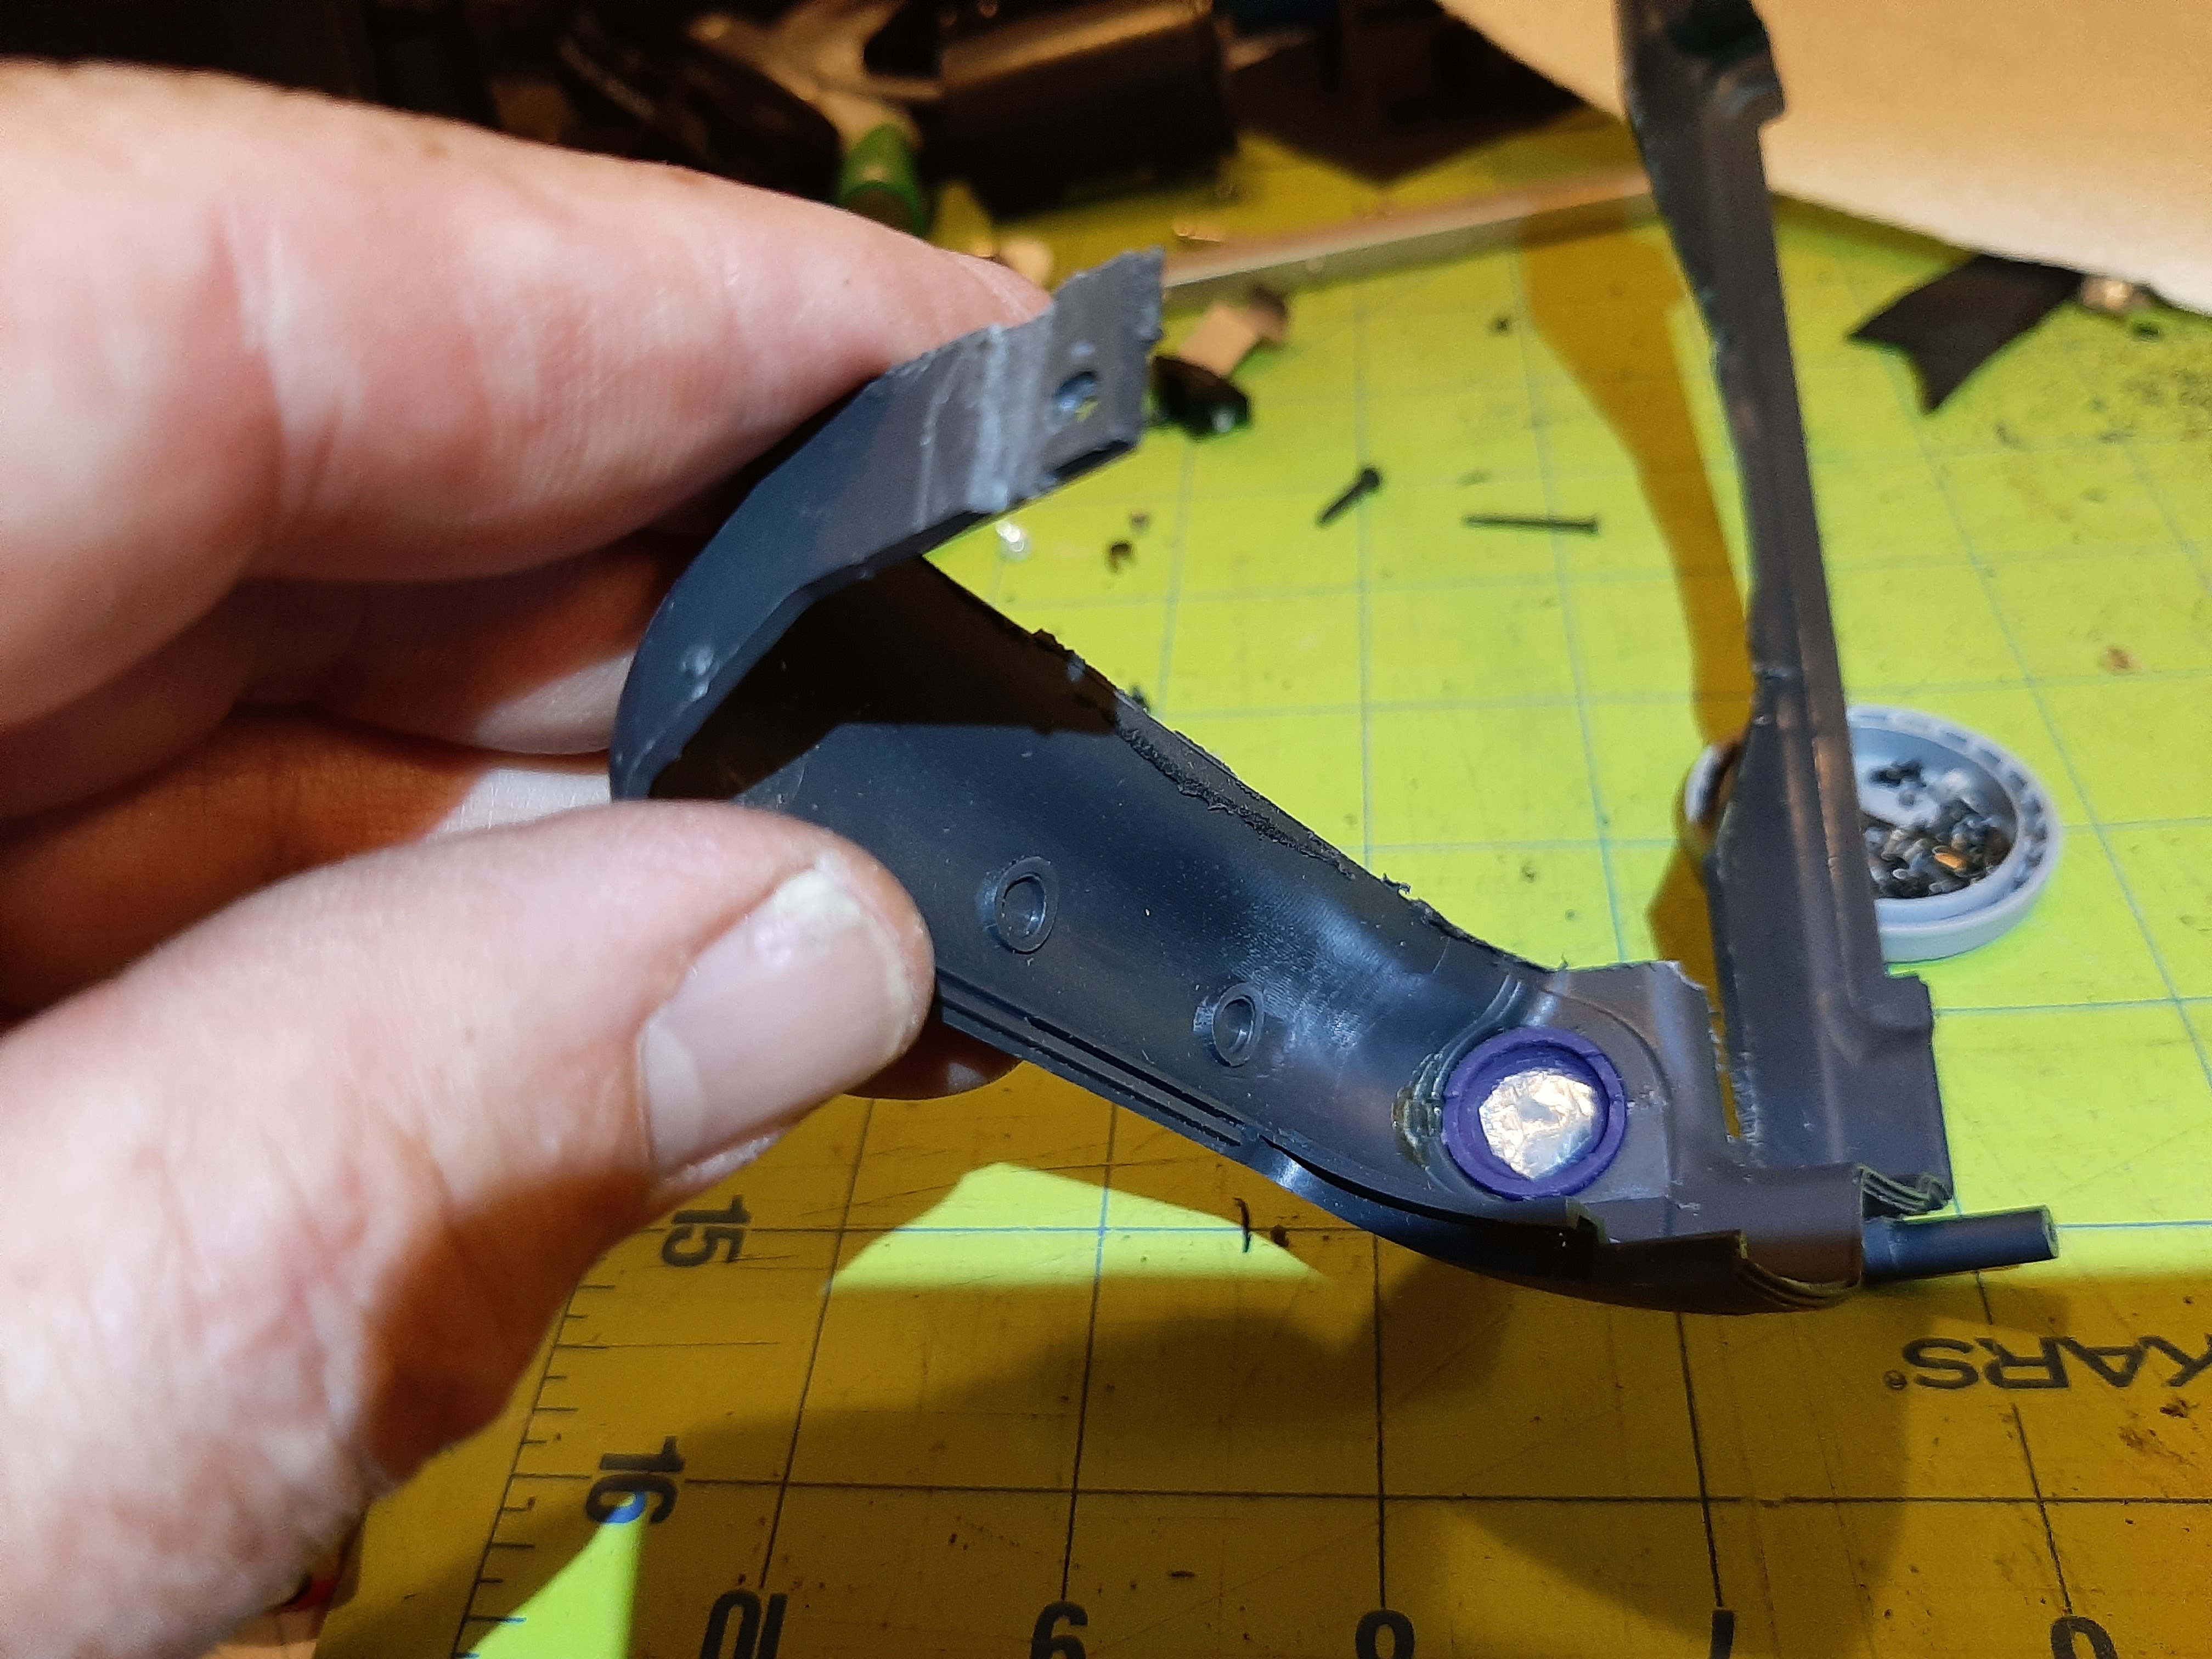
| Remove the back by drilling out the 4 rivets holding it on. Remove the contents of the battery compartment and trim the wires going to the lens body. Remove the door latching mechanism by unscrewing it and sliding it out. | 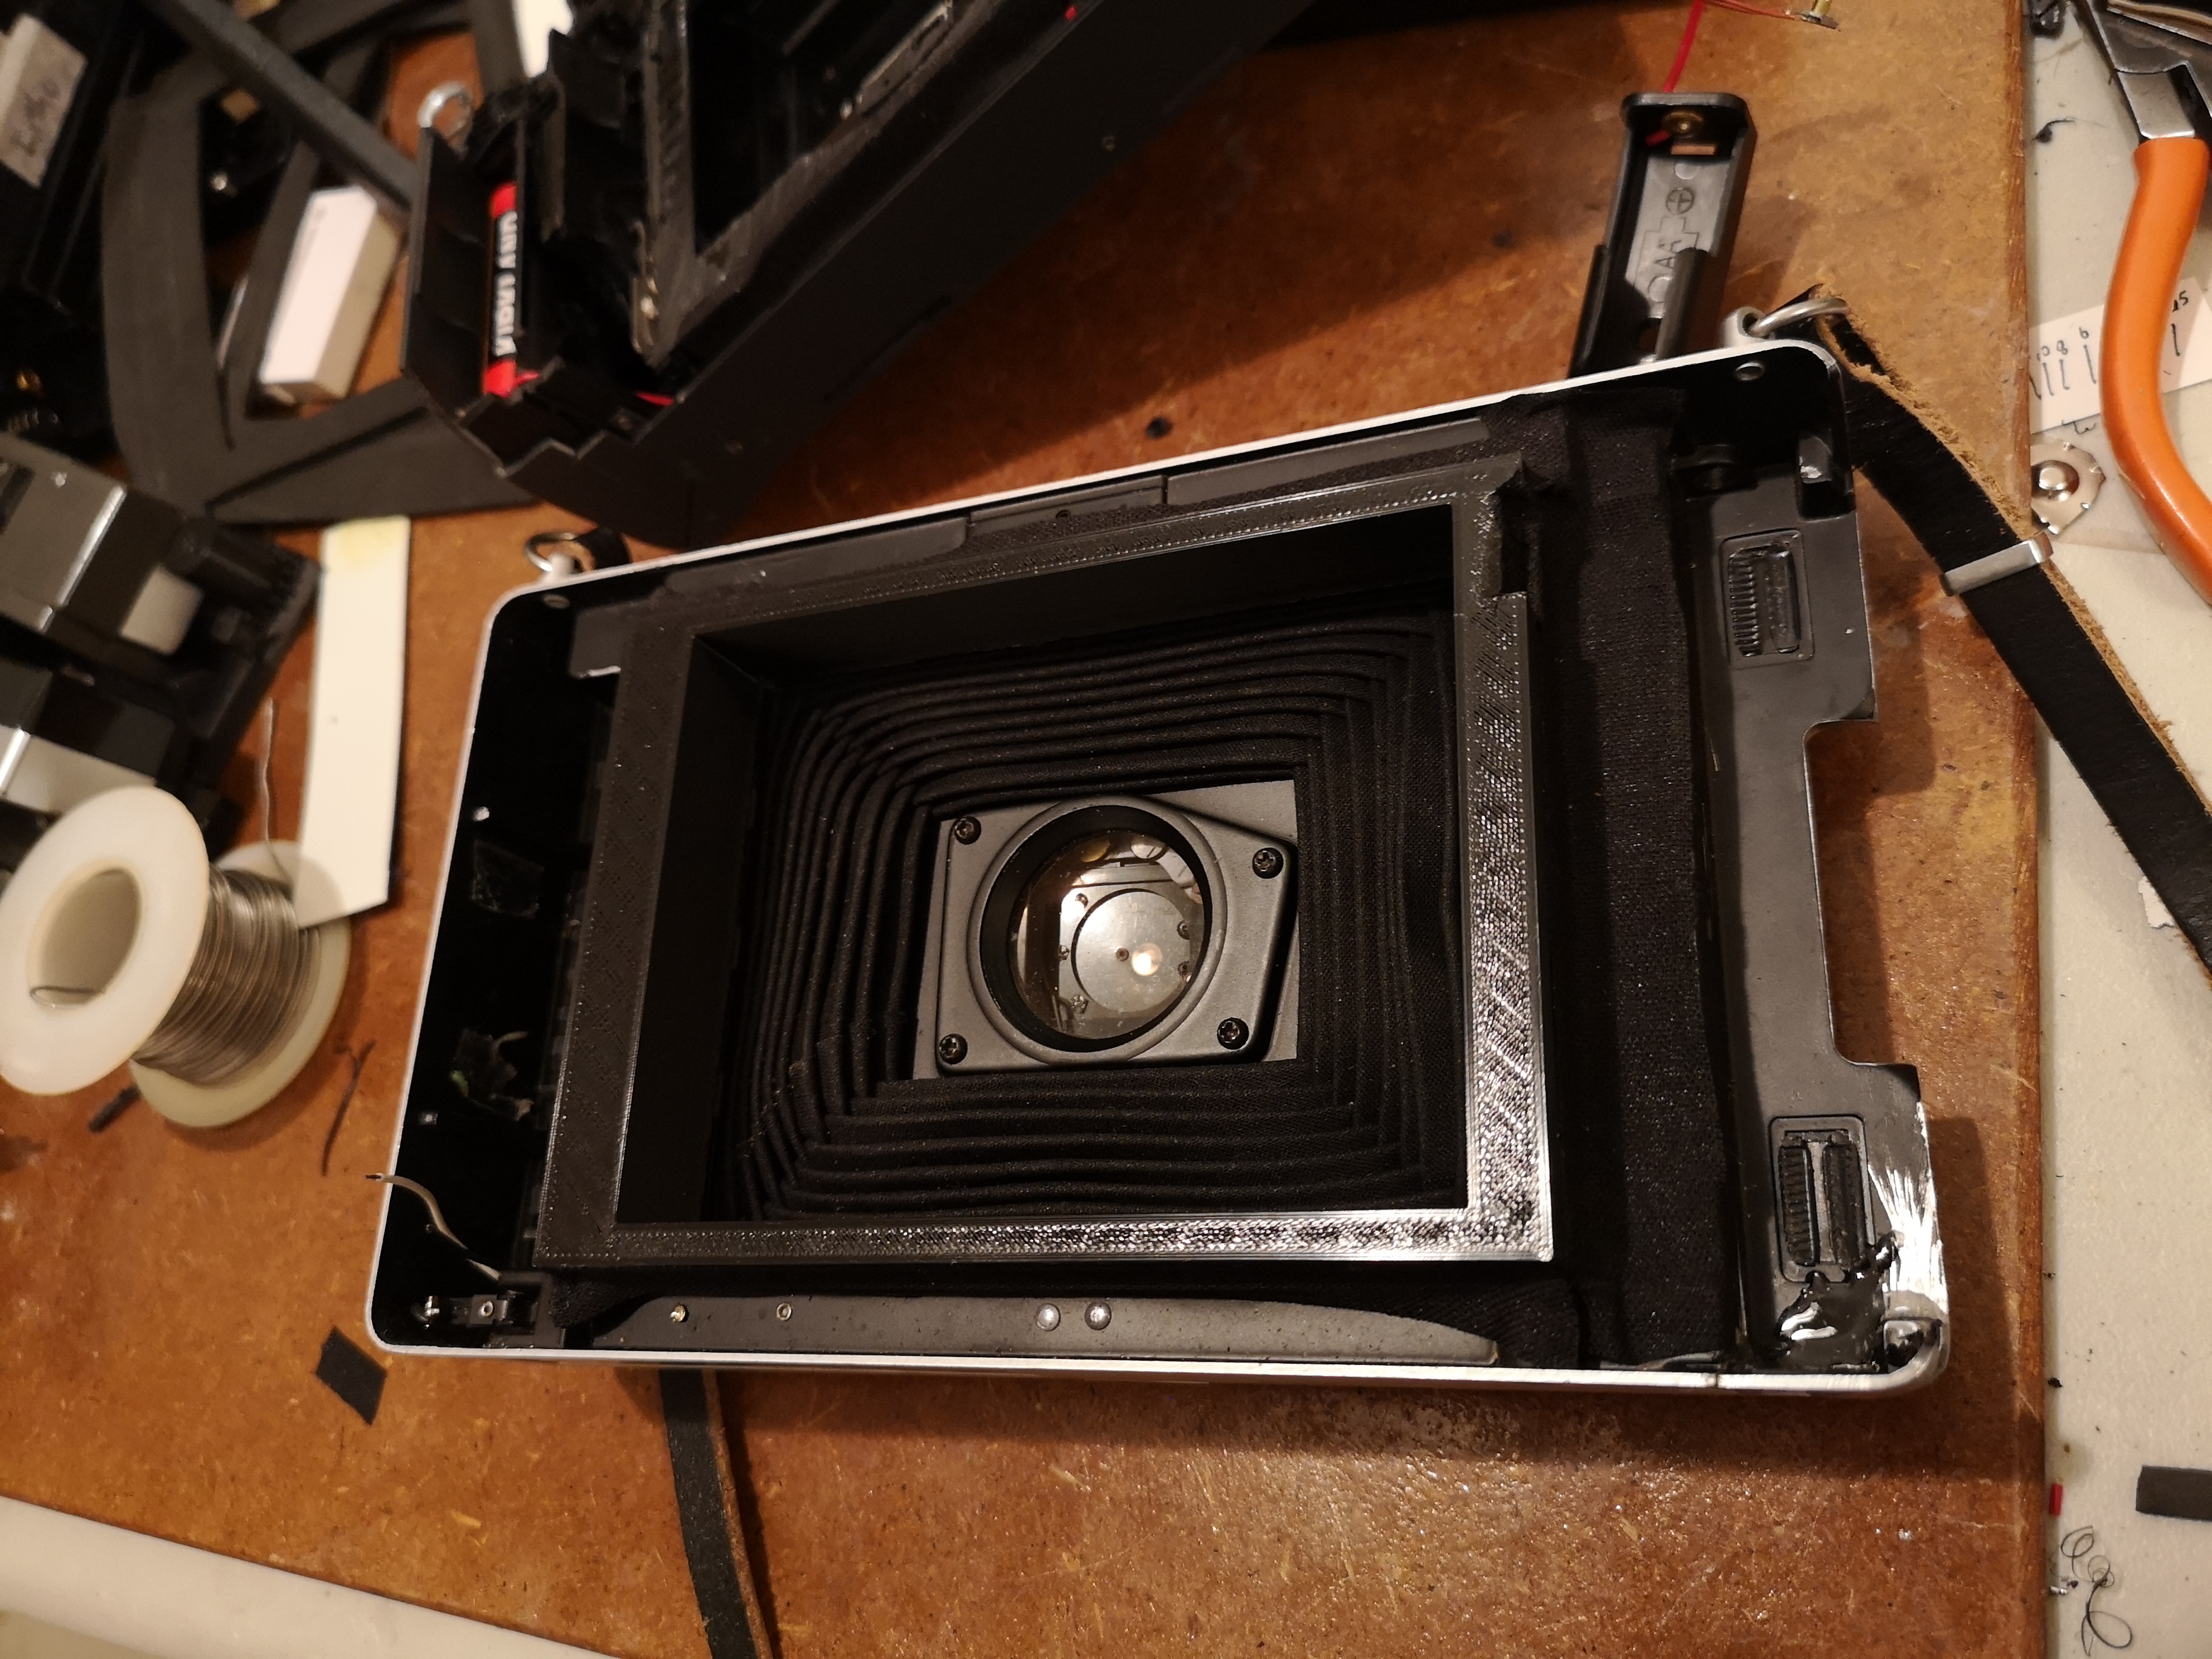
|
| Put the spacer into place and tape the edges with hockey tape to help prevent light leaks | 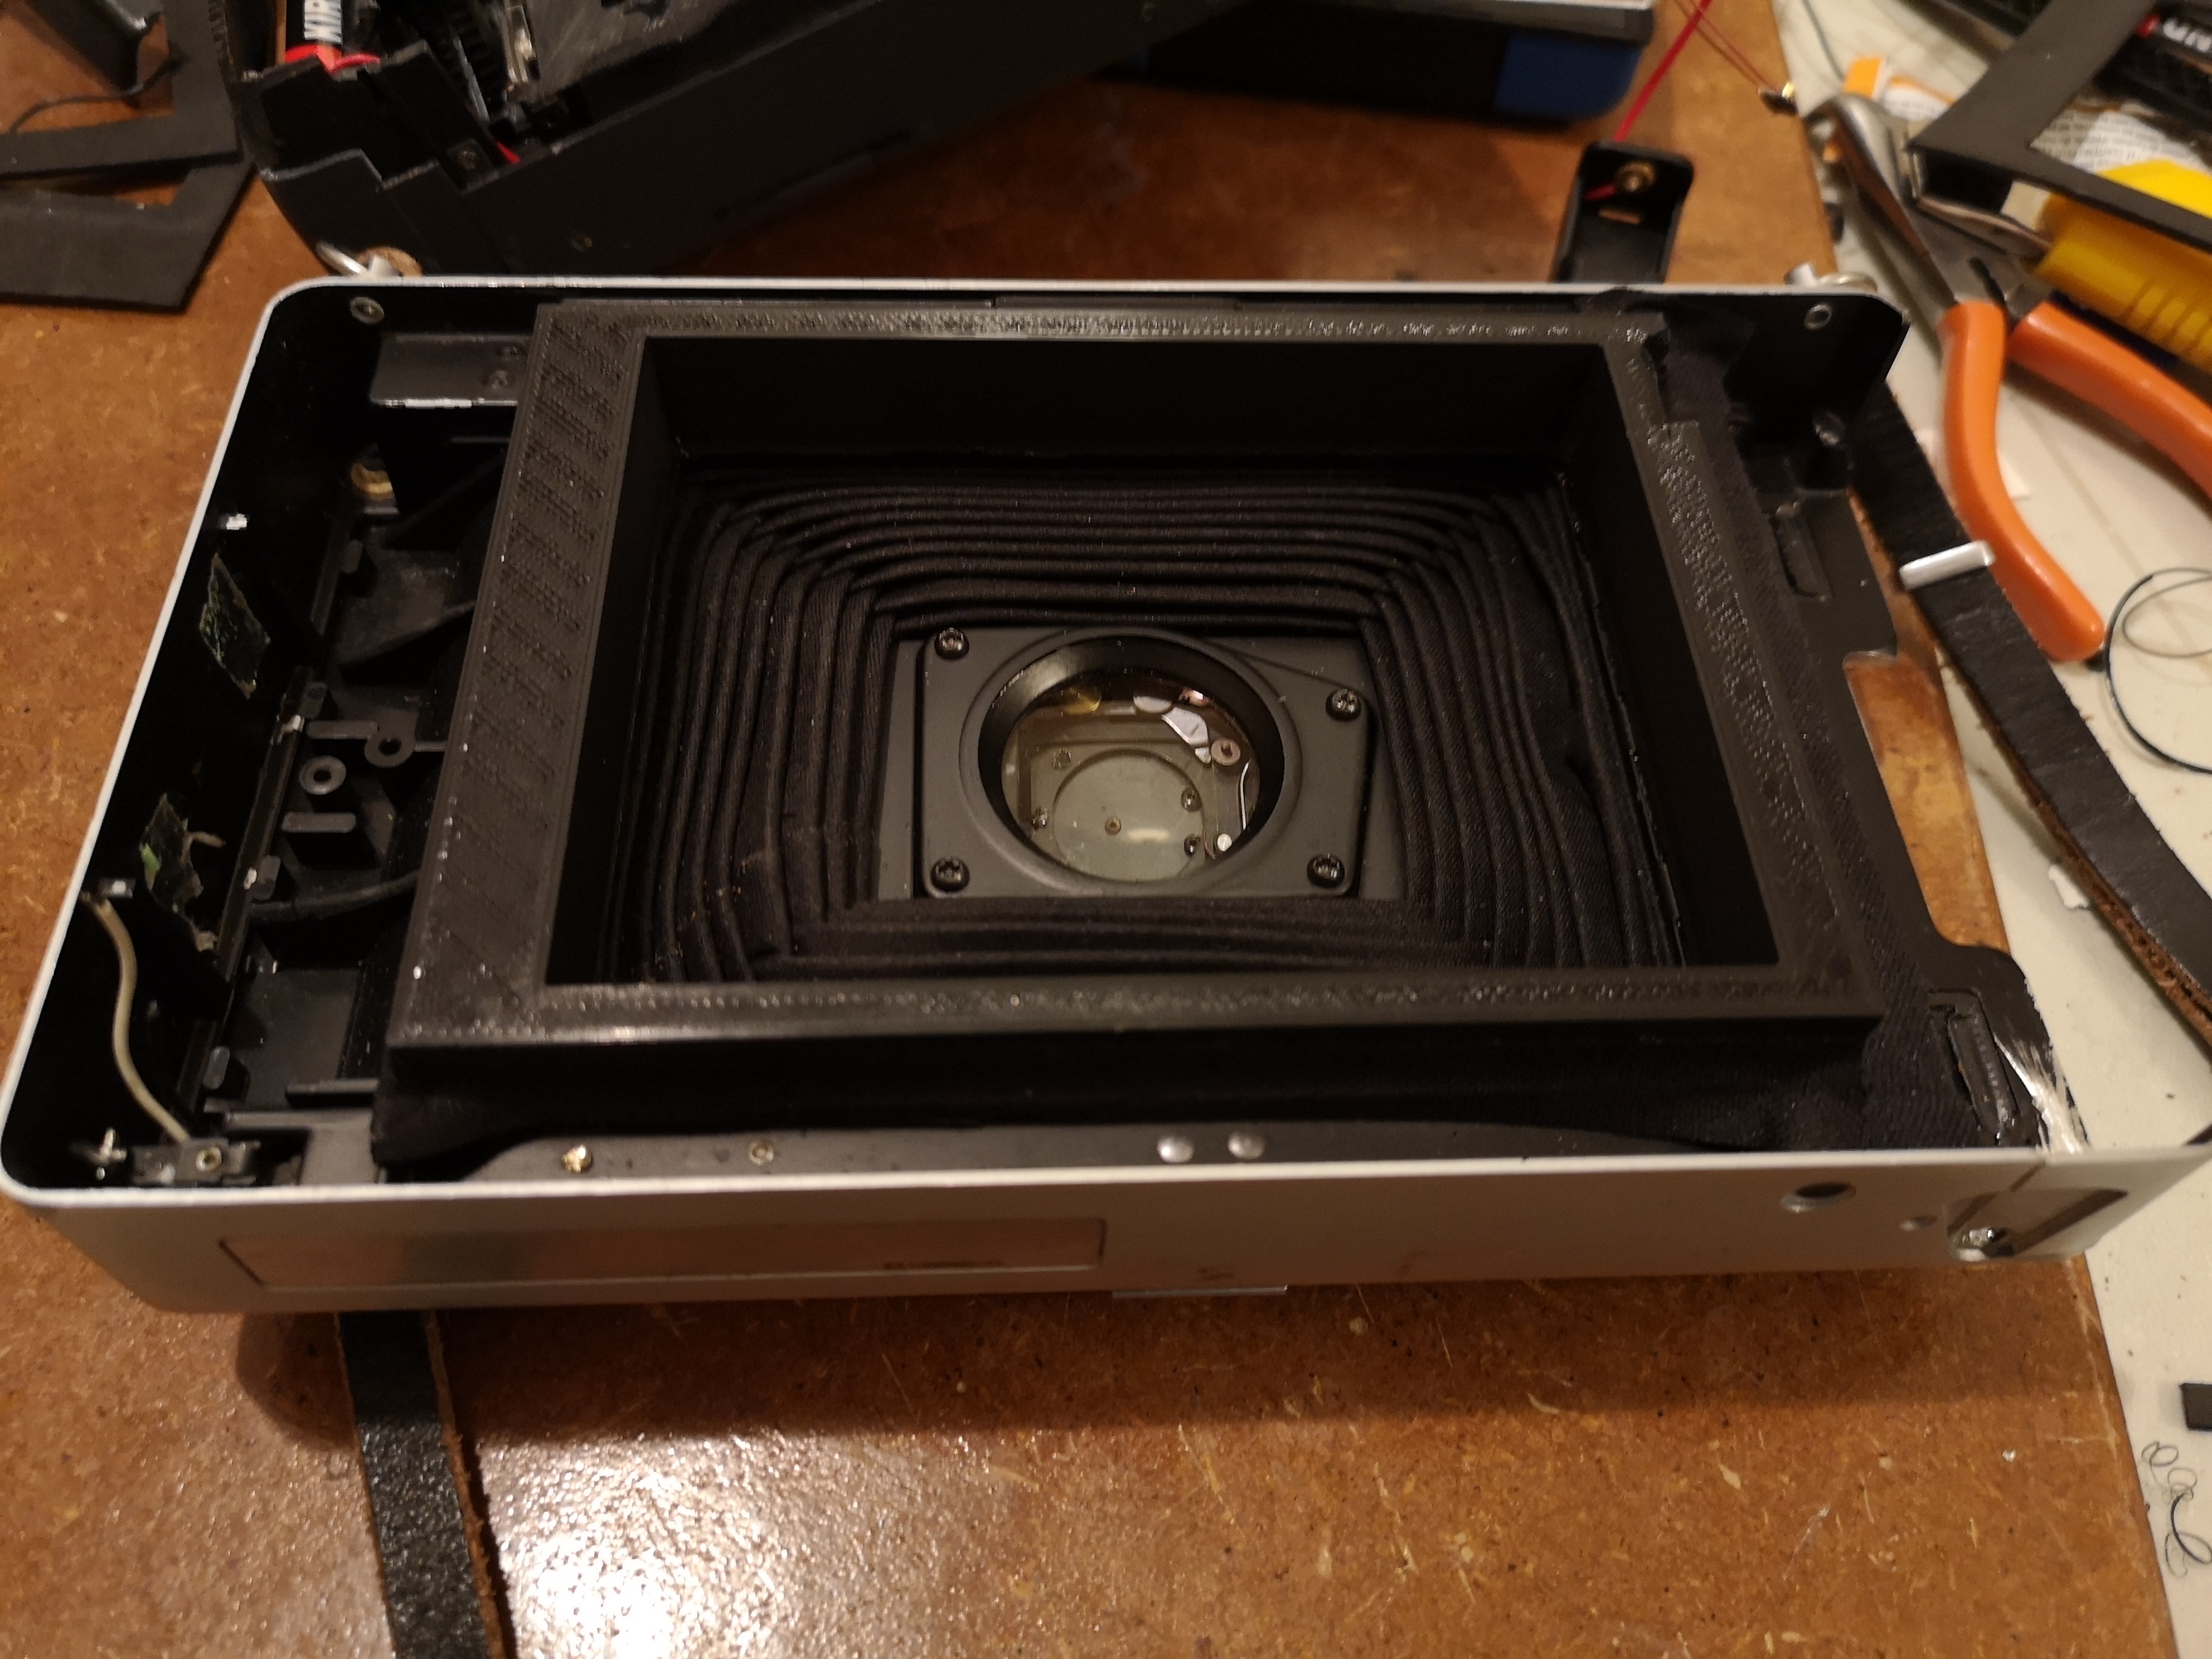
|
| Cut the last battery bay off of the Instax wide back and solder a wire from the last battery terminal to a lead to the Polaroid battery compartment (to the right of the picture). Run leads from the battery terminals as well as the cycle switch along the bottom to the right of the back as well. A single AA battery holder will be needed to compensate for the battery bay removal which will be installed into the Polaroid battery compartment. Power for the Polaroid camera will come from the Instax back. Be sure to solder a lead to the correct terminal for either 4.5 volts or 3.0 volts, depending on your camera model. | 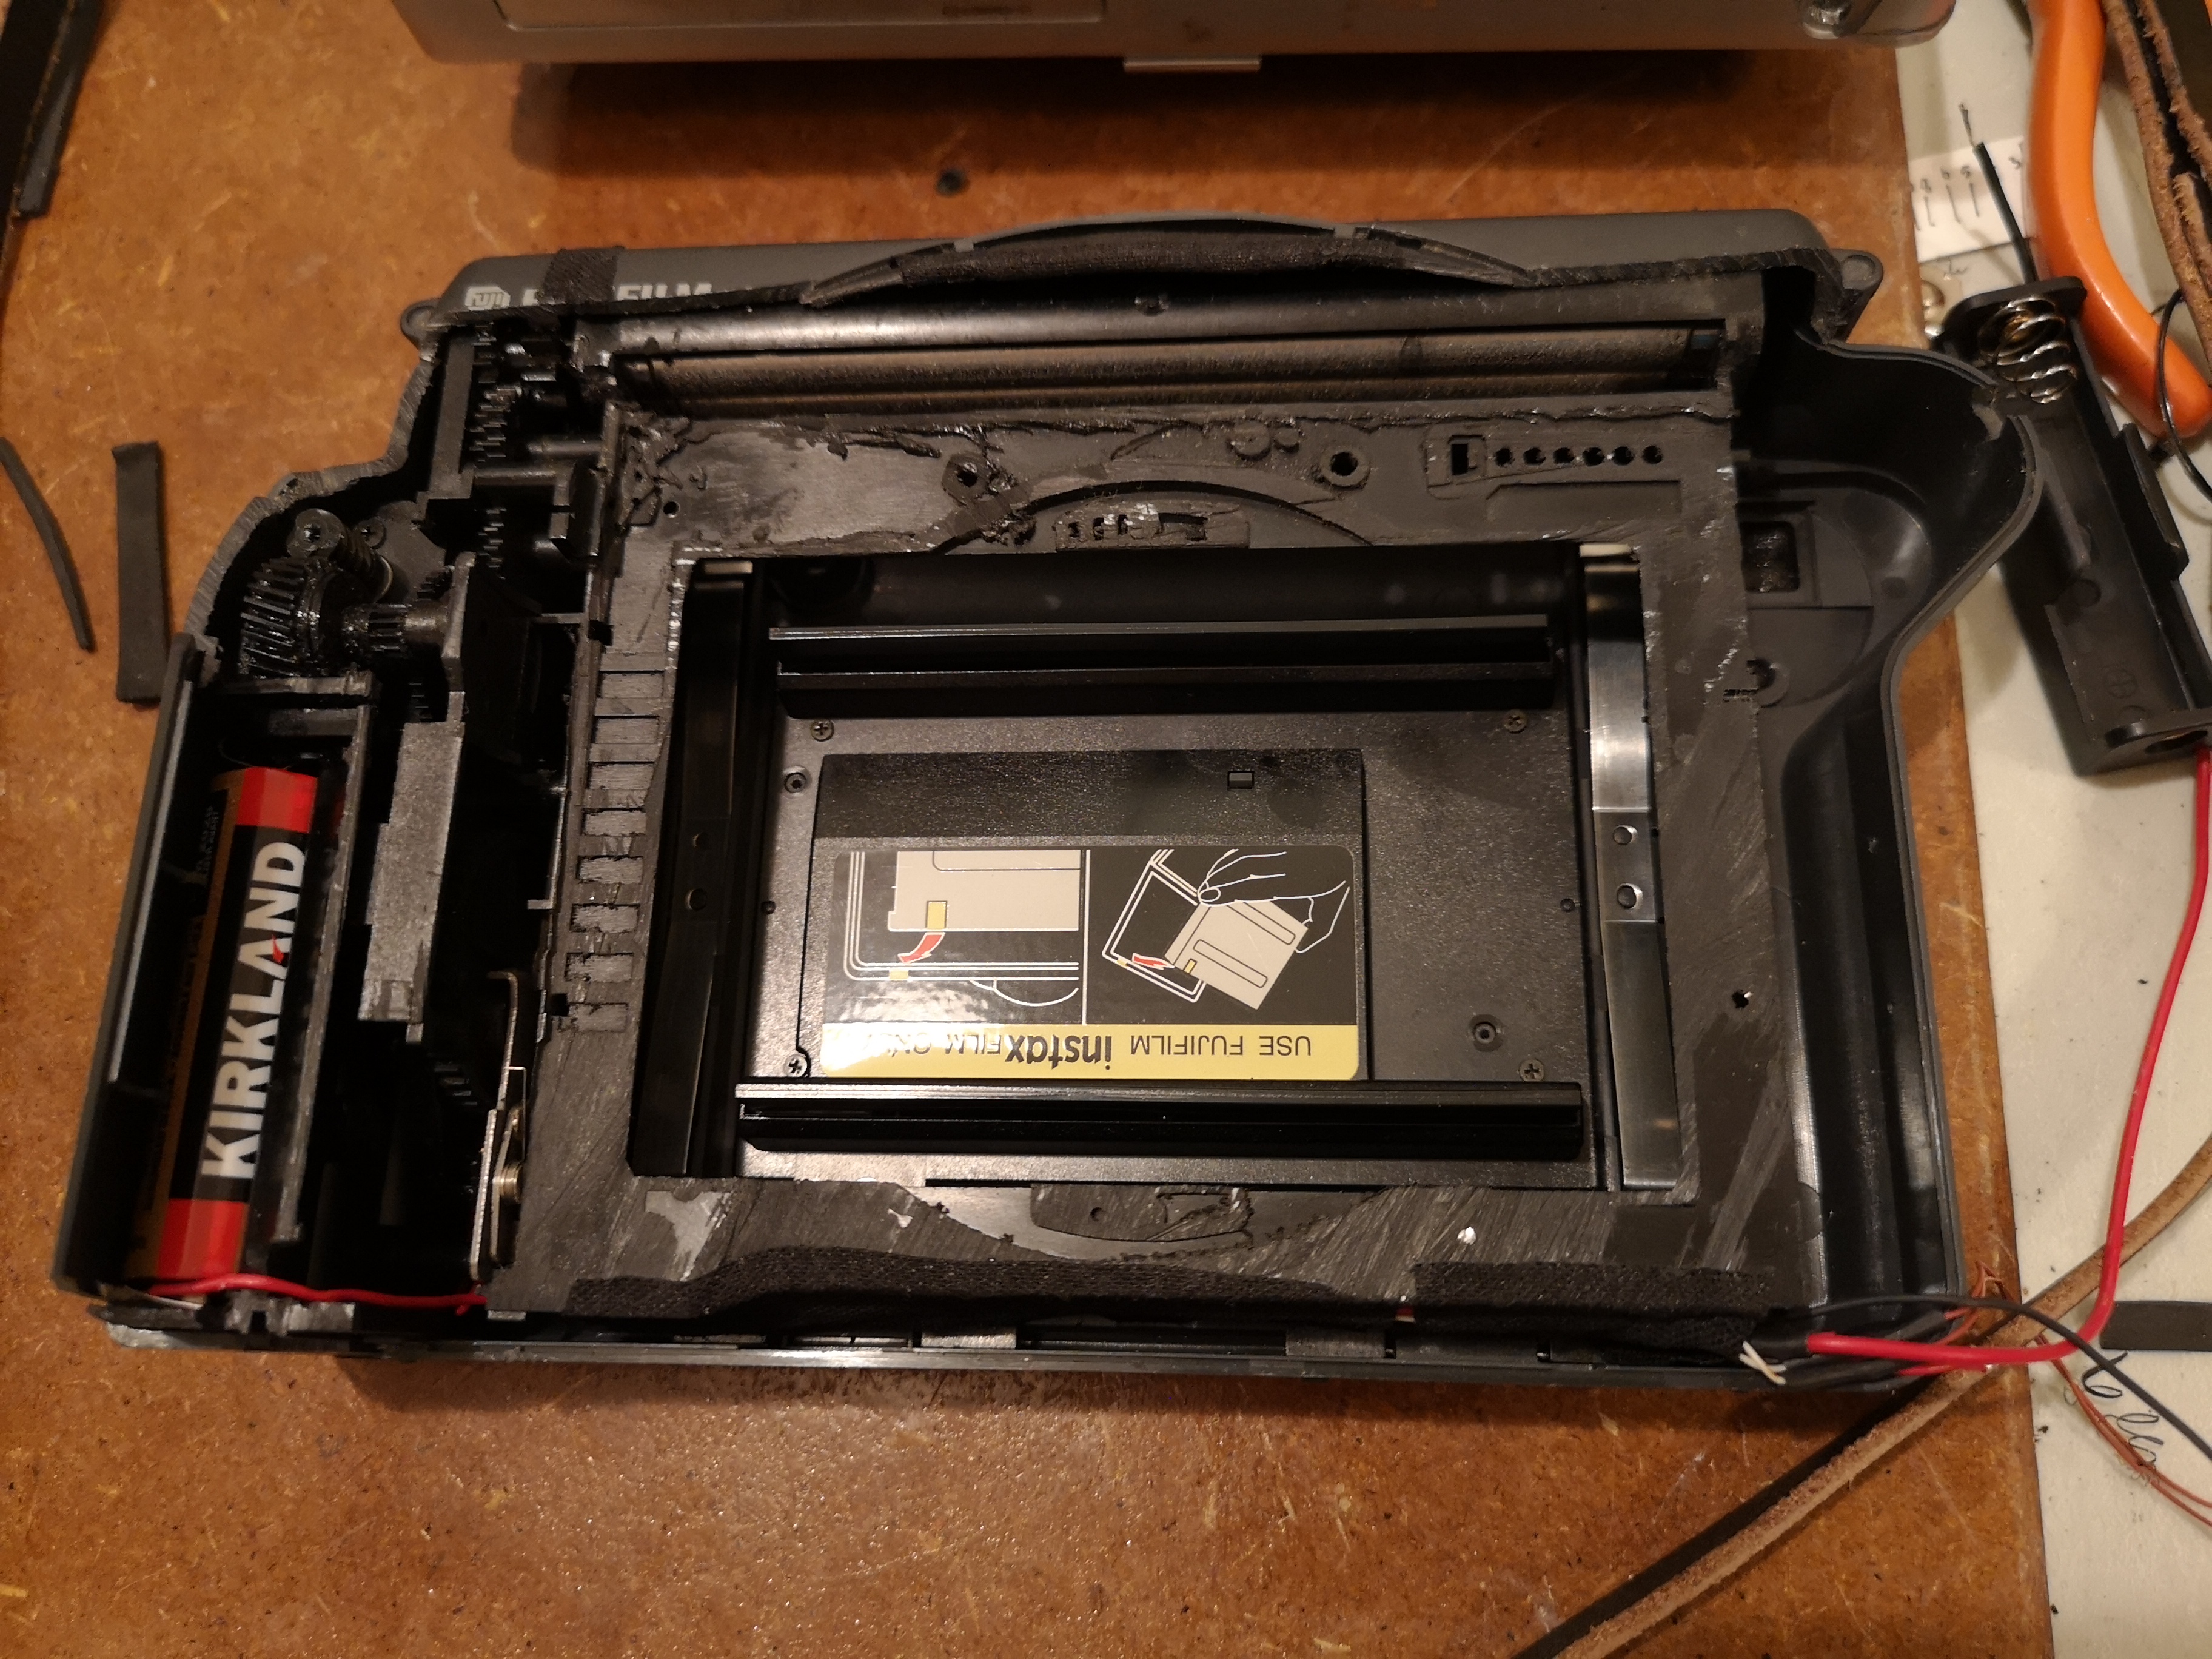
|
| Cut a 2mm piece of closed cell black craft foam to size to act as a light seal between the spacer and the Instax wide back and glue it into place with contact cement | 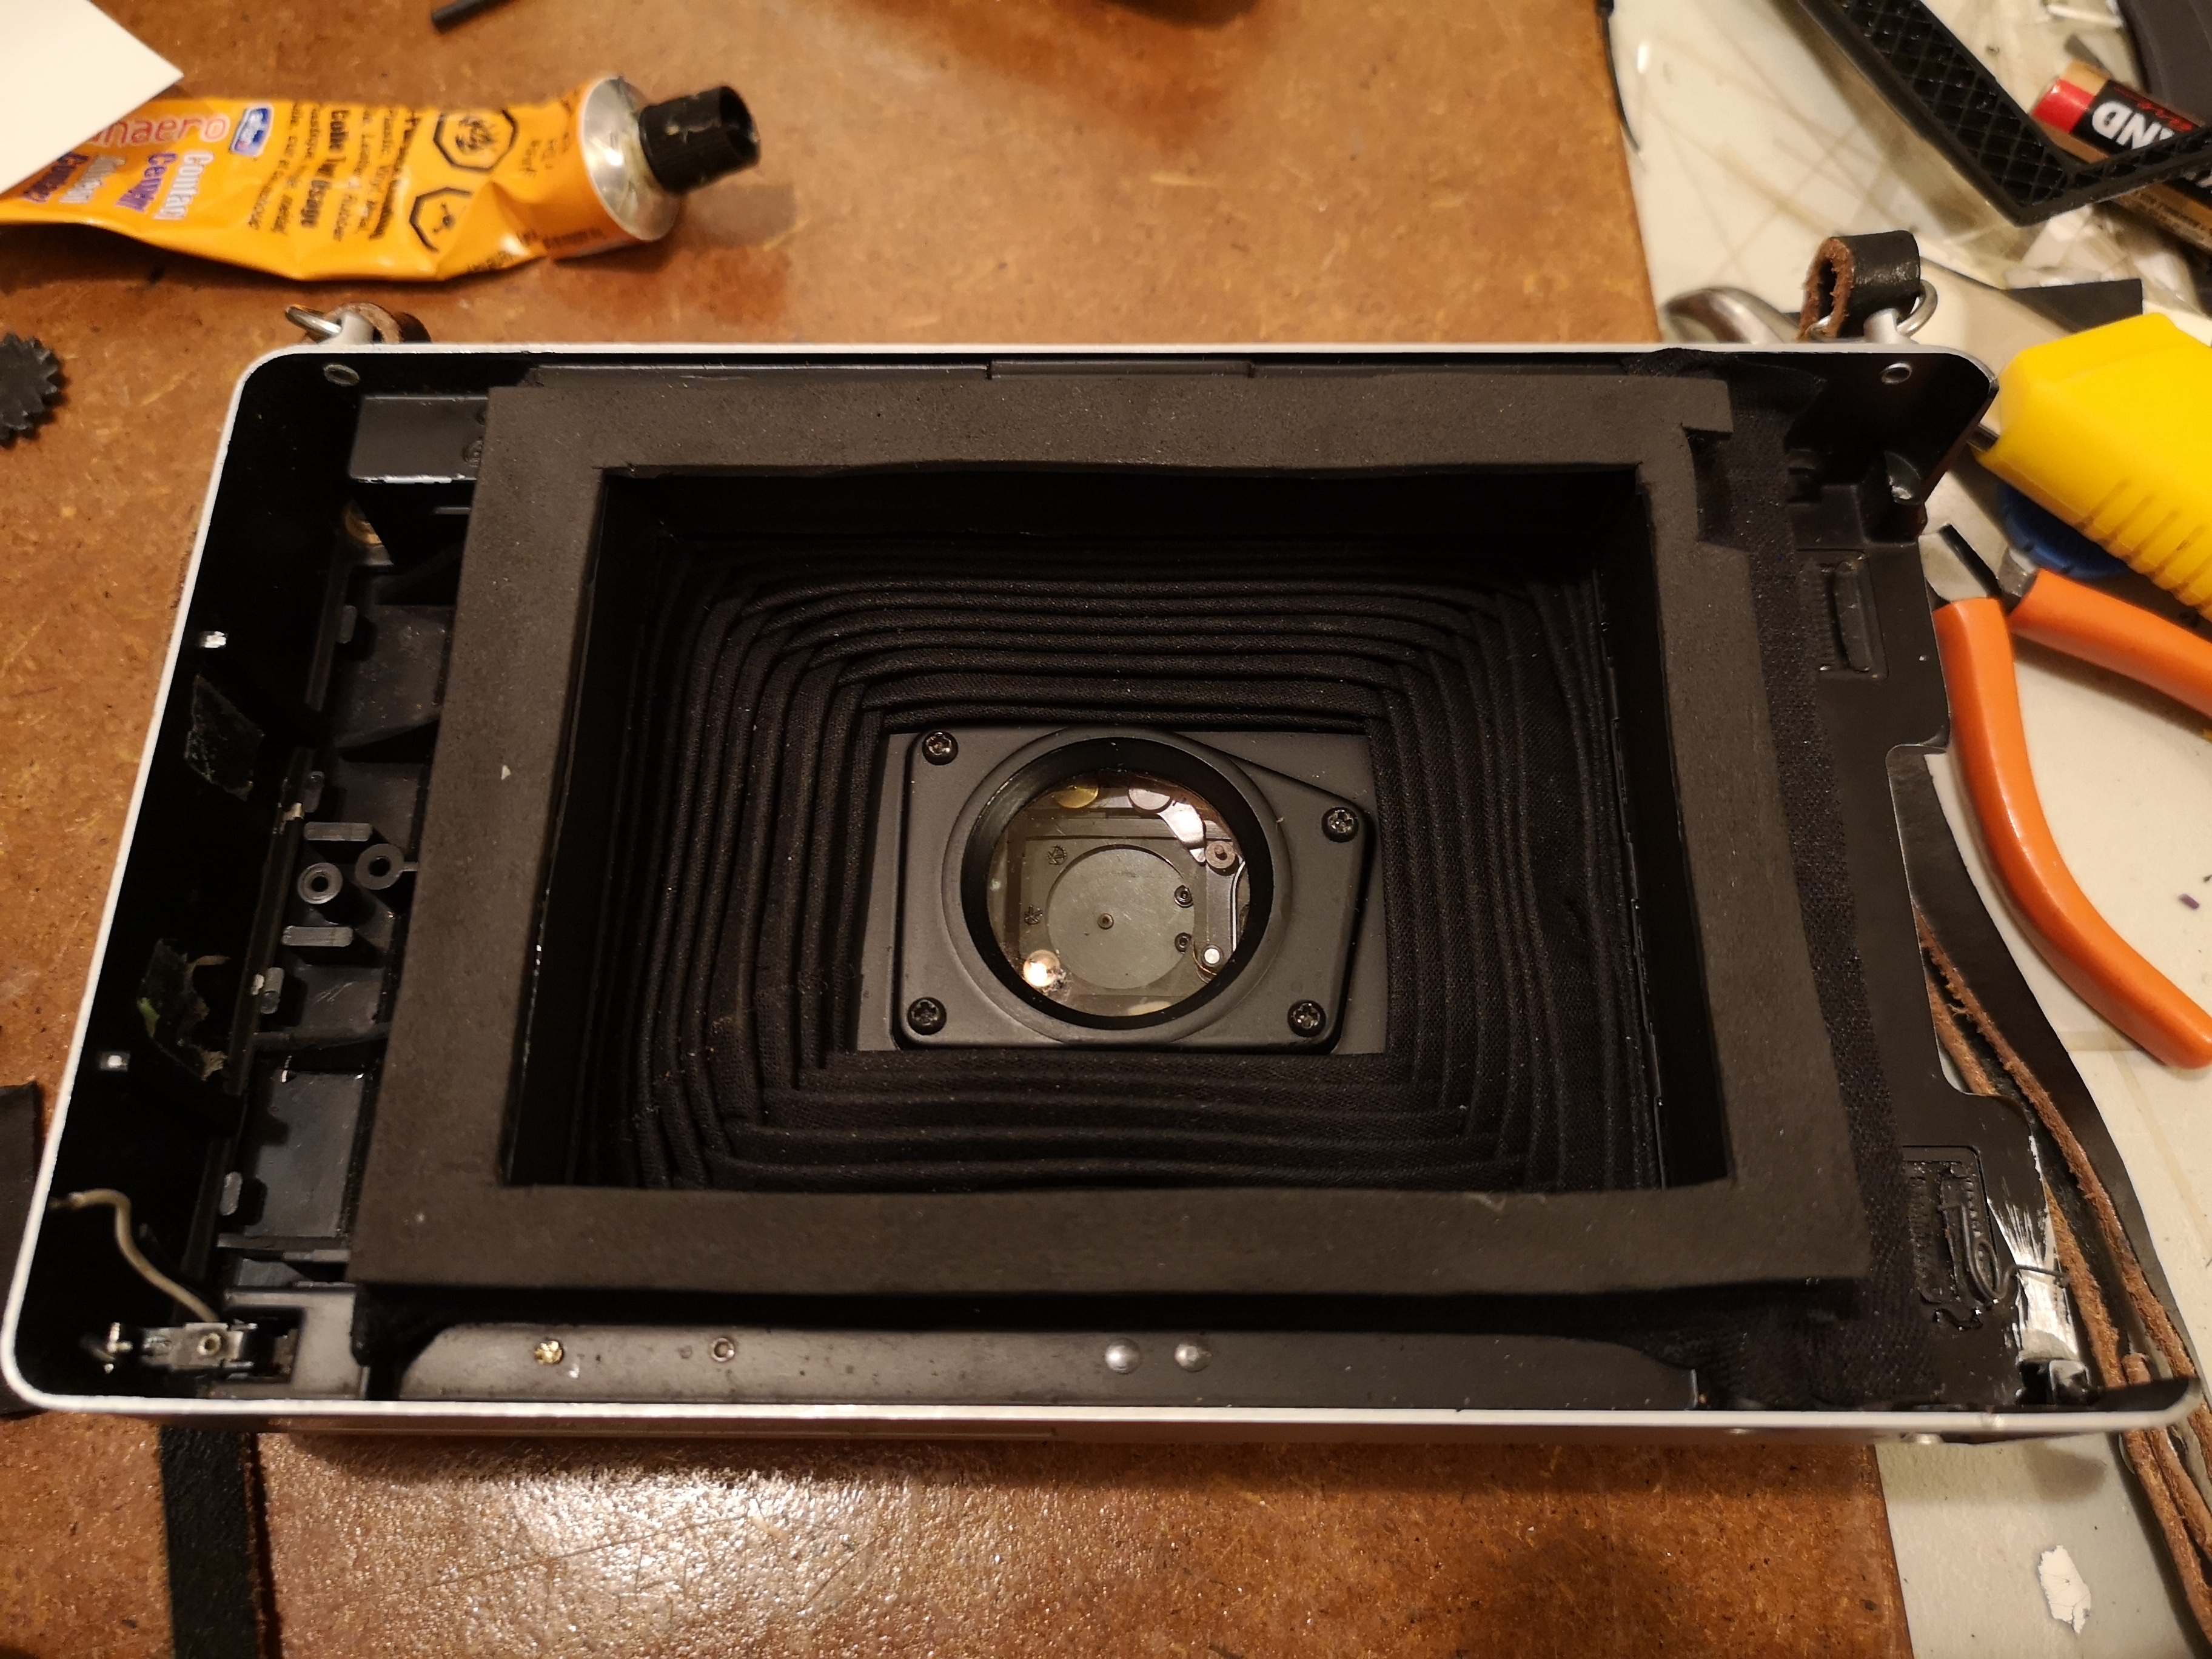
|
| Mount the Instax back onto the Polaroid with 3 pieces of tin, which can be cut from a tuna can, or an old SX-70 film pack spring. The first mount screws into the upper right side of the back and into the upper right side of the camera. Predrill the holes and self tap them carefully with small screws. Press down on the back while screwing it in to provide a light seal. | 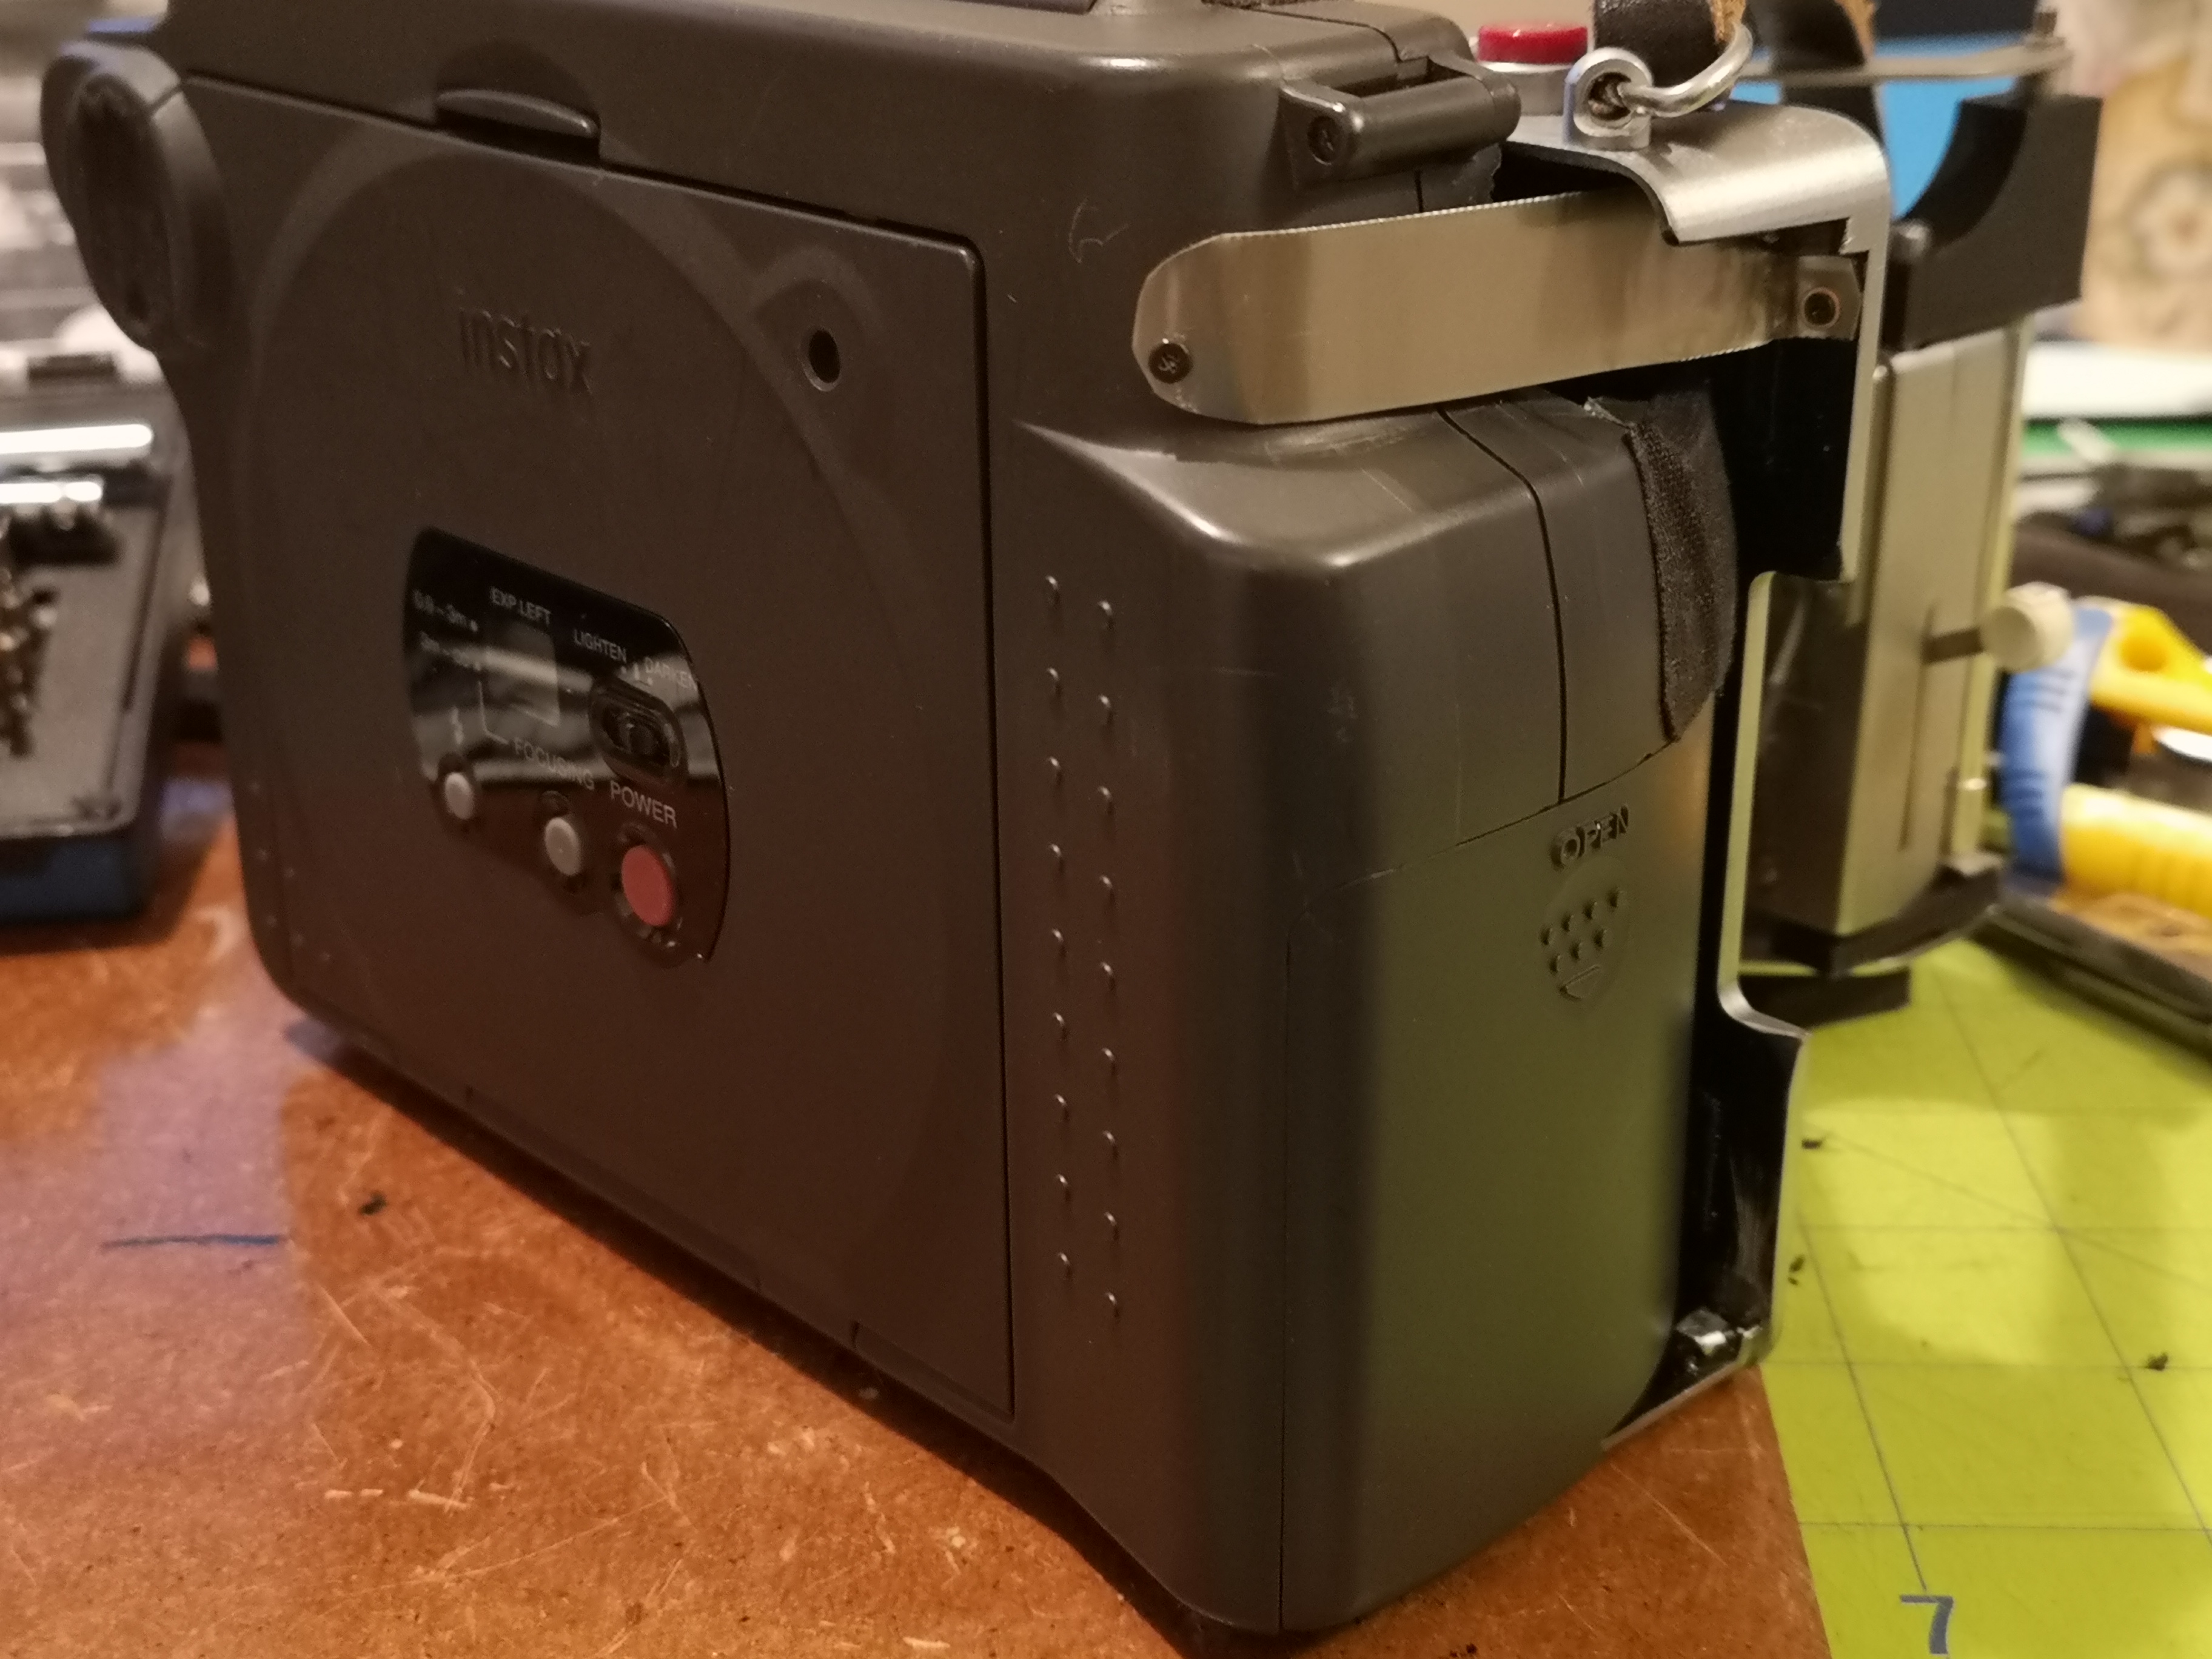
|
| The second mount screws into the left side of the back and into the bottom of the battery compartment, where the door spring used to be. Be sure to press down on the back while pre-drilling the holes. | 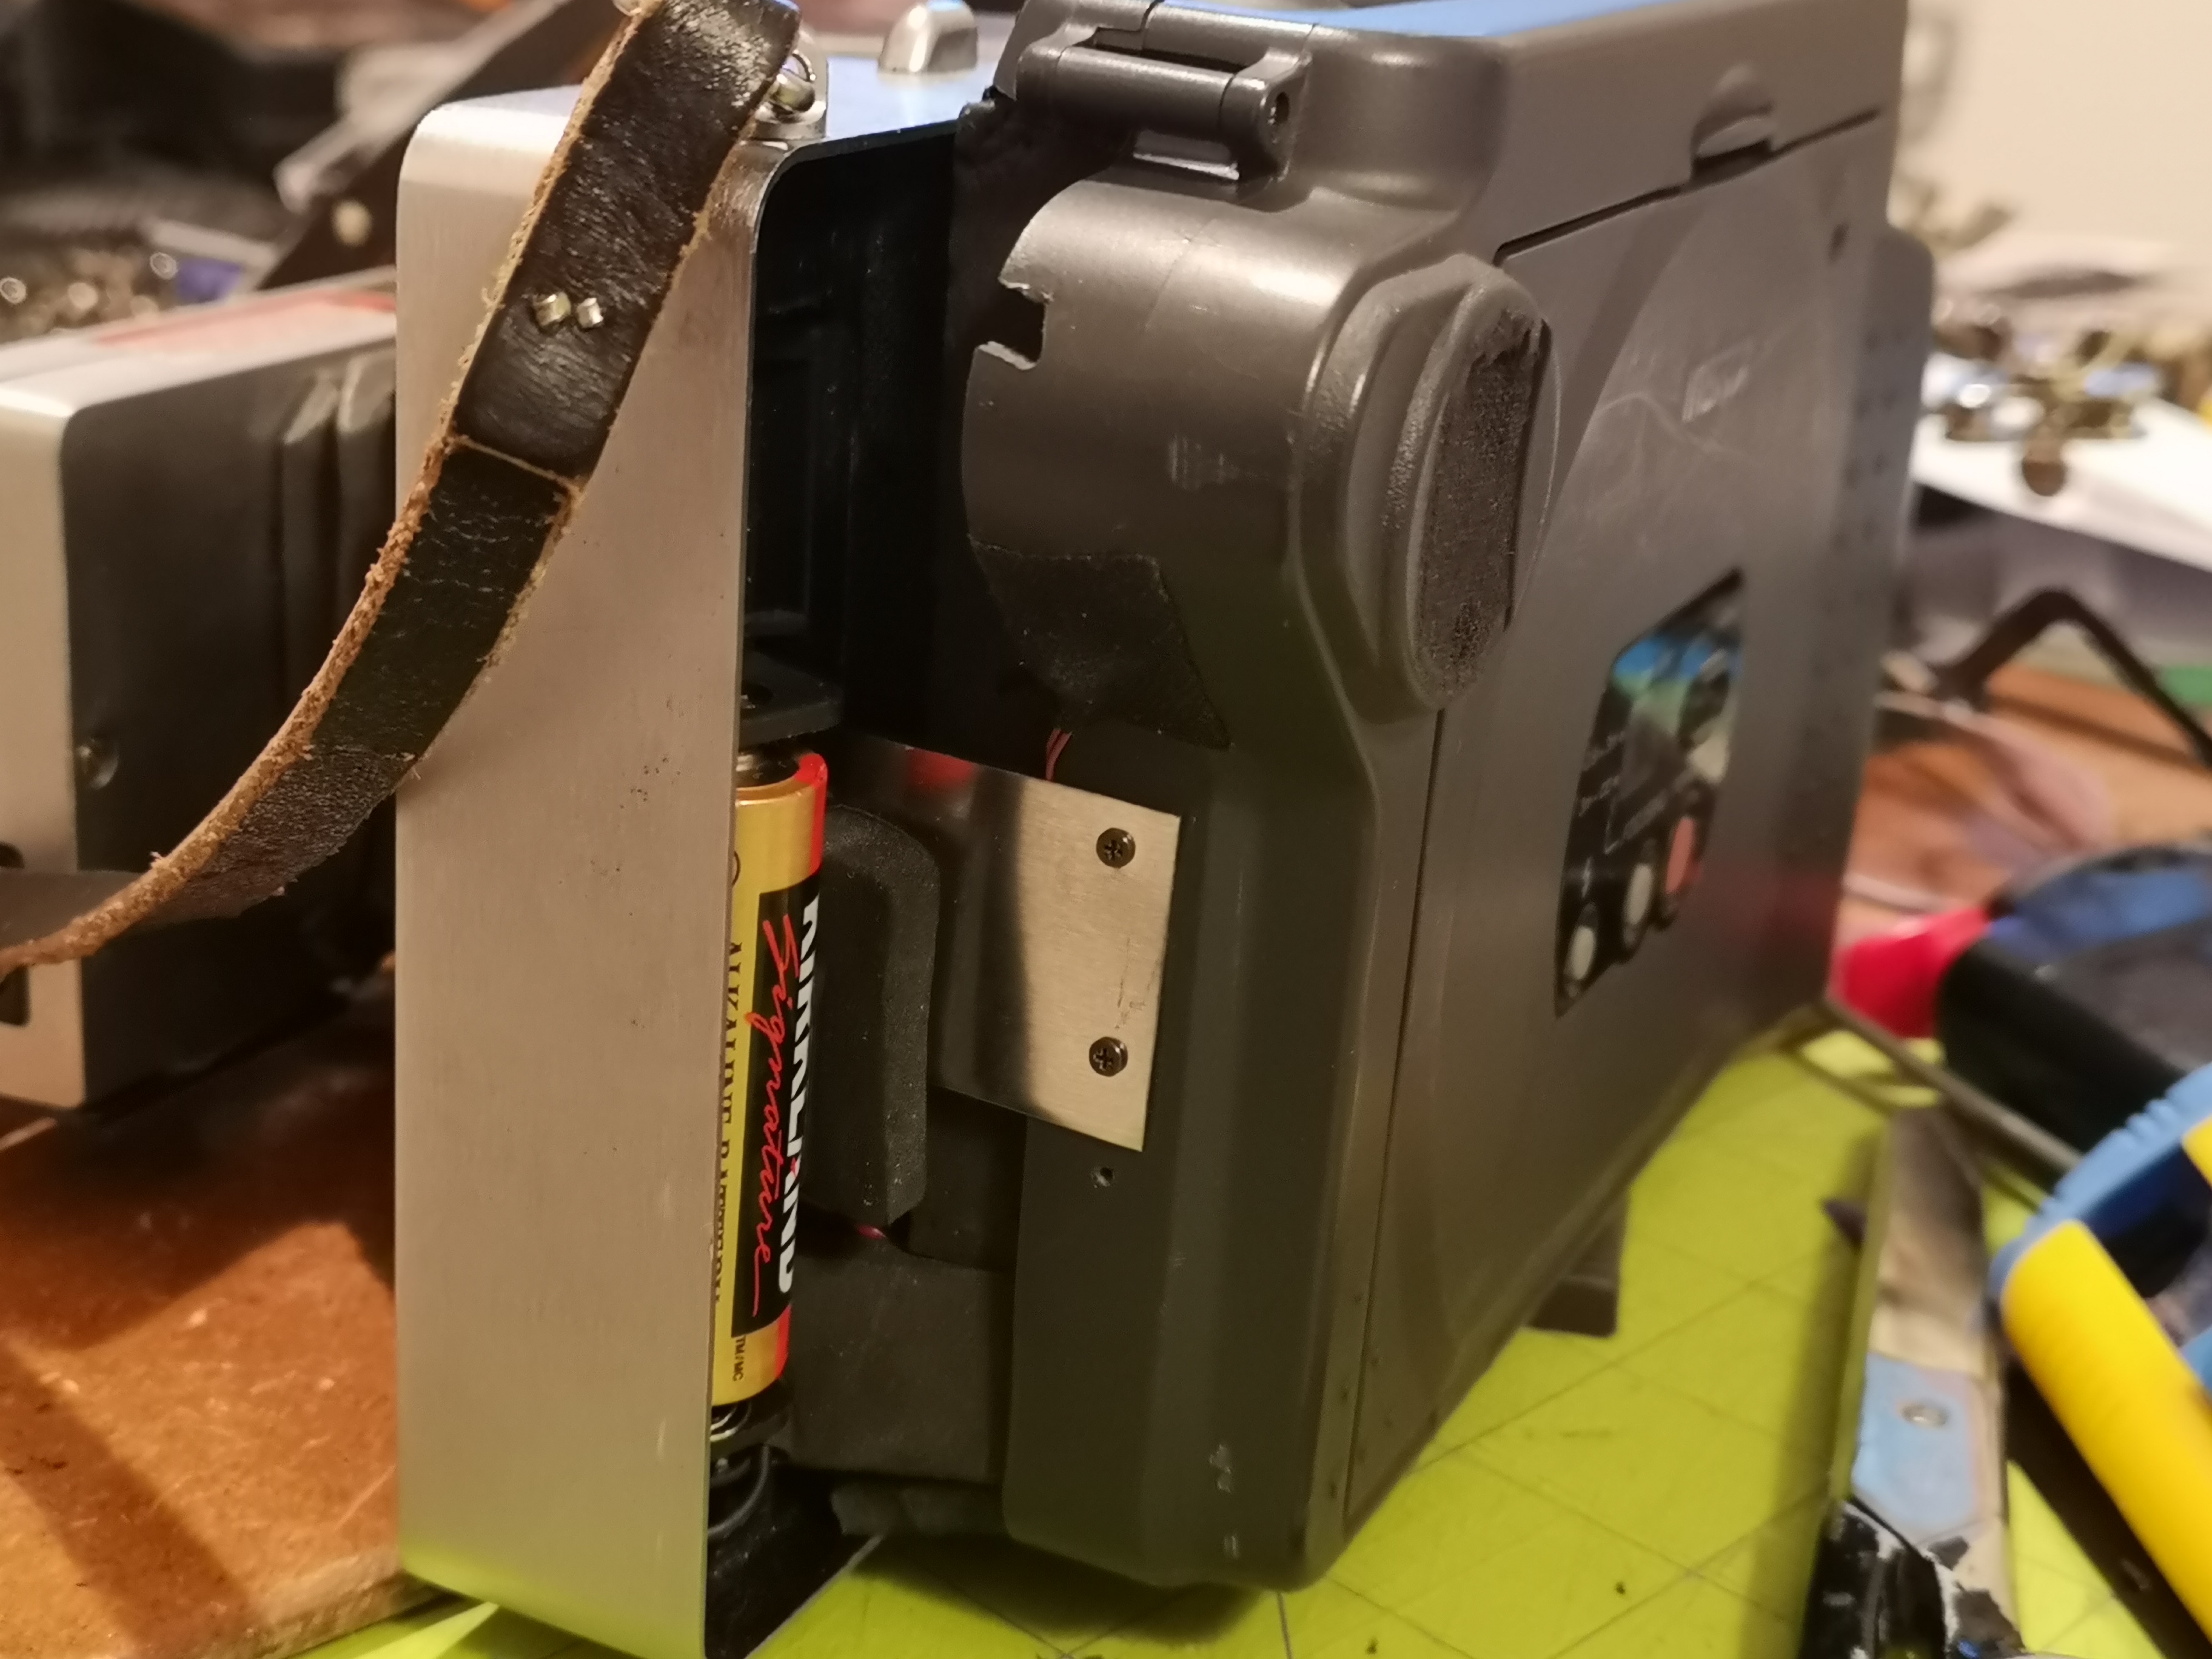
|
| The last mount is on the bottom. Screw the metal tab into the camera first, then into the Instax wide back while pressing down. | 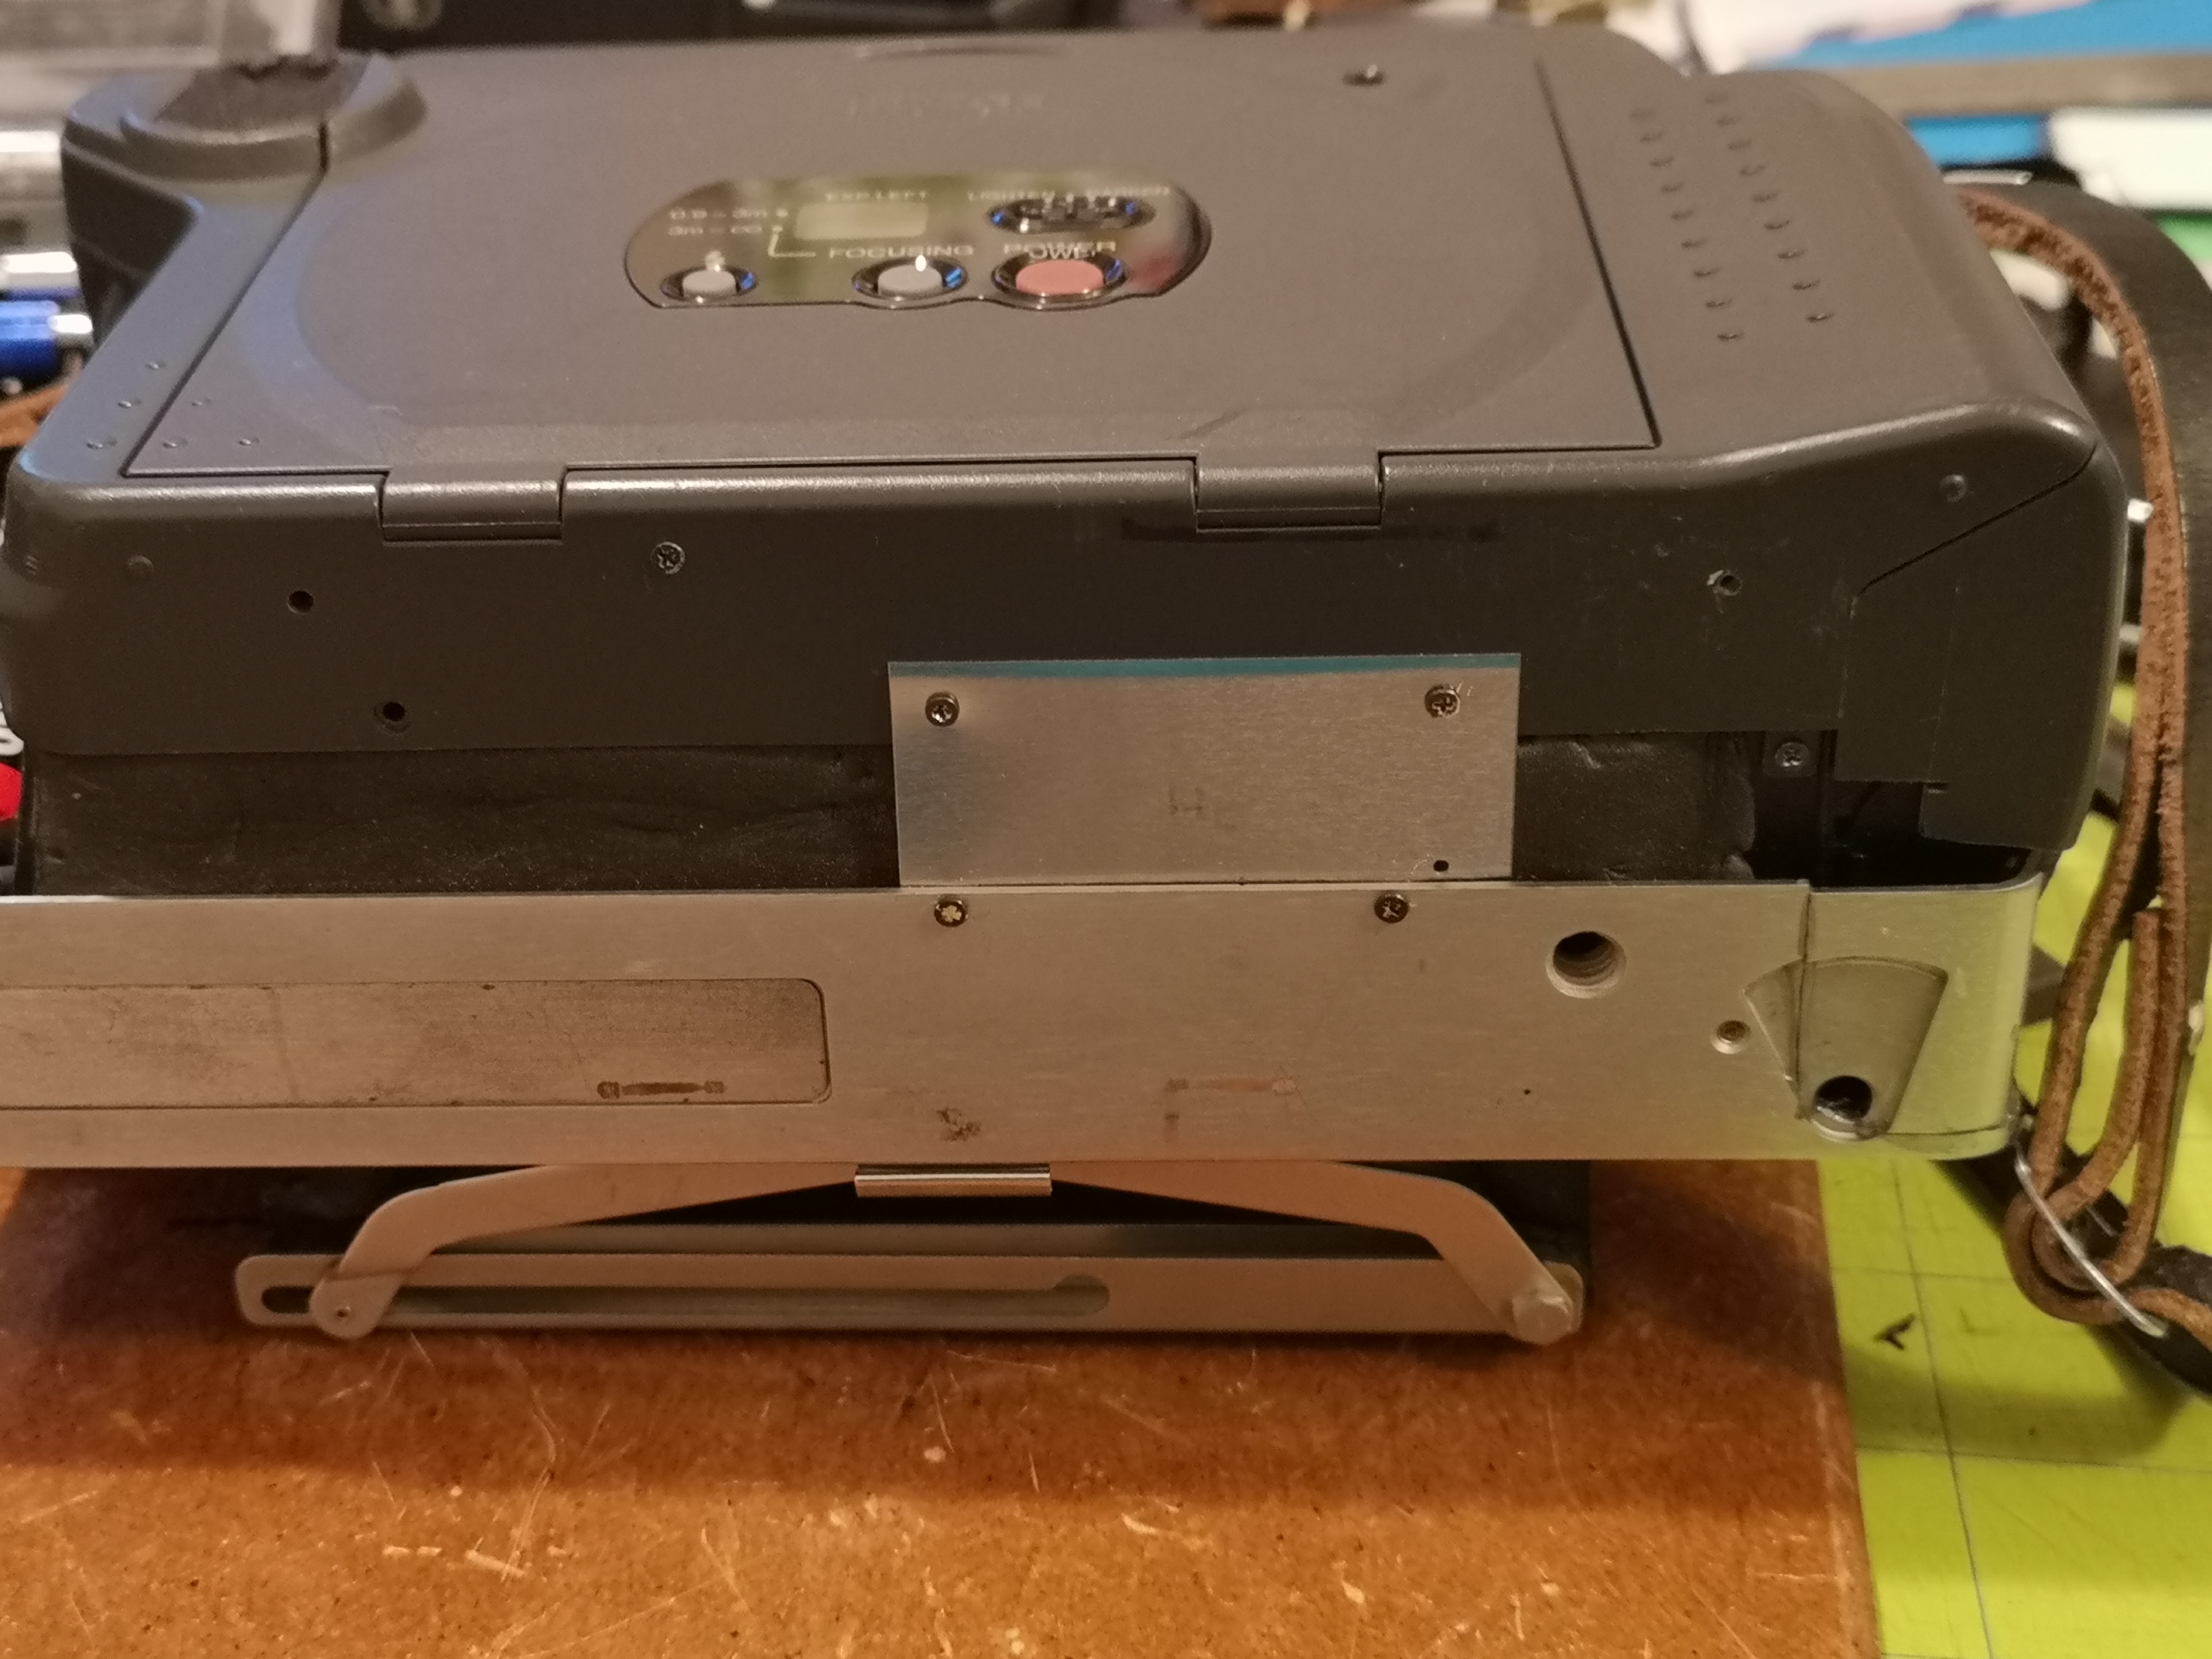
|
| Remove the rangefinder, then glue the focus tab extender onto the focus tab. | 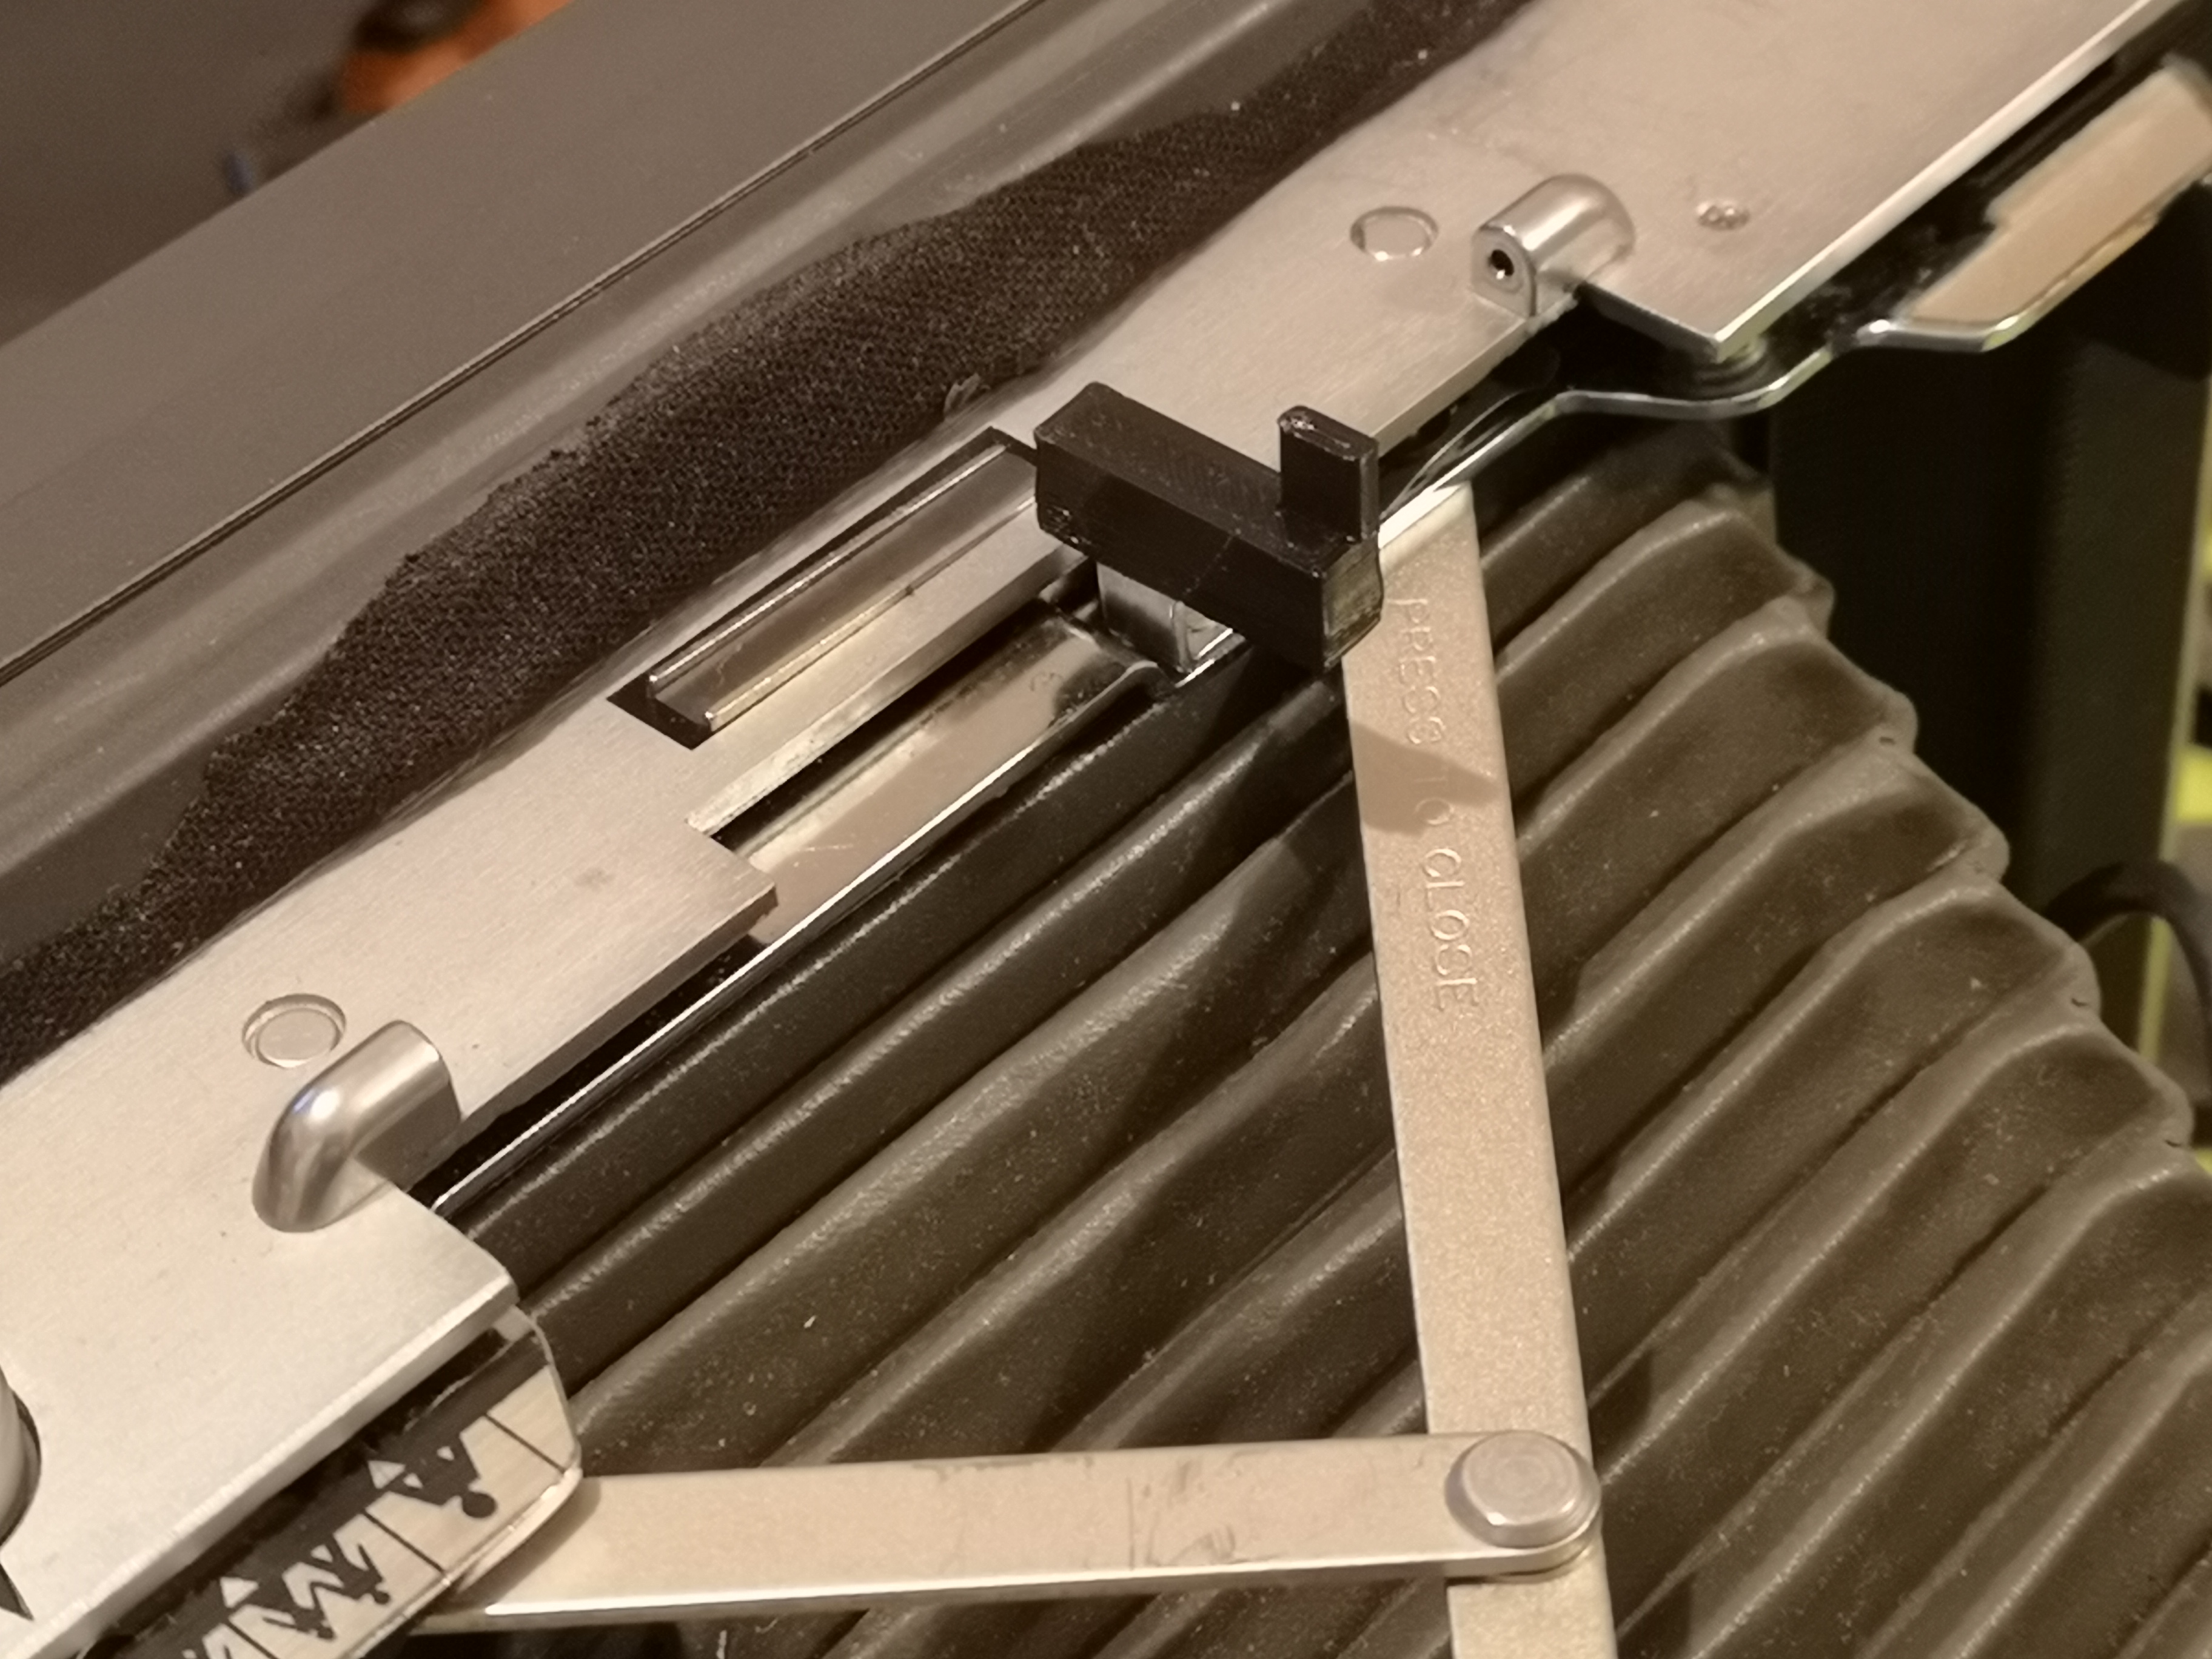
|
| Mount the rangefinder onto the rangefinder platform and while moving the rangefinder cam over to the left, mount it where the rangefinder used to be. I ended up screwing it into place. I also ended up putting a small magnet onto the platform so the rangefinder would stay up and in place. Check to be sure that focusing operates the rangefinder correctly. | 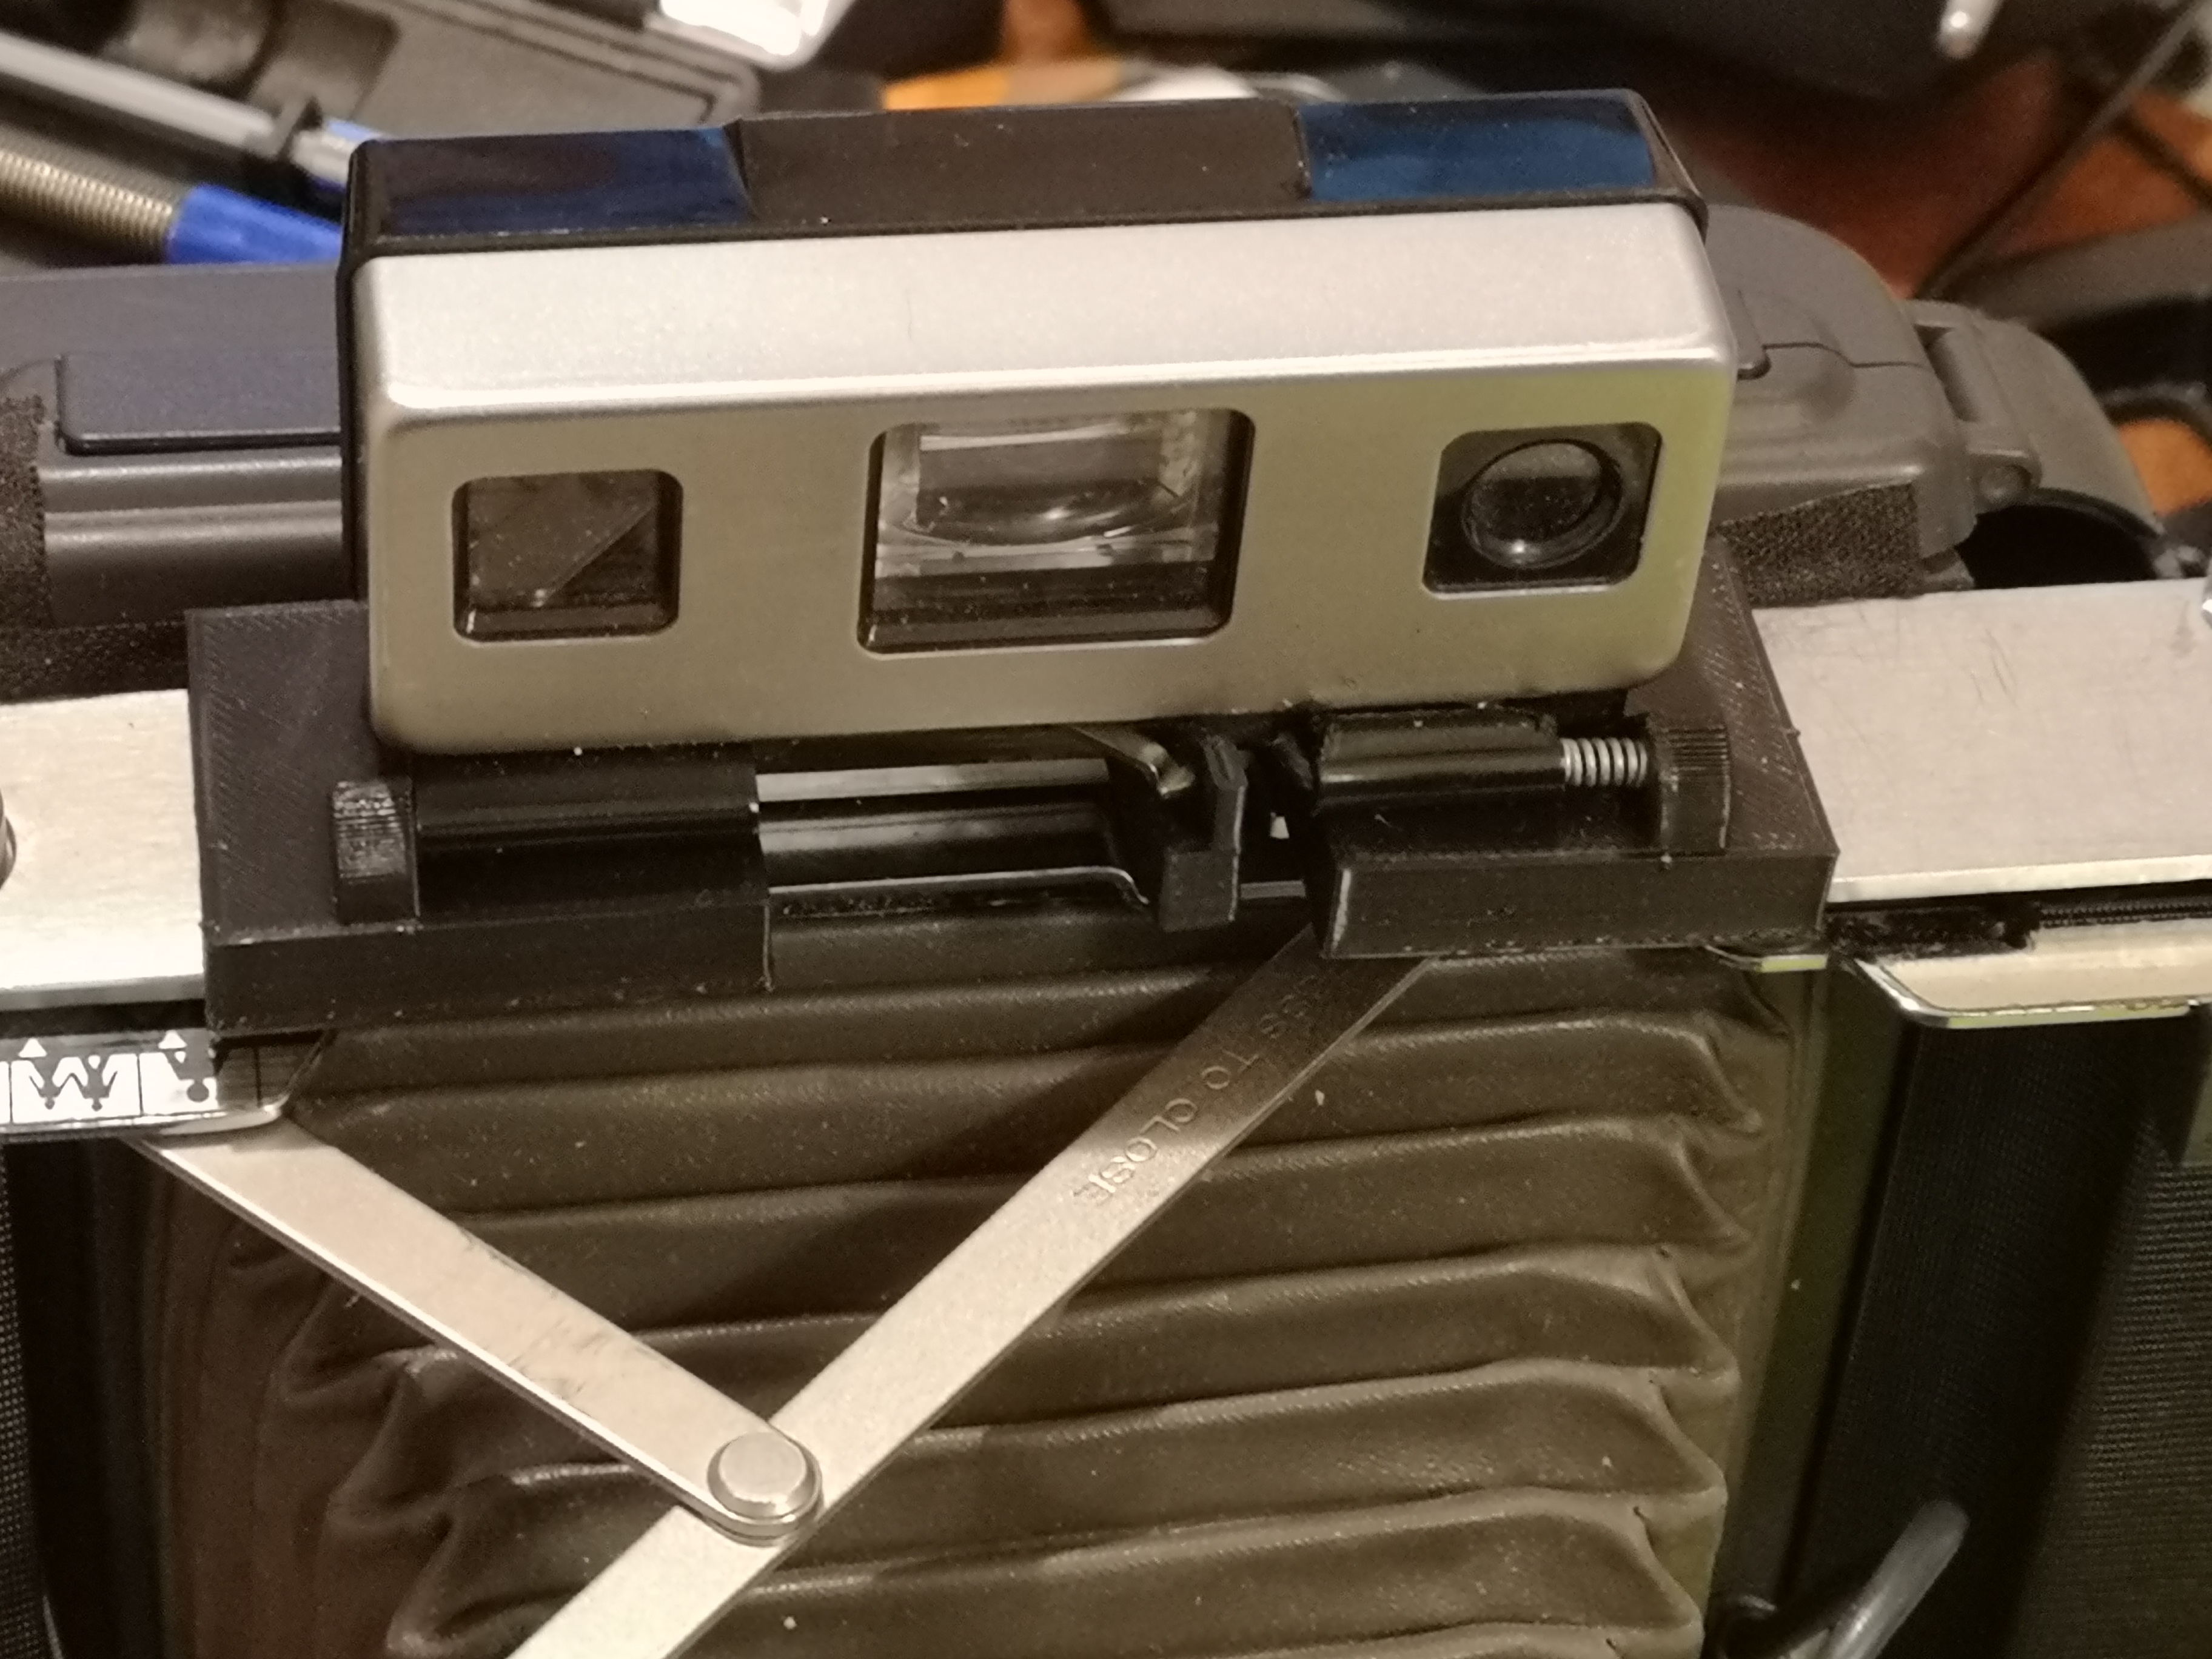
|
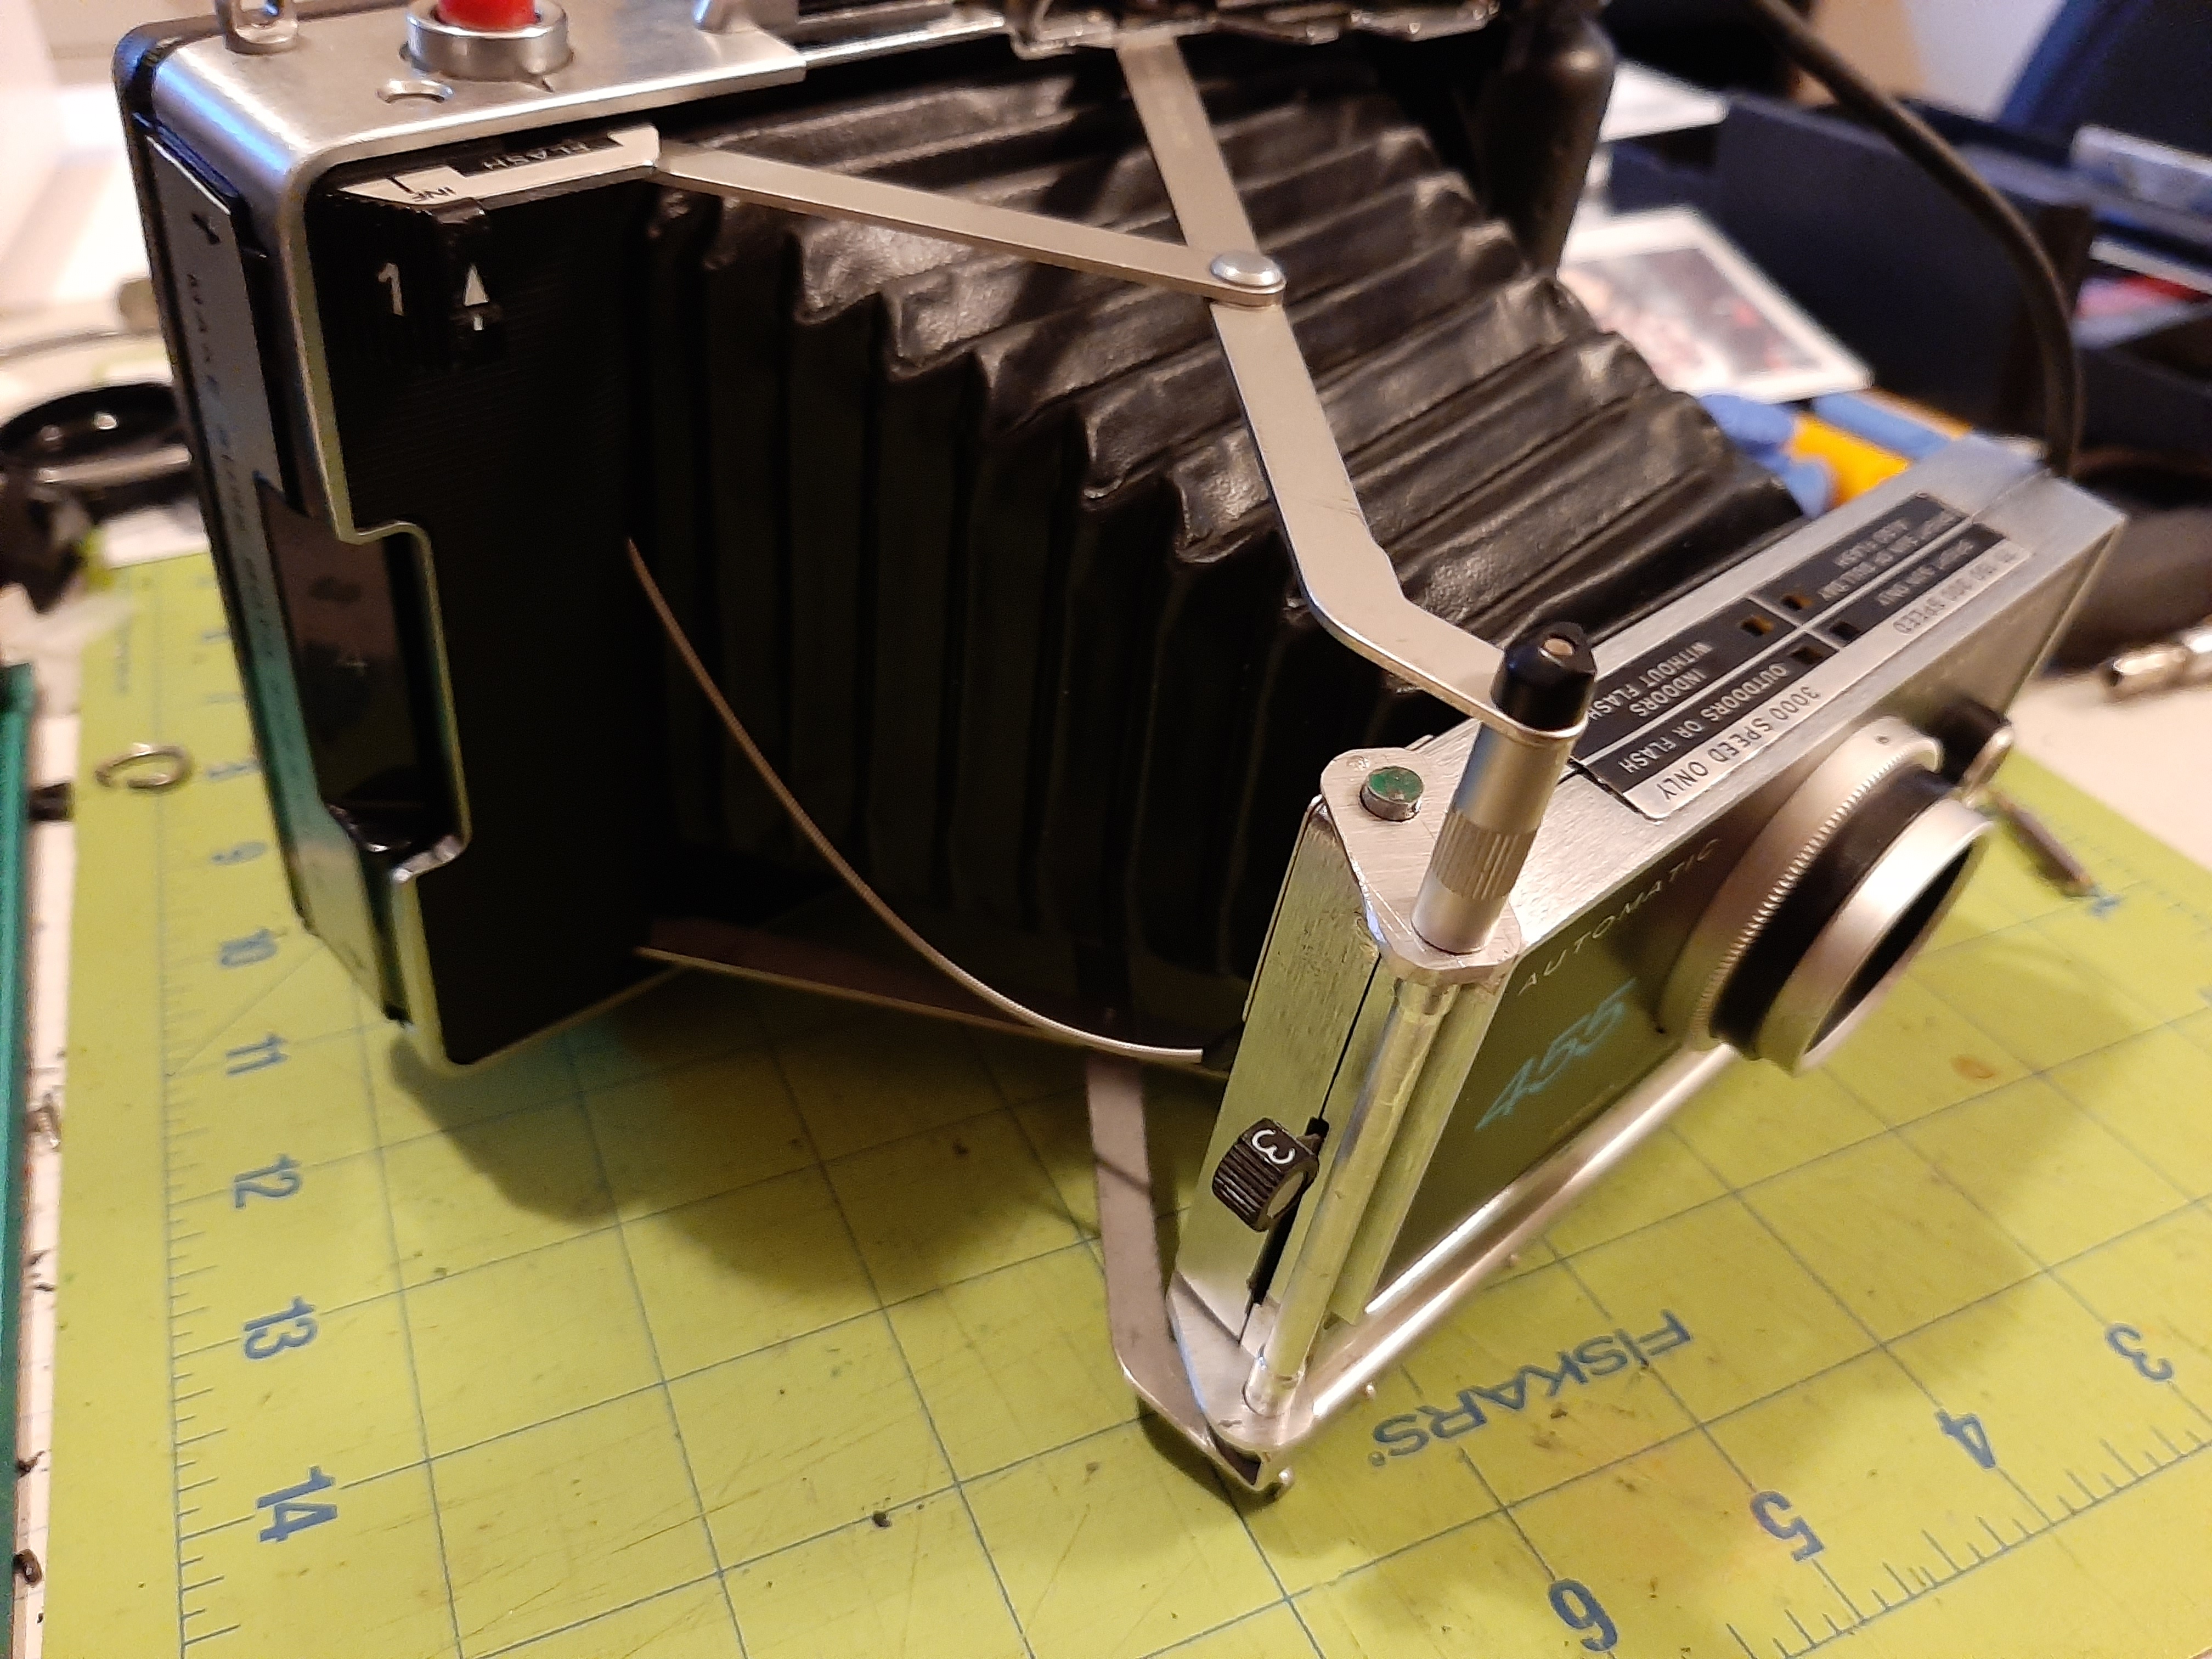
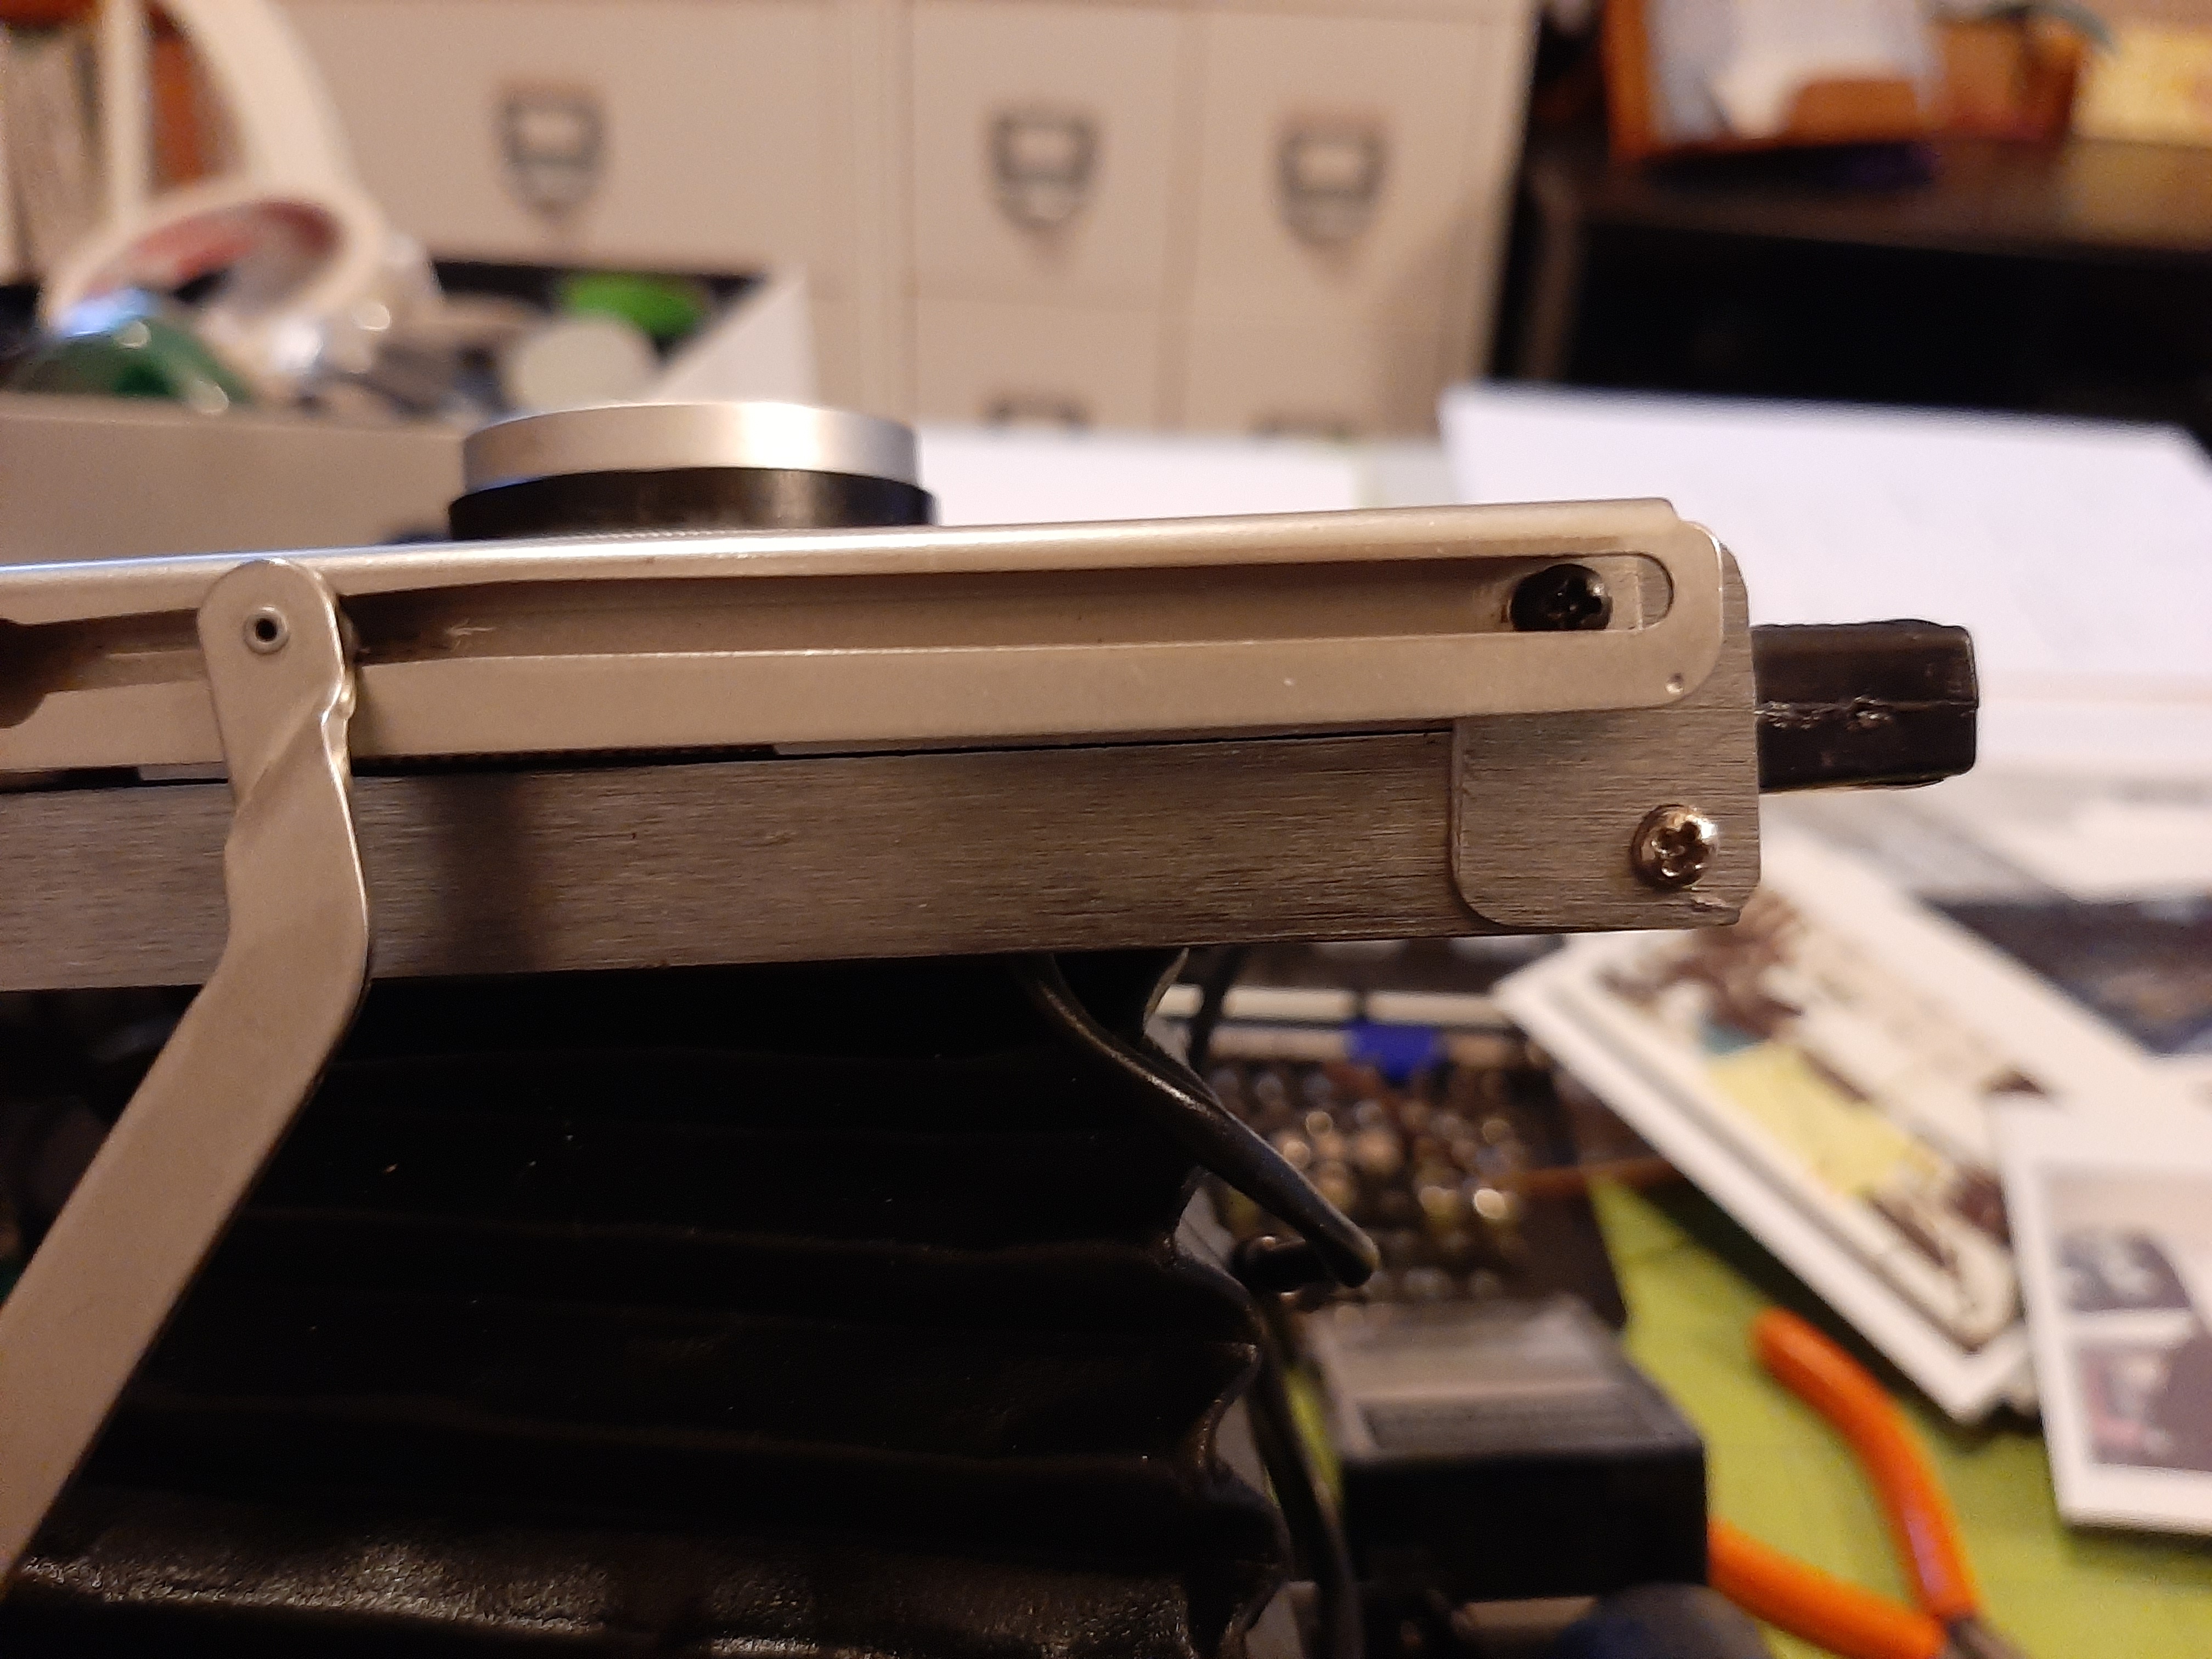
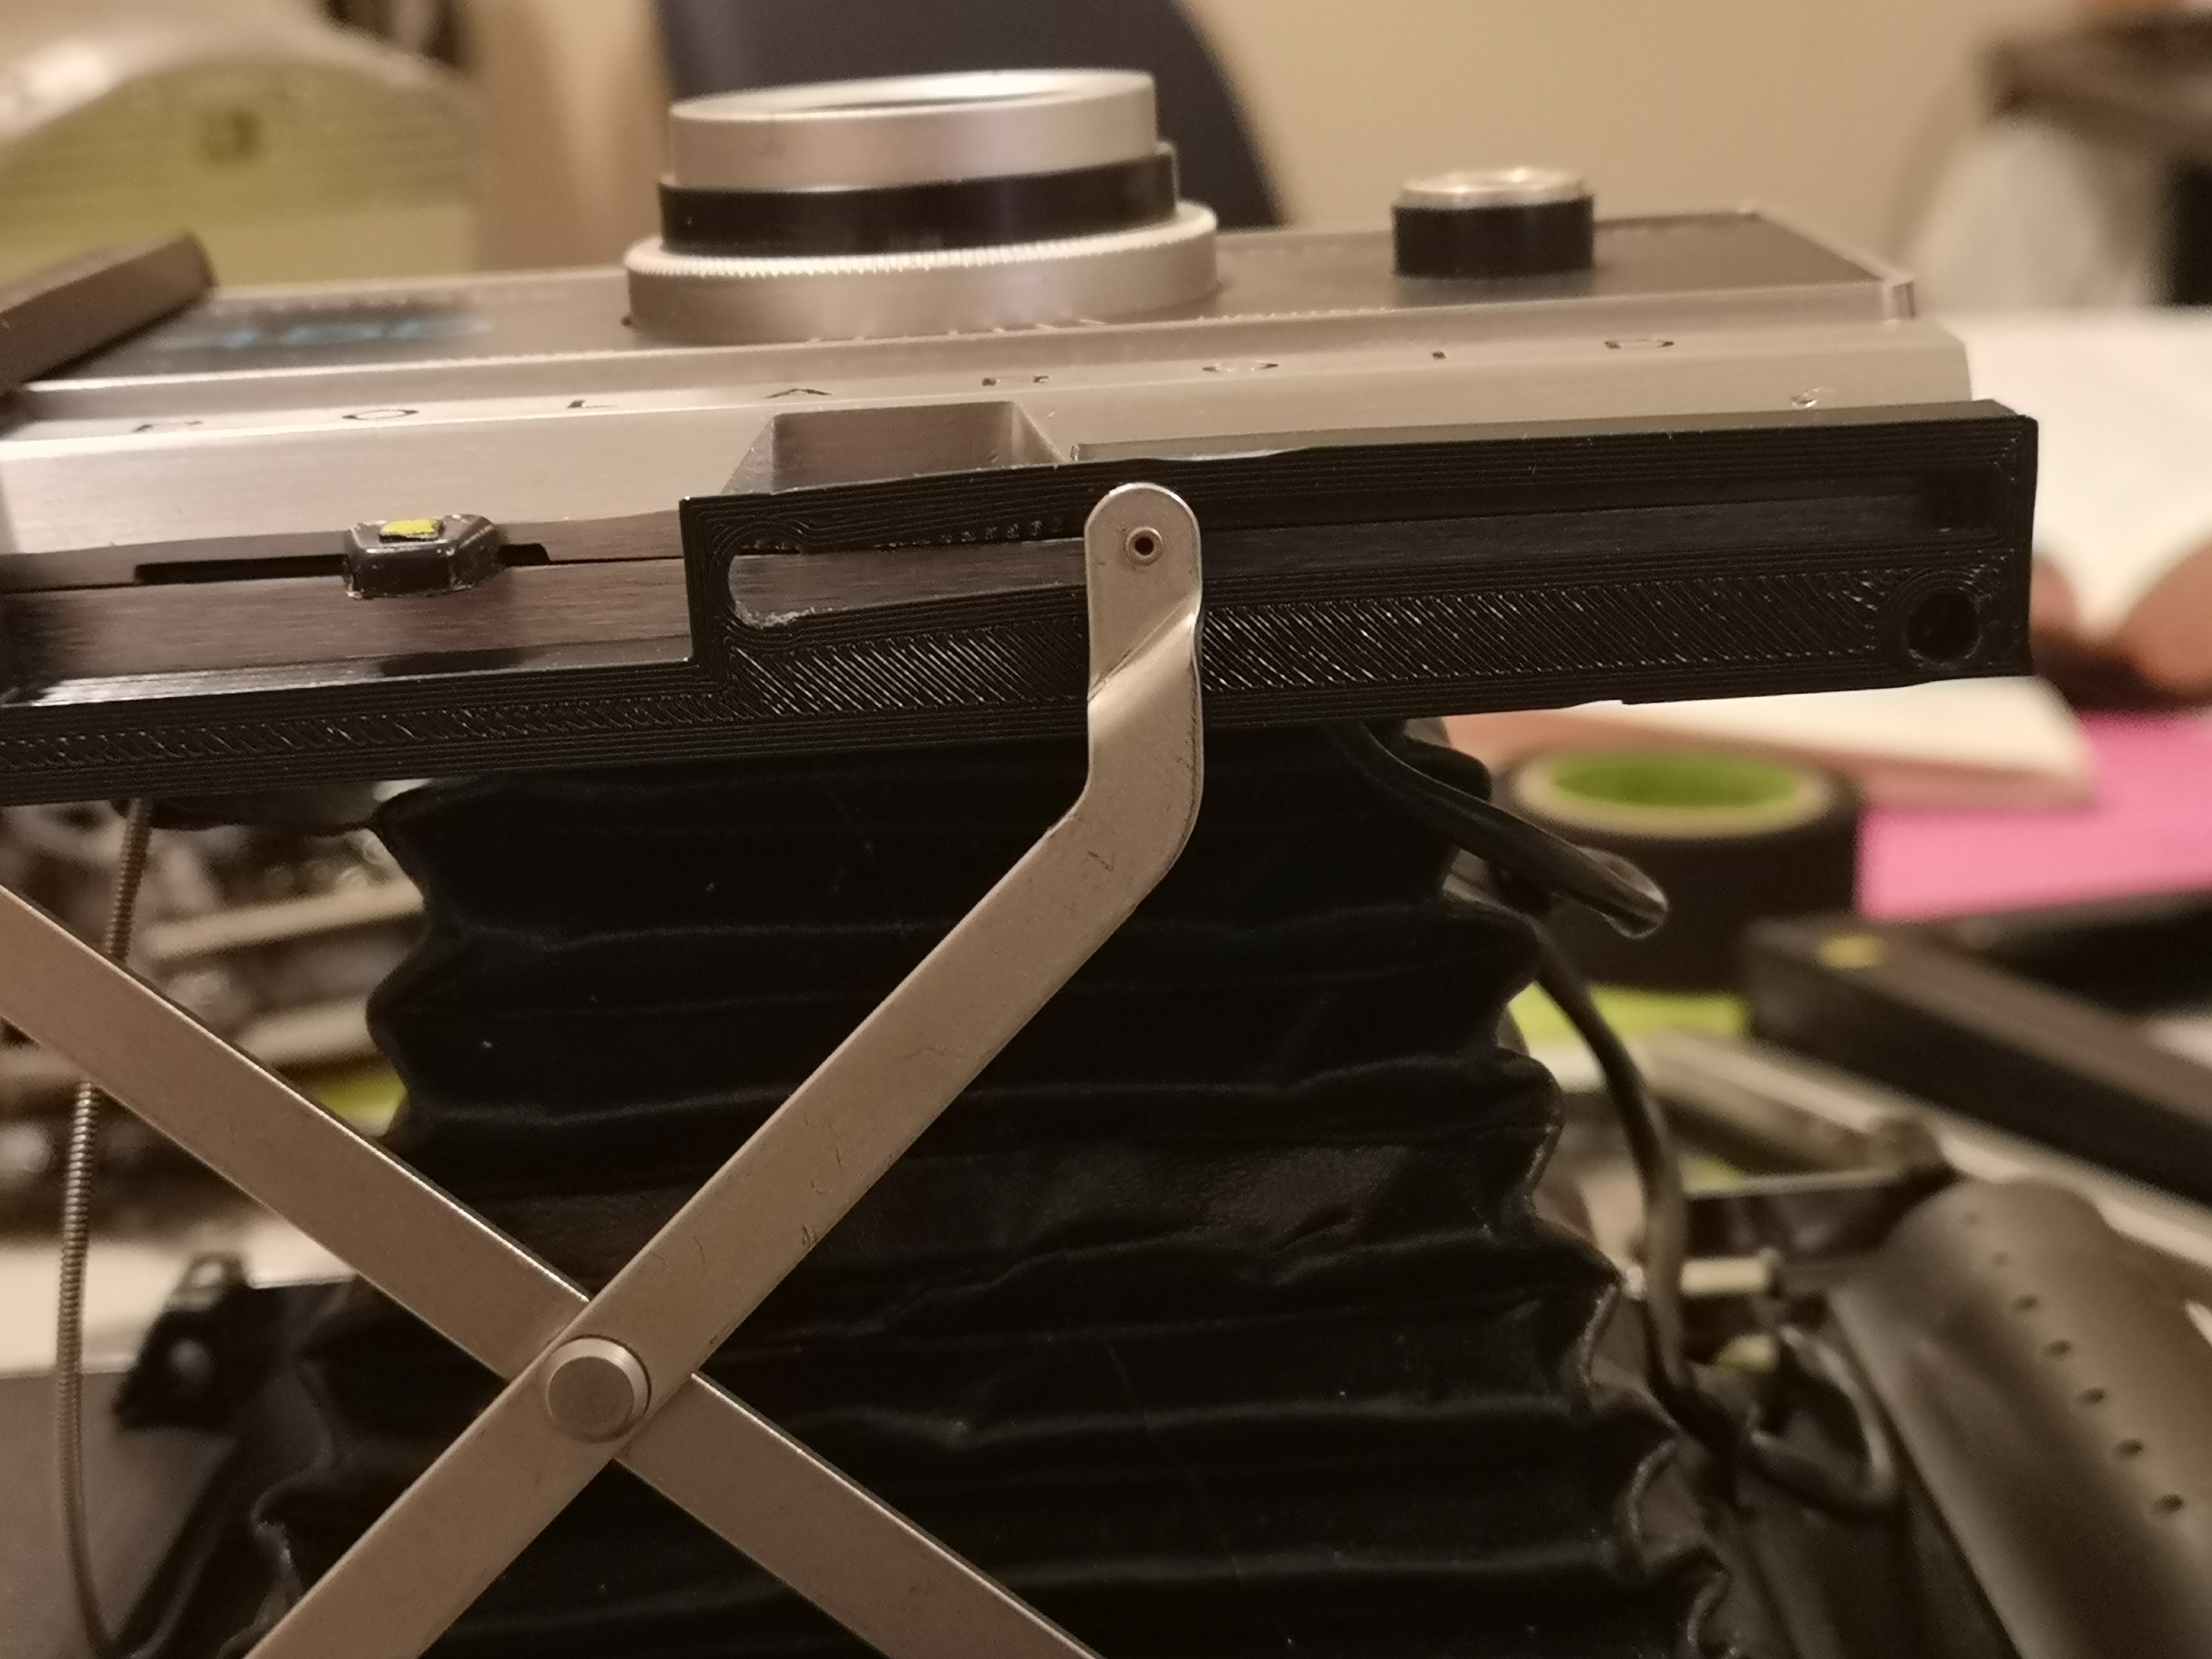
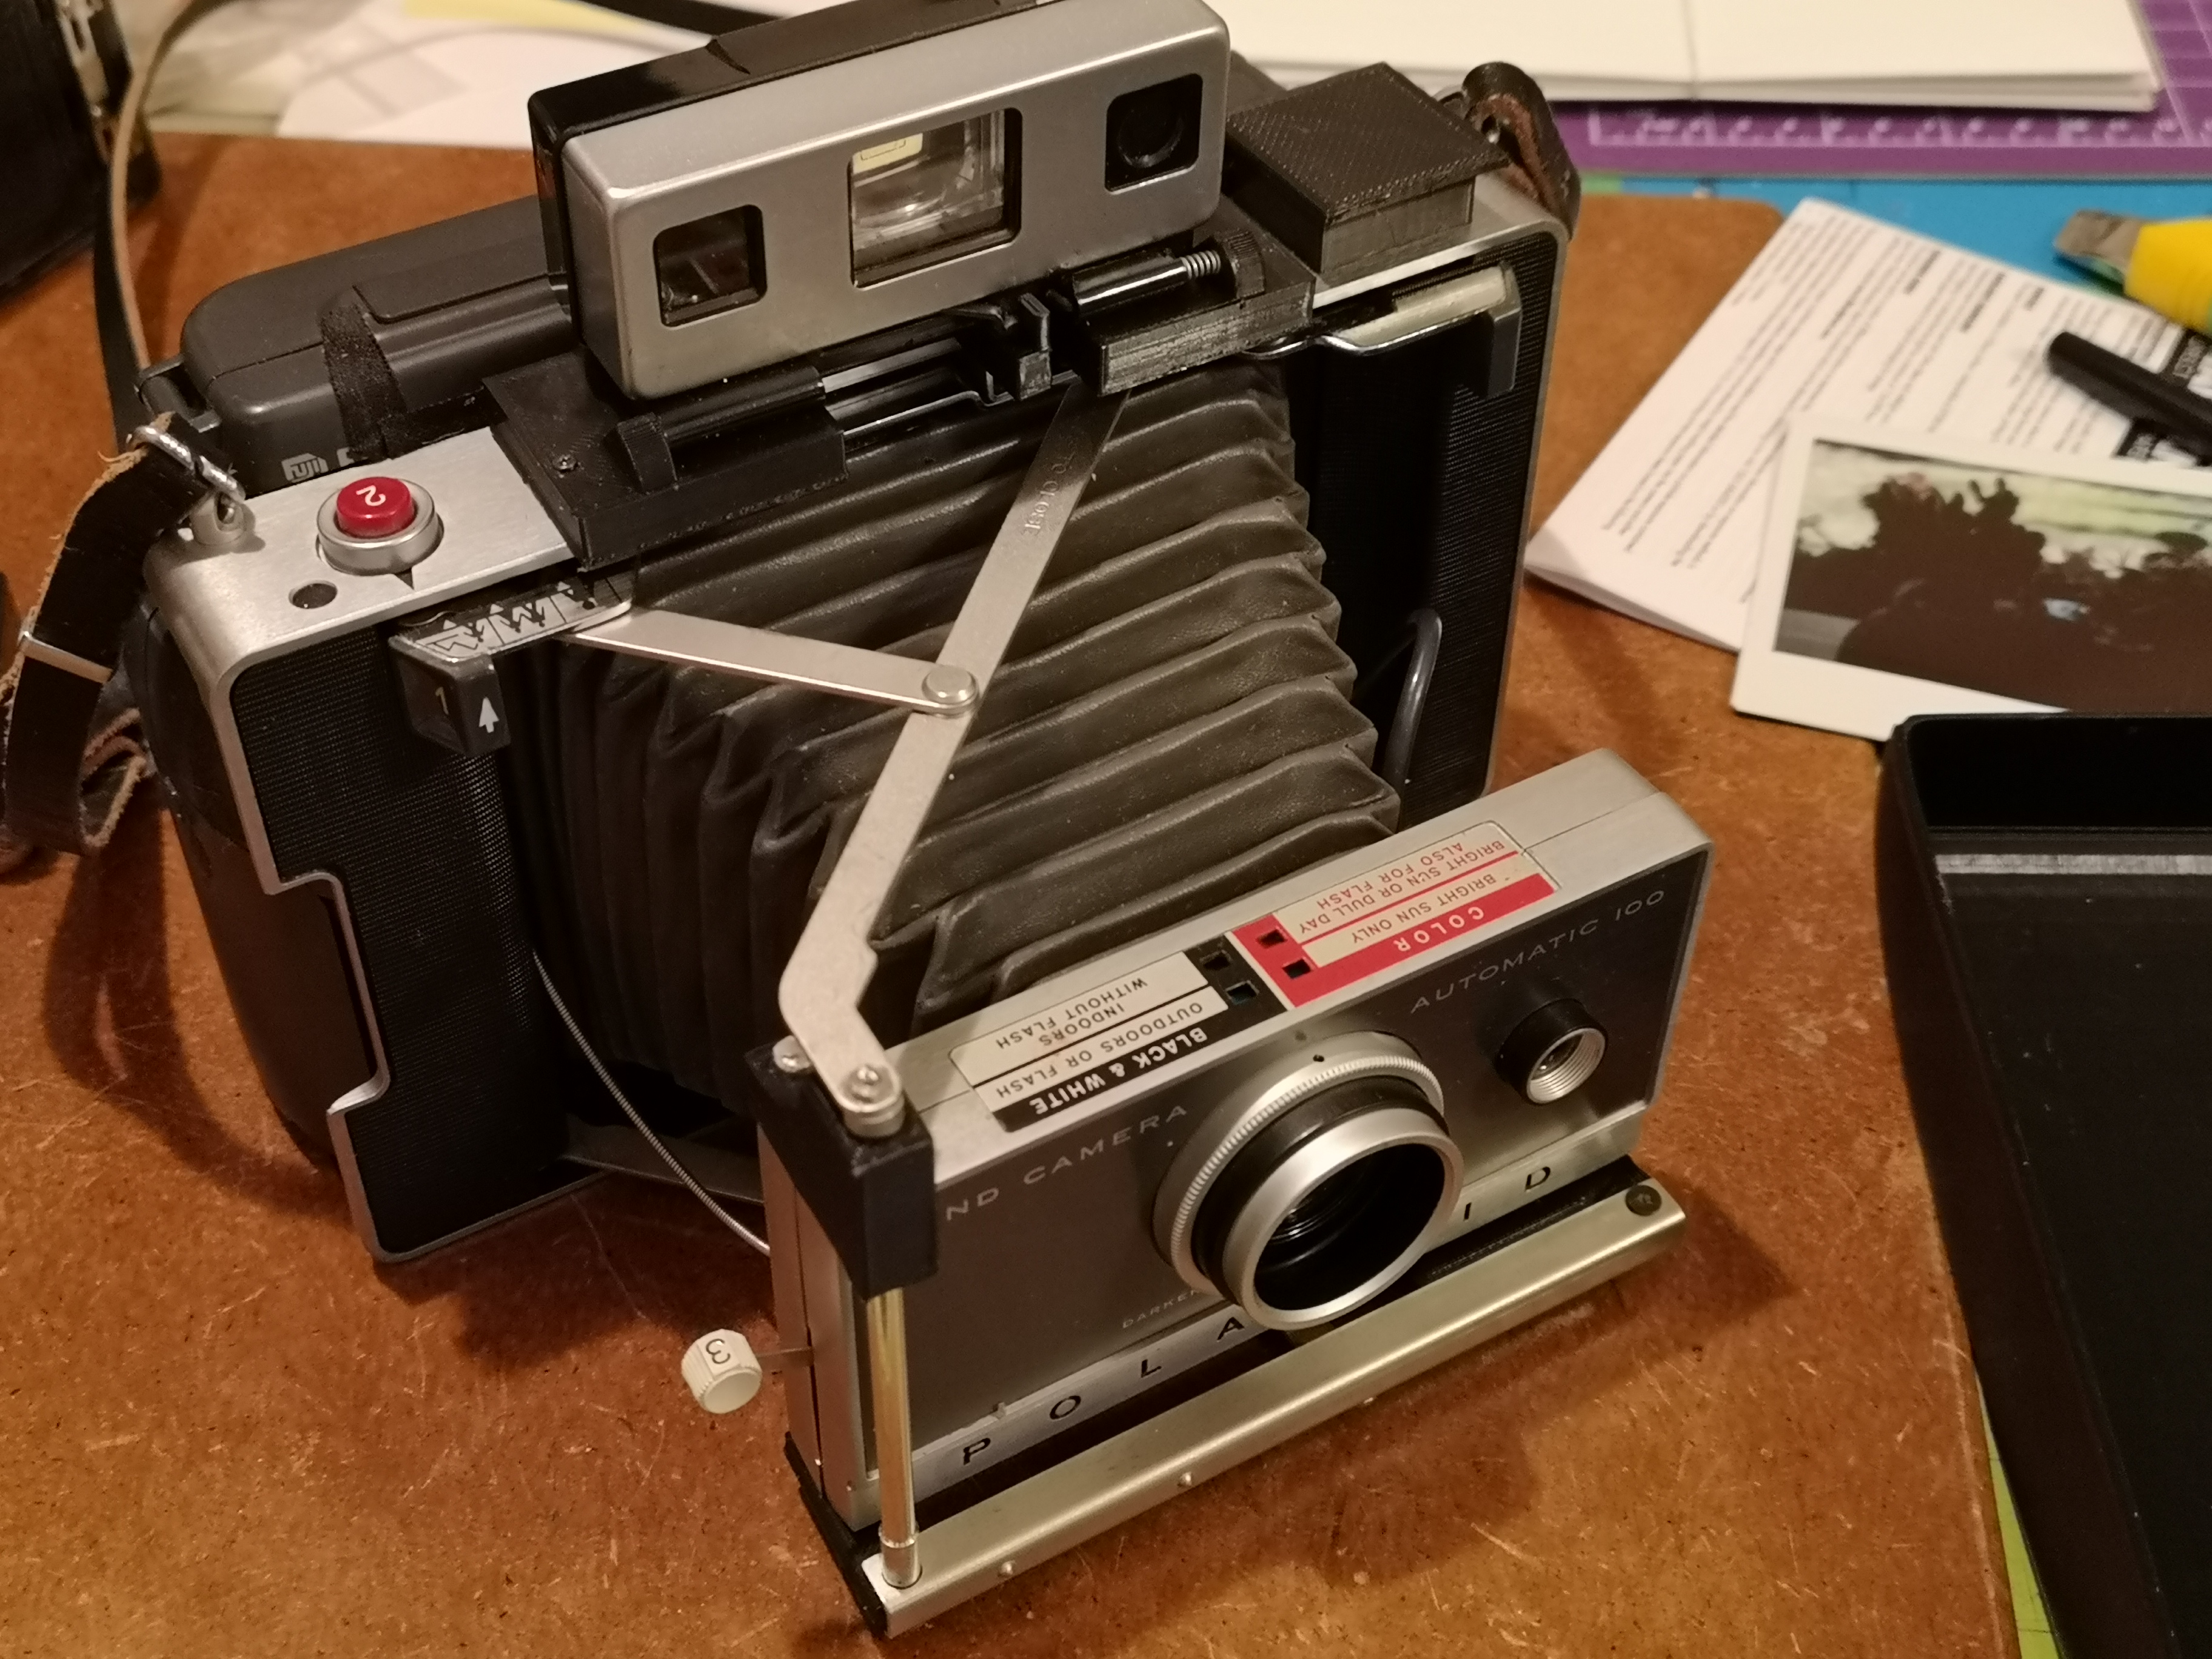
| Mount the 21mm lens offset struts to the lens body with a 3/16" rod, then attach the scissors to the struts. | 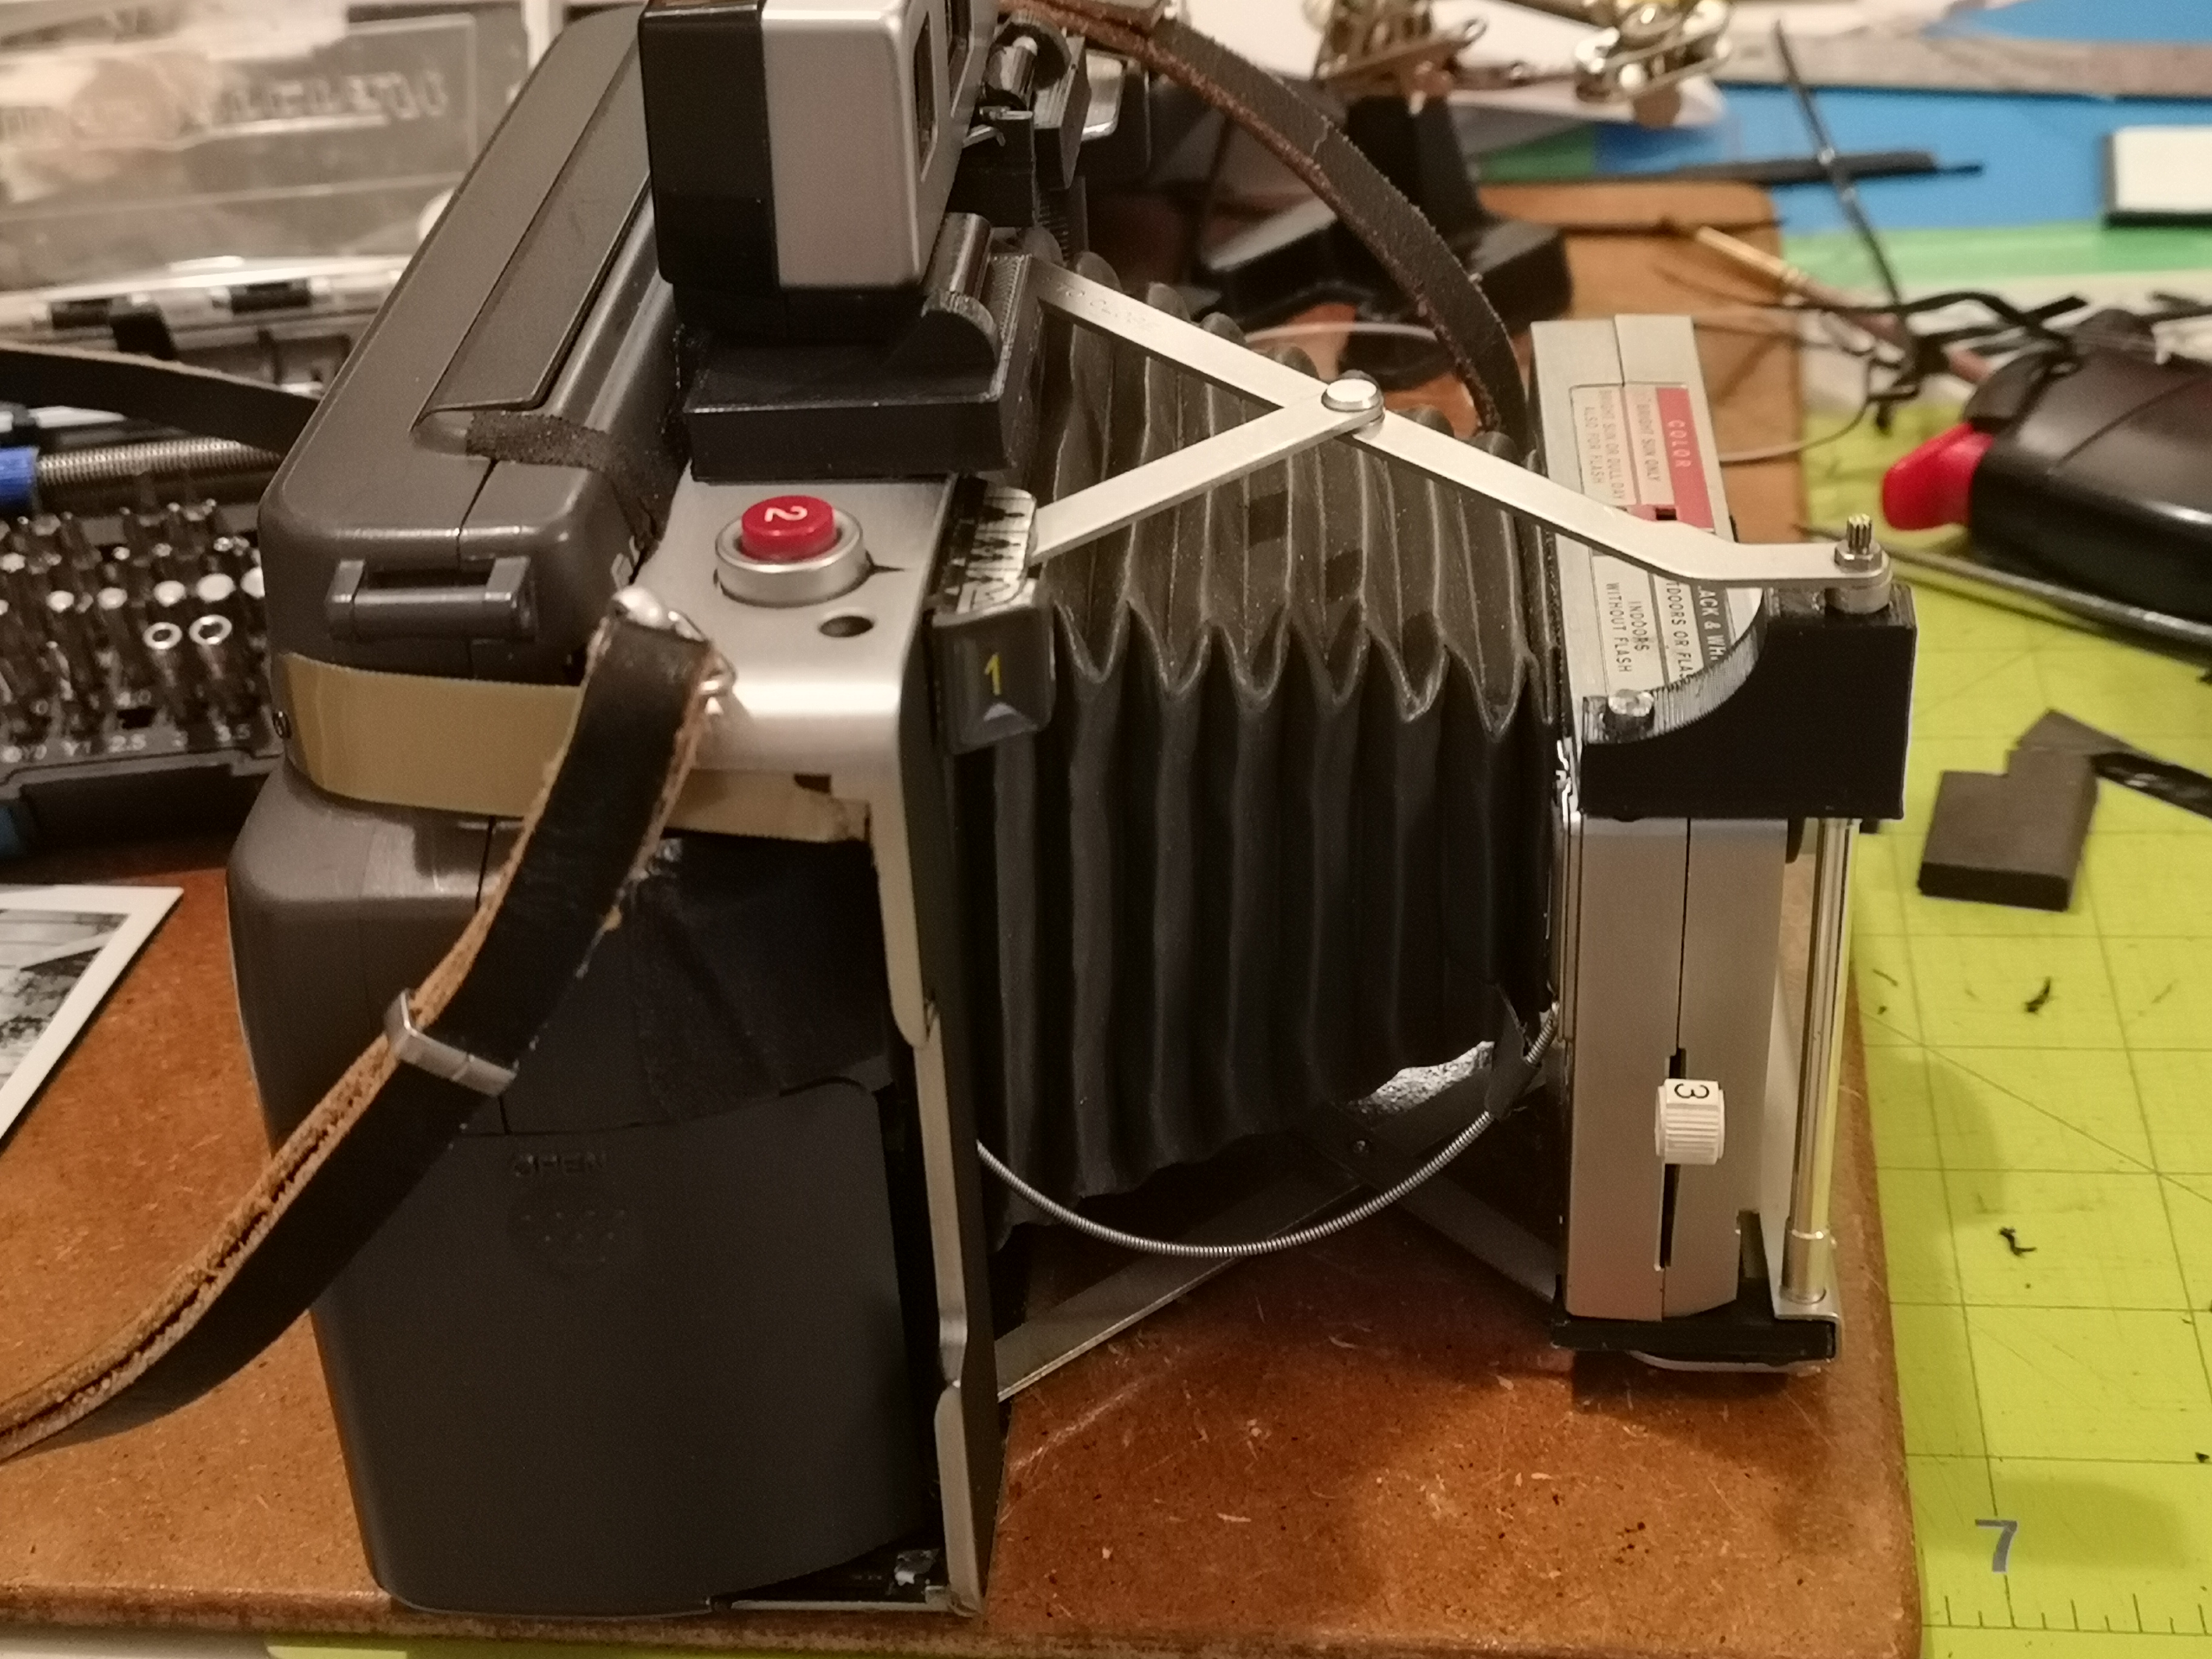
|
| Mount the right strut to the bottom of the lens body and horizontal strut | 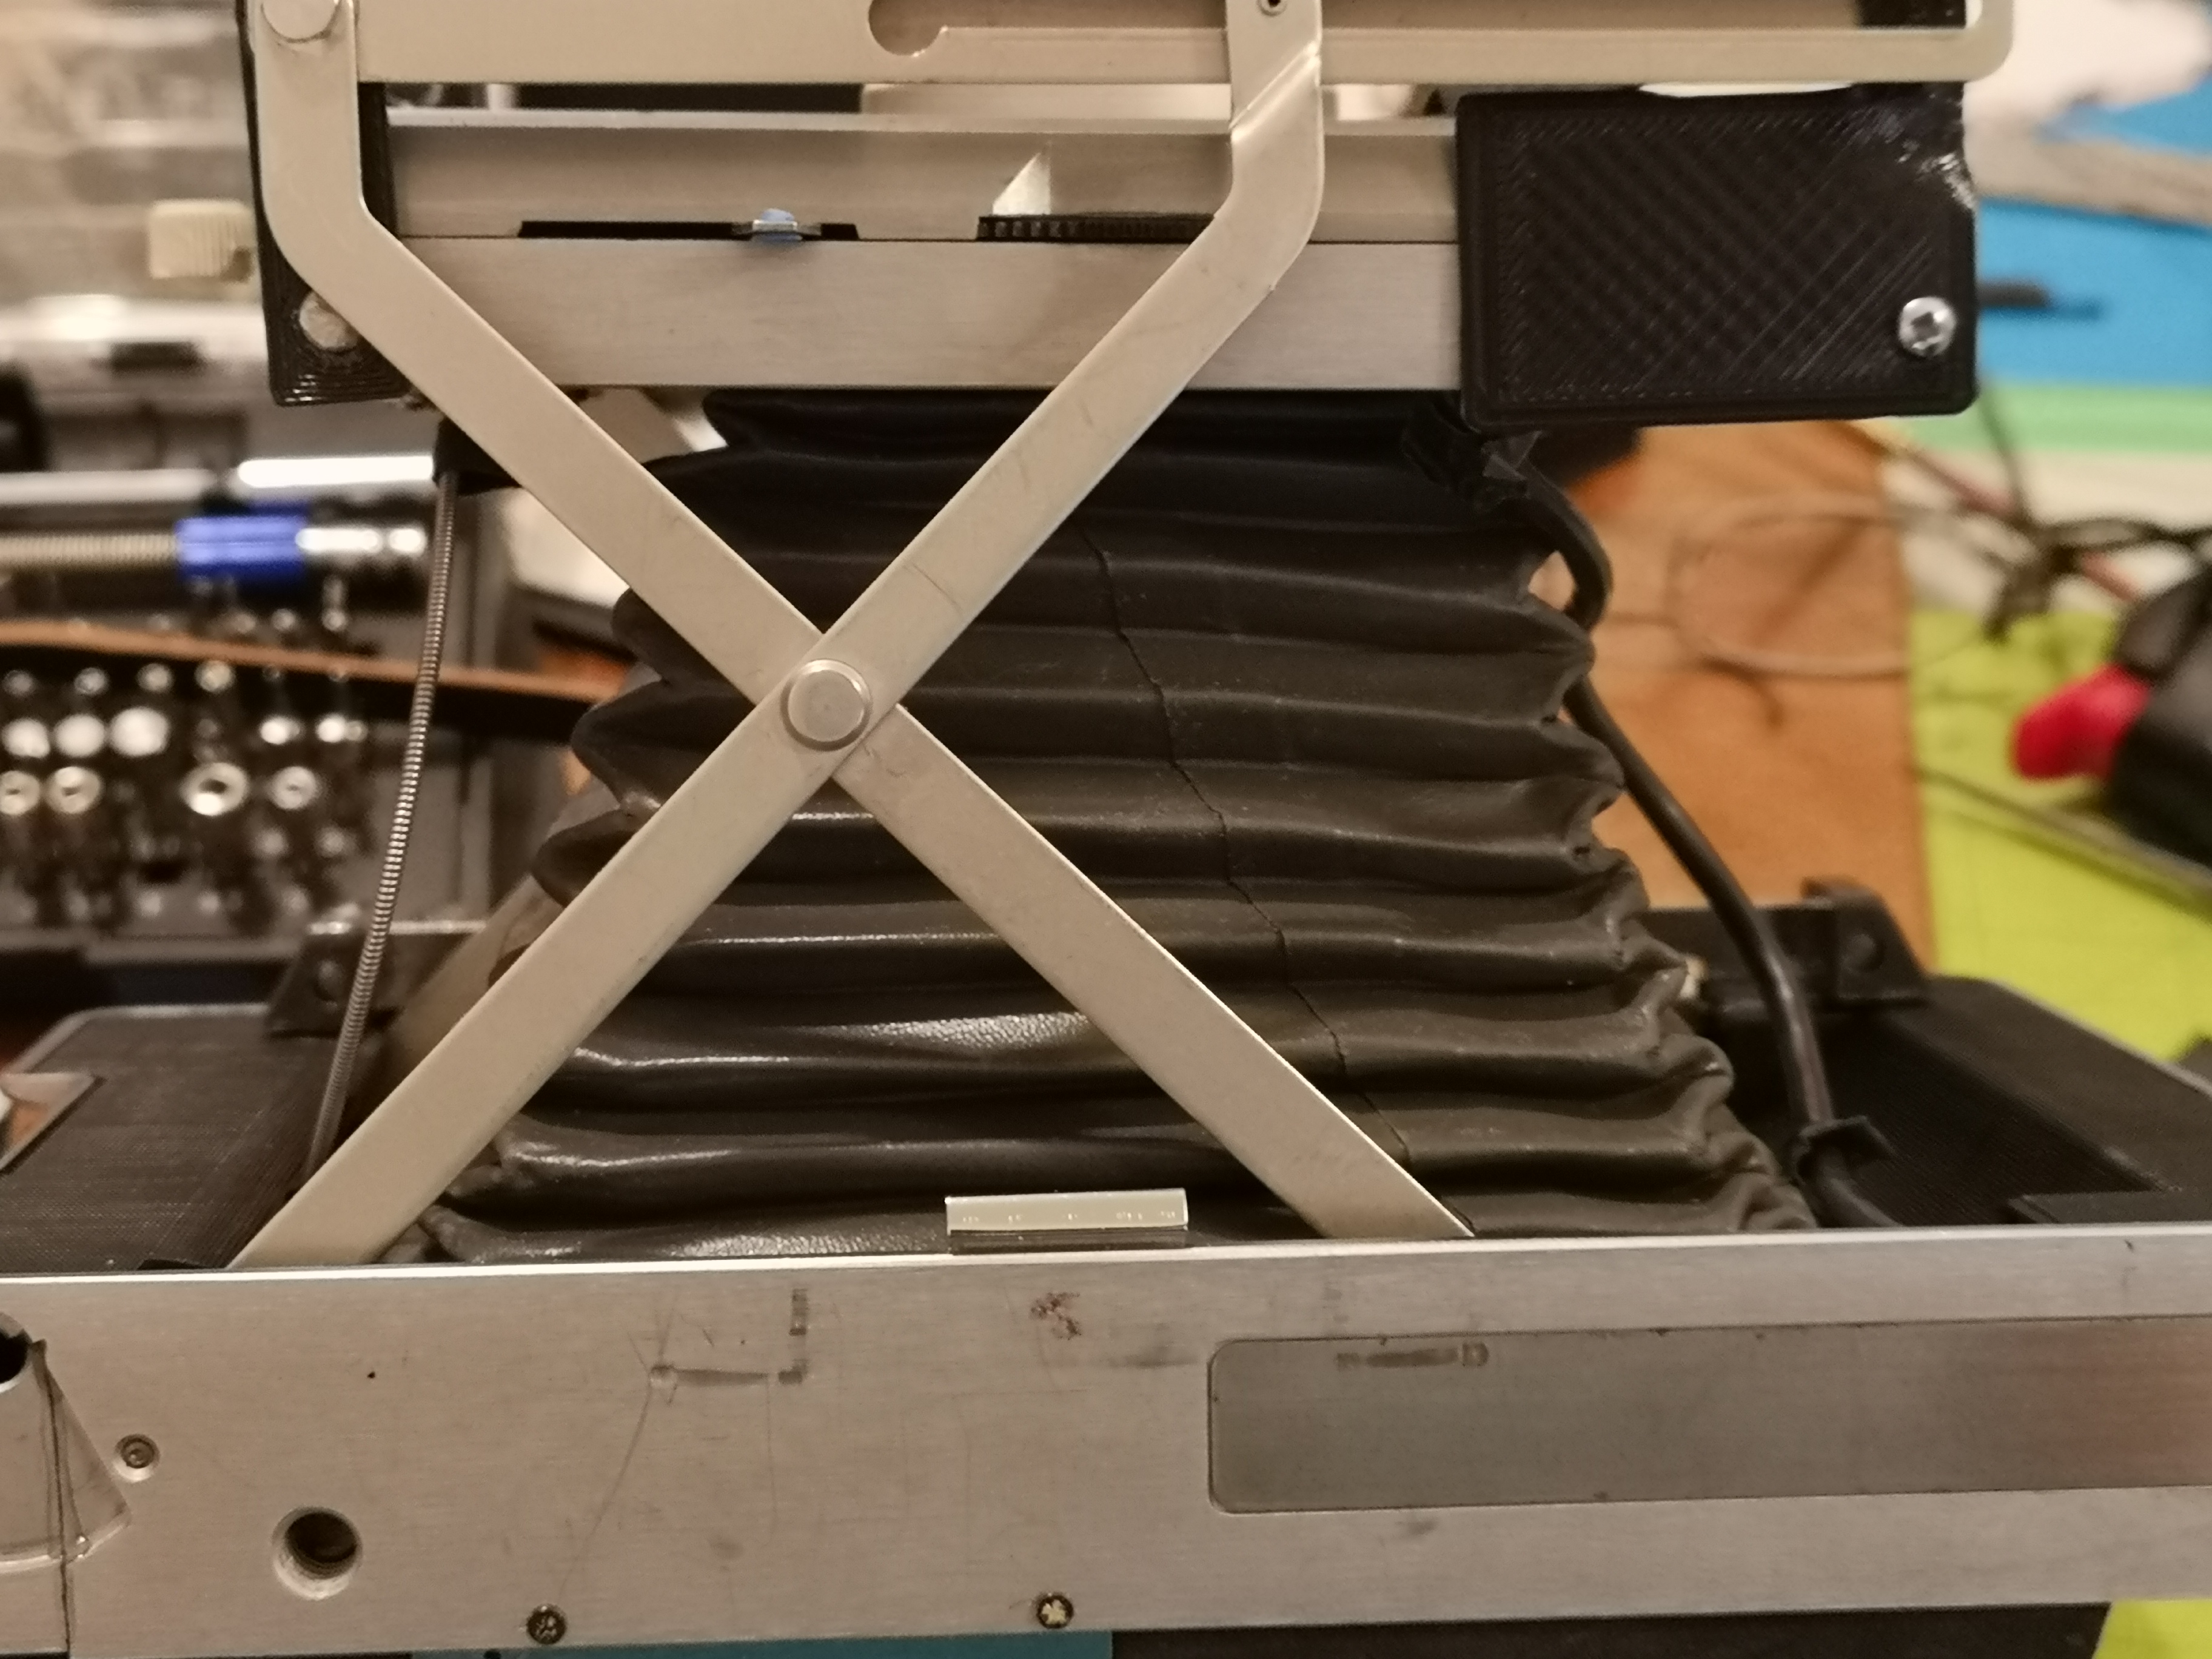
|
| Attach the single AA battery to the leads to provide 6 volts to the Instax wide back, and attach the appropriate voltage to the Polaroid camera lens circuit. Attach the eject switch in a place where it won't be activated by mistake. I placed mine under a piece of hard foam so it would be a little bit difficult to press. | 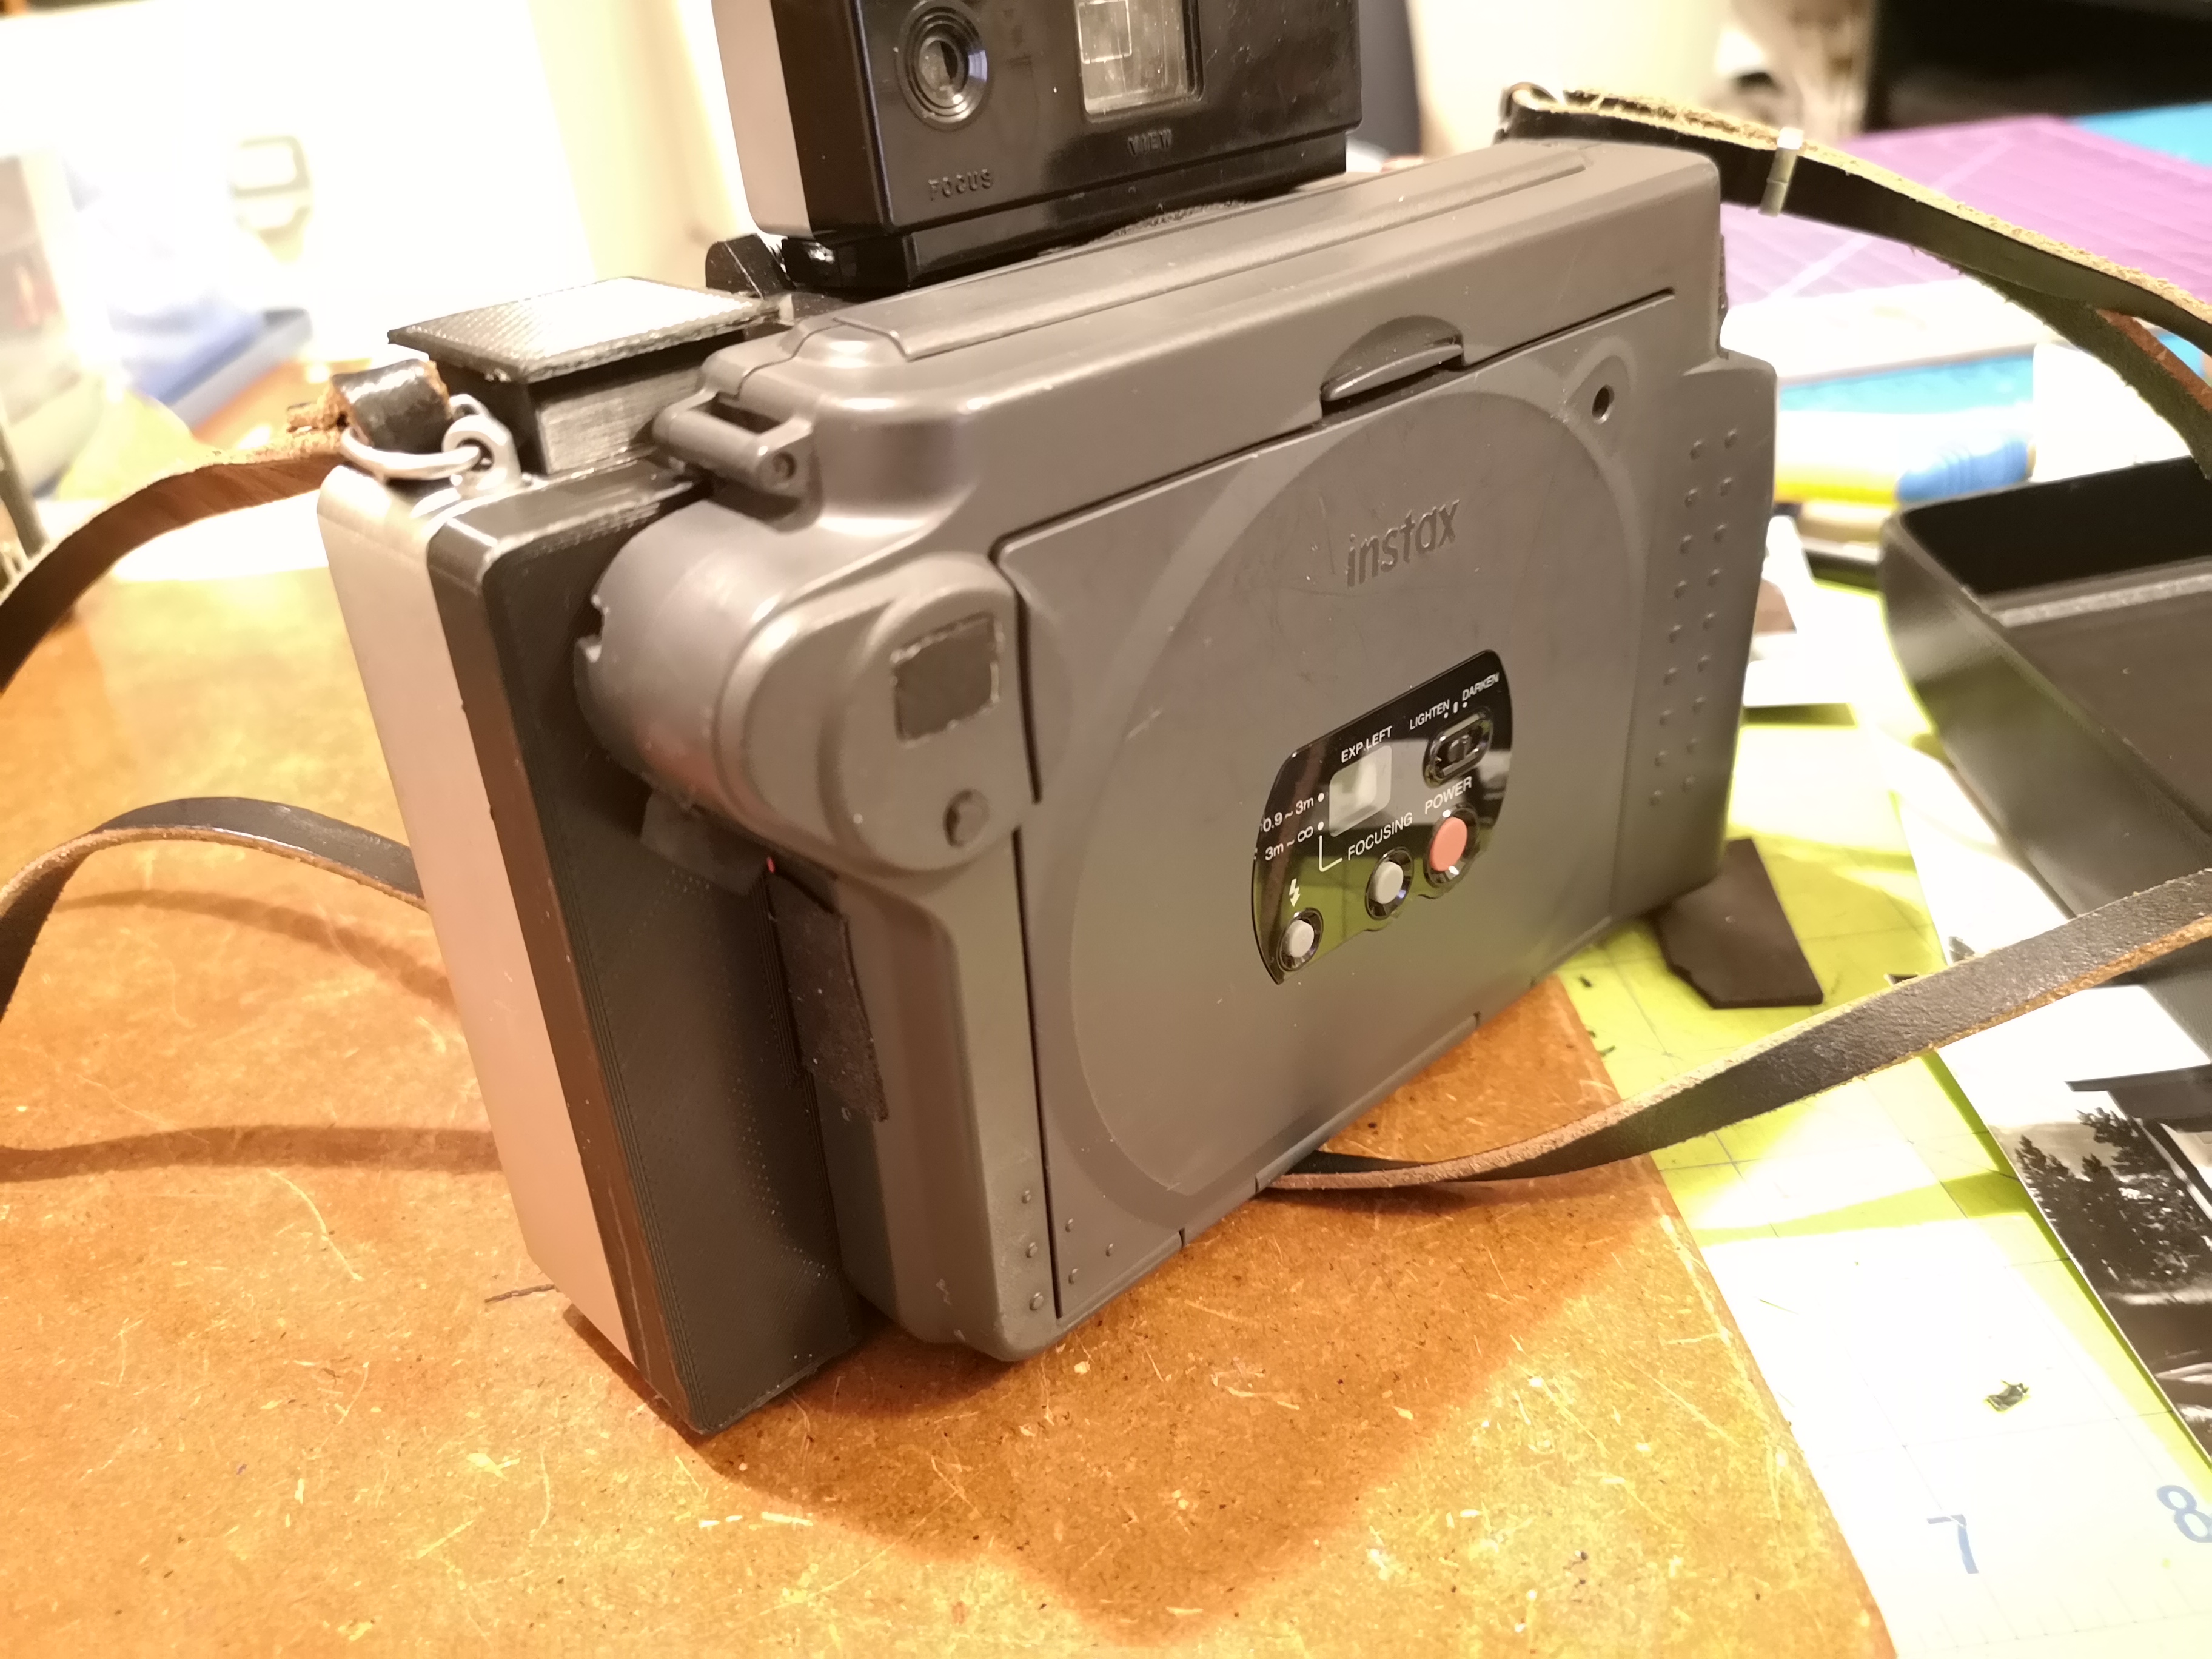
|
| Glue the case bottom onto the case, then drill the hinge off of the original front cover and trim off the supports holding the cold clip/instructions retainer, then glue/rivet it onto the 3d printed case while it's in place | 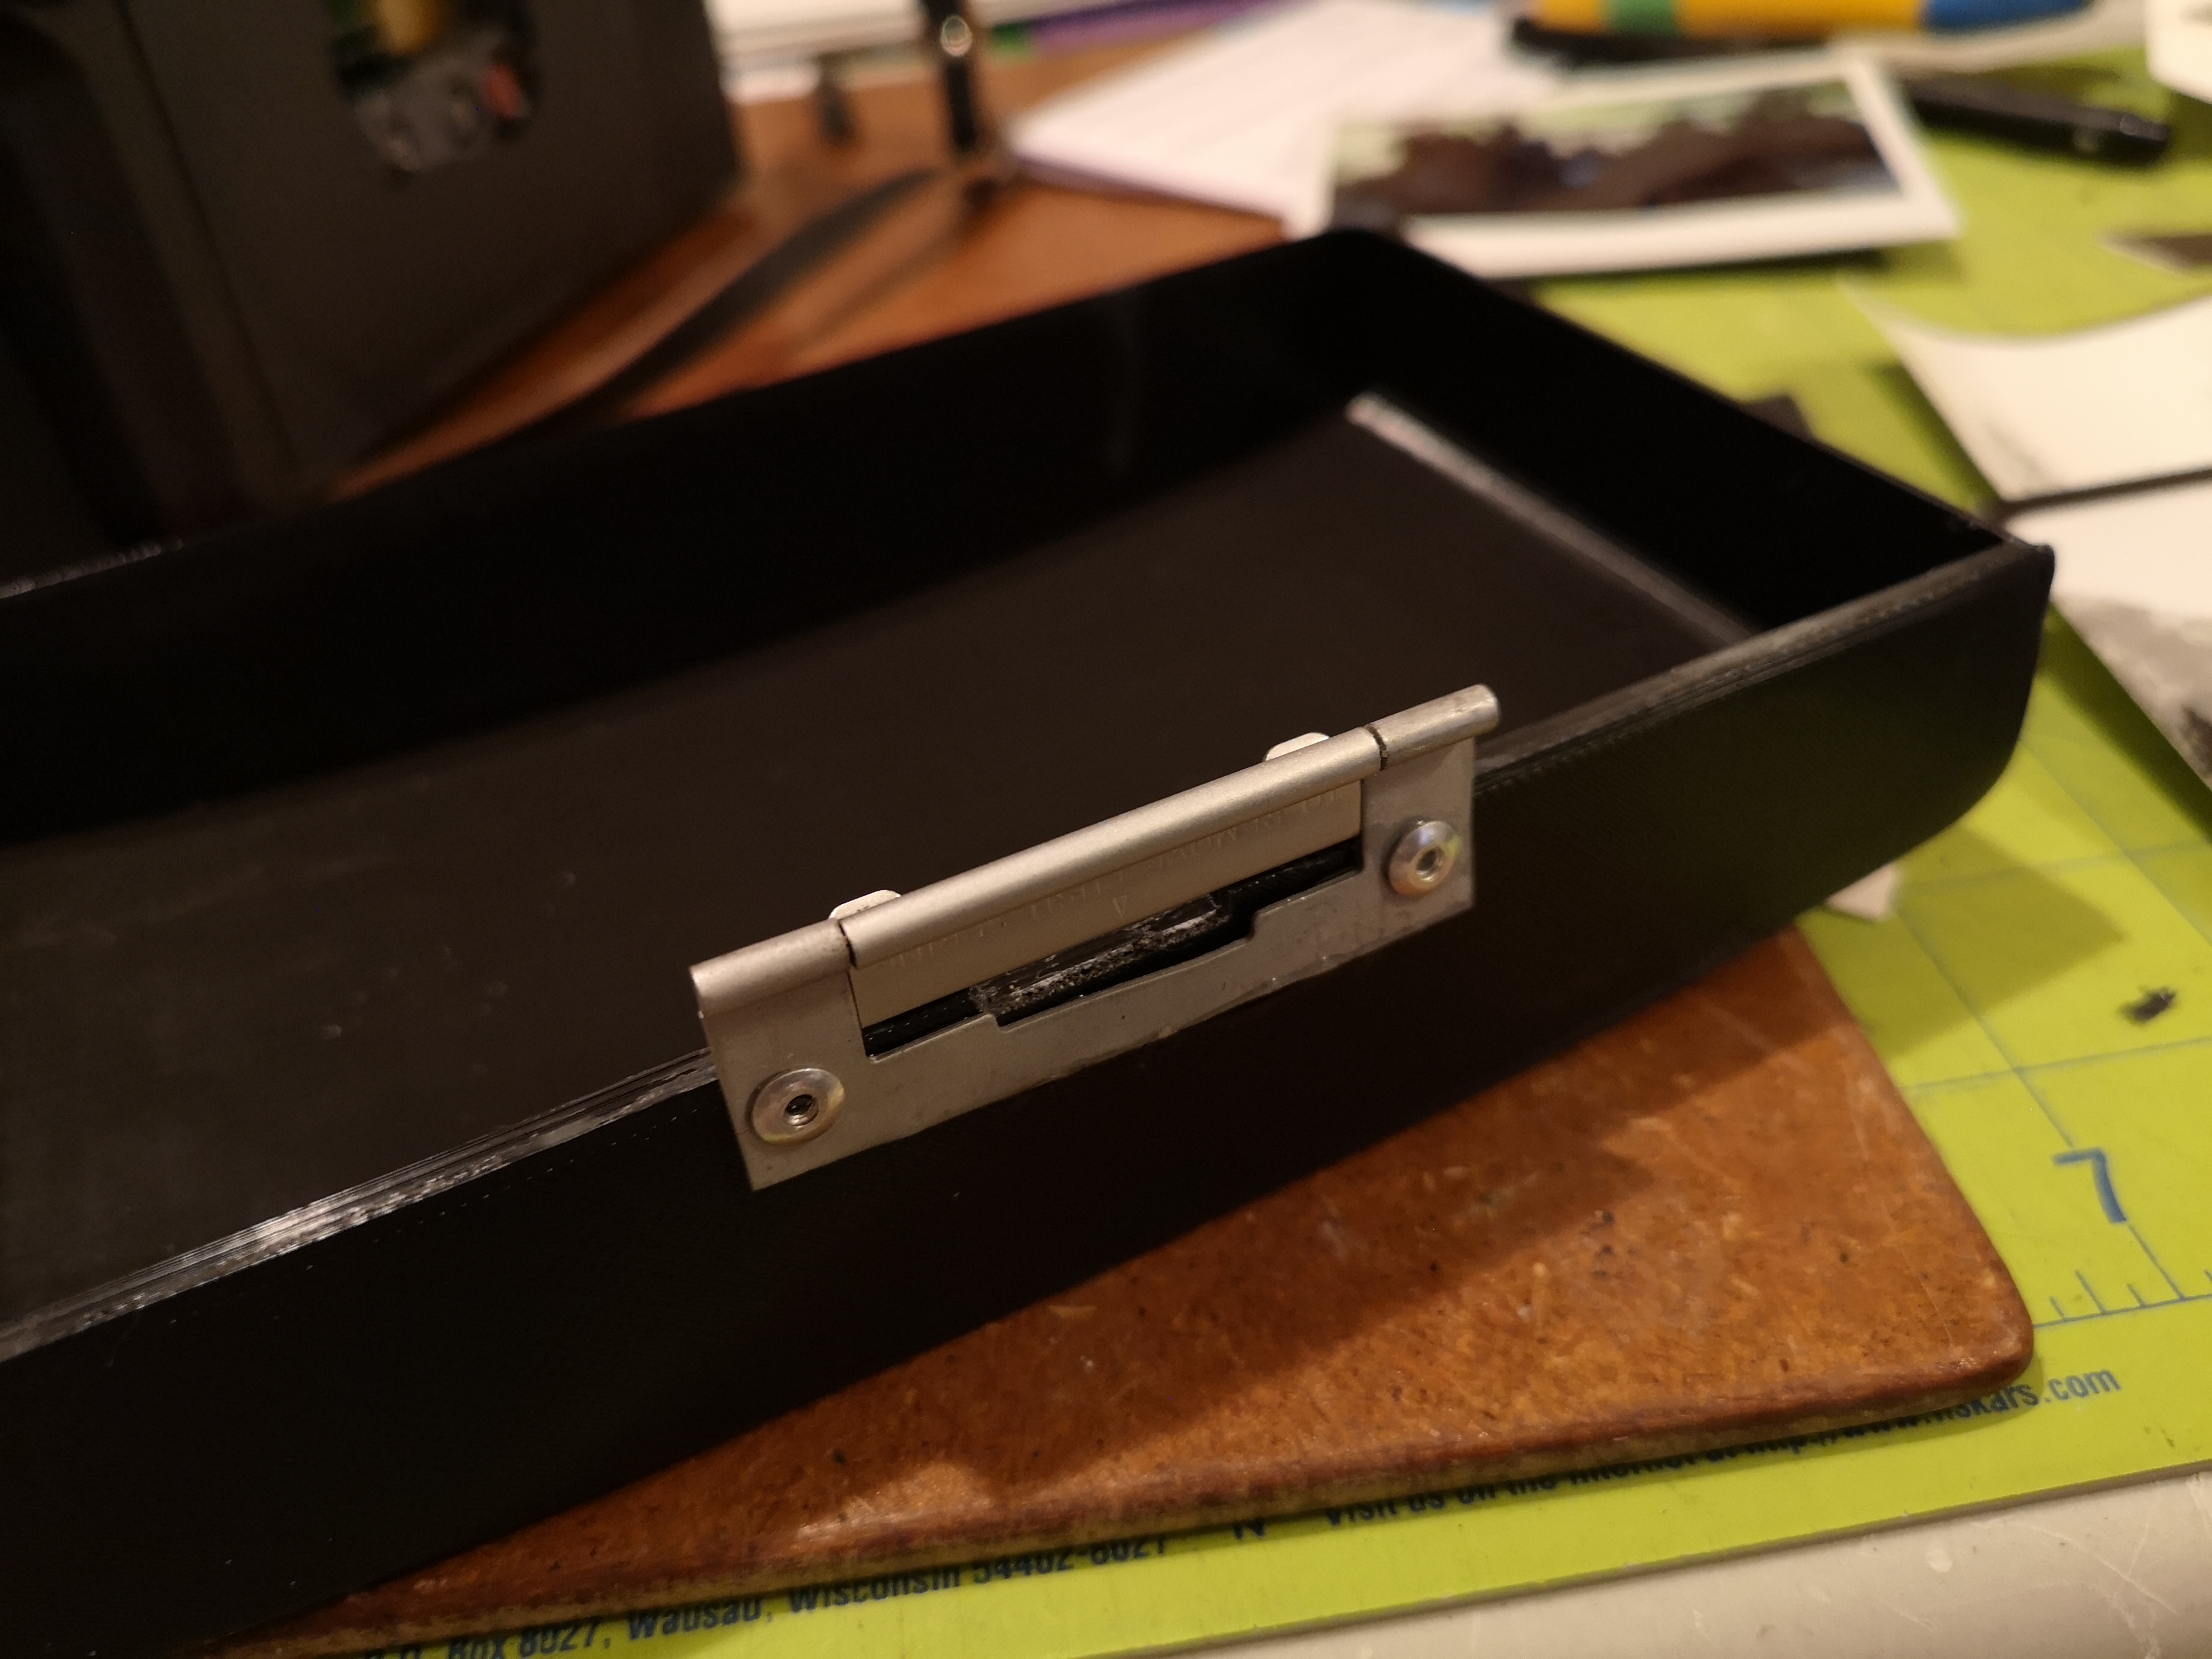
|
| If you have a 100-300 series Polariod camera, glue the flash extender onto the top right of the camera. | 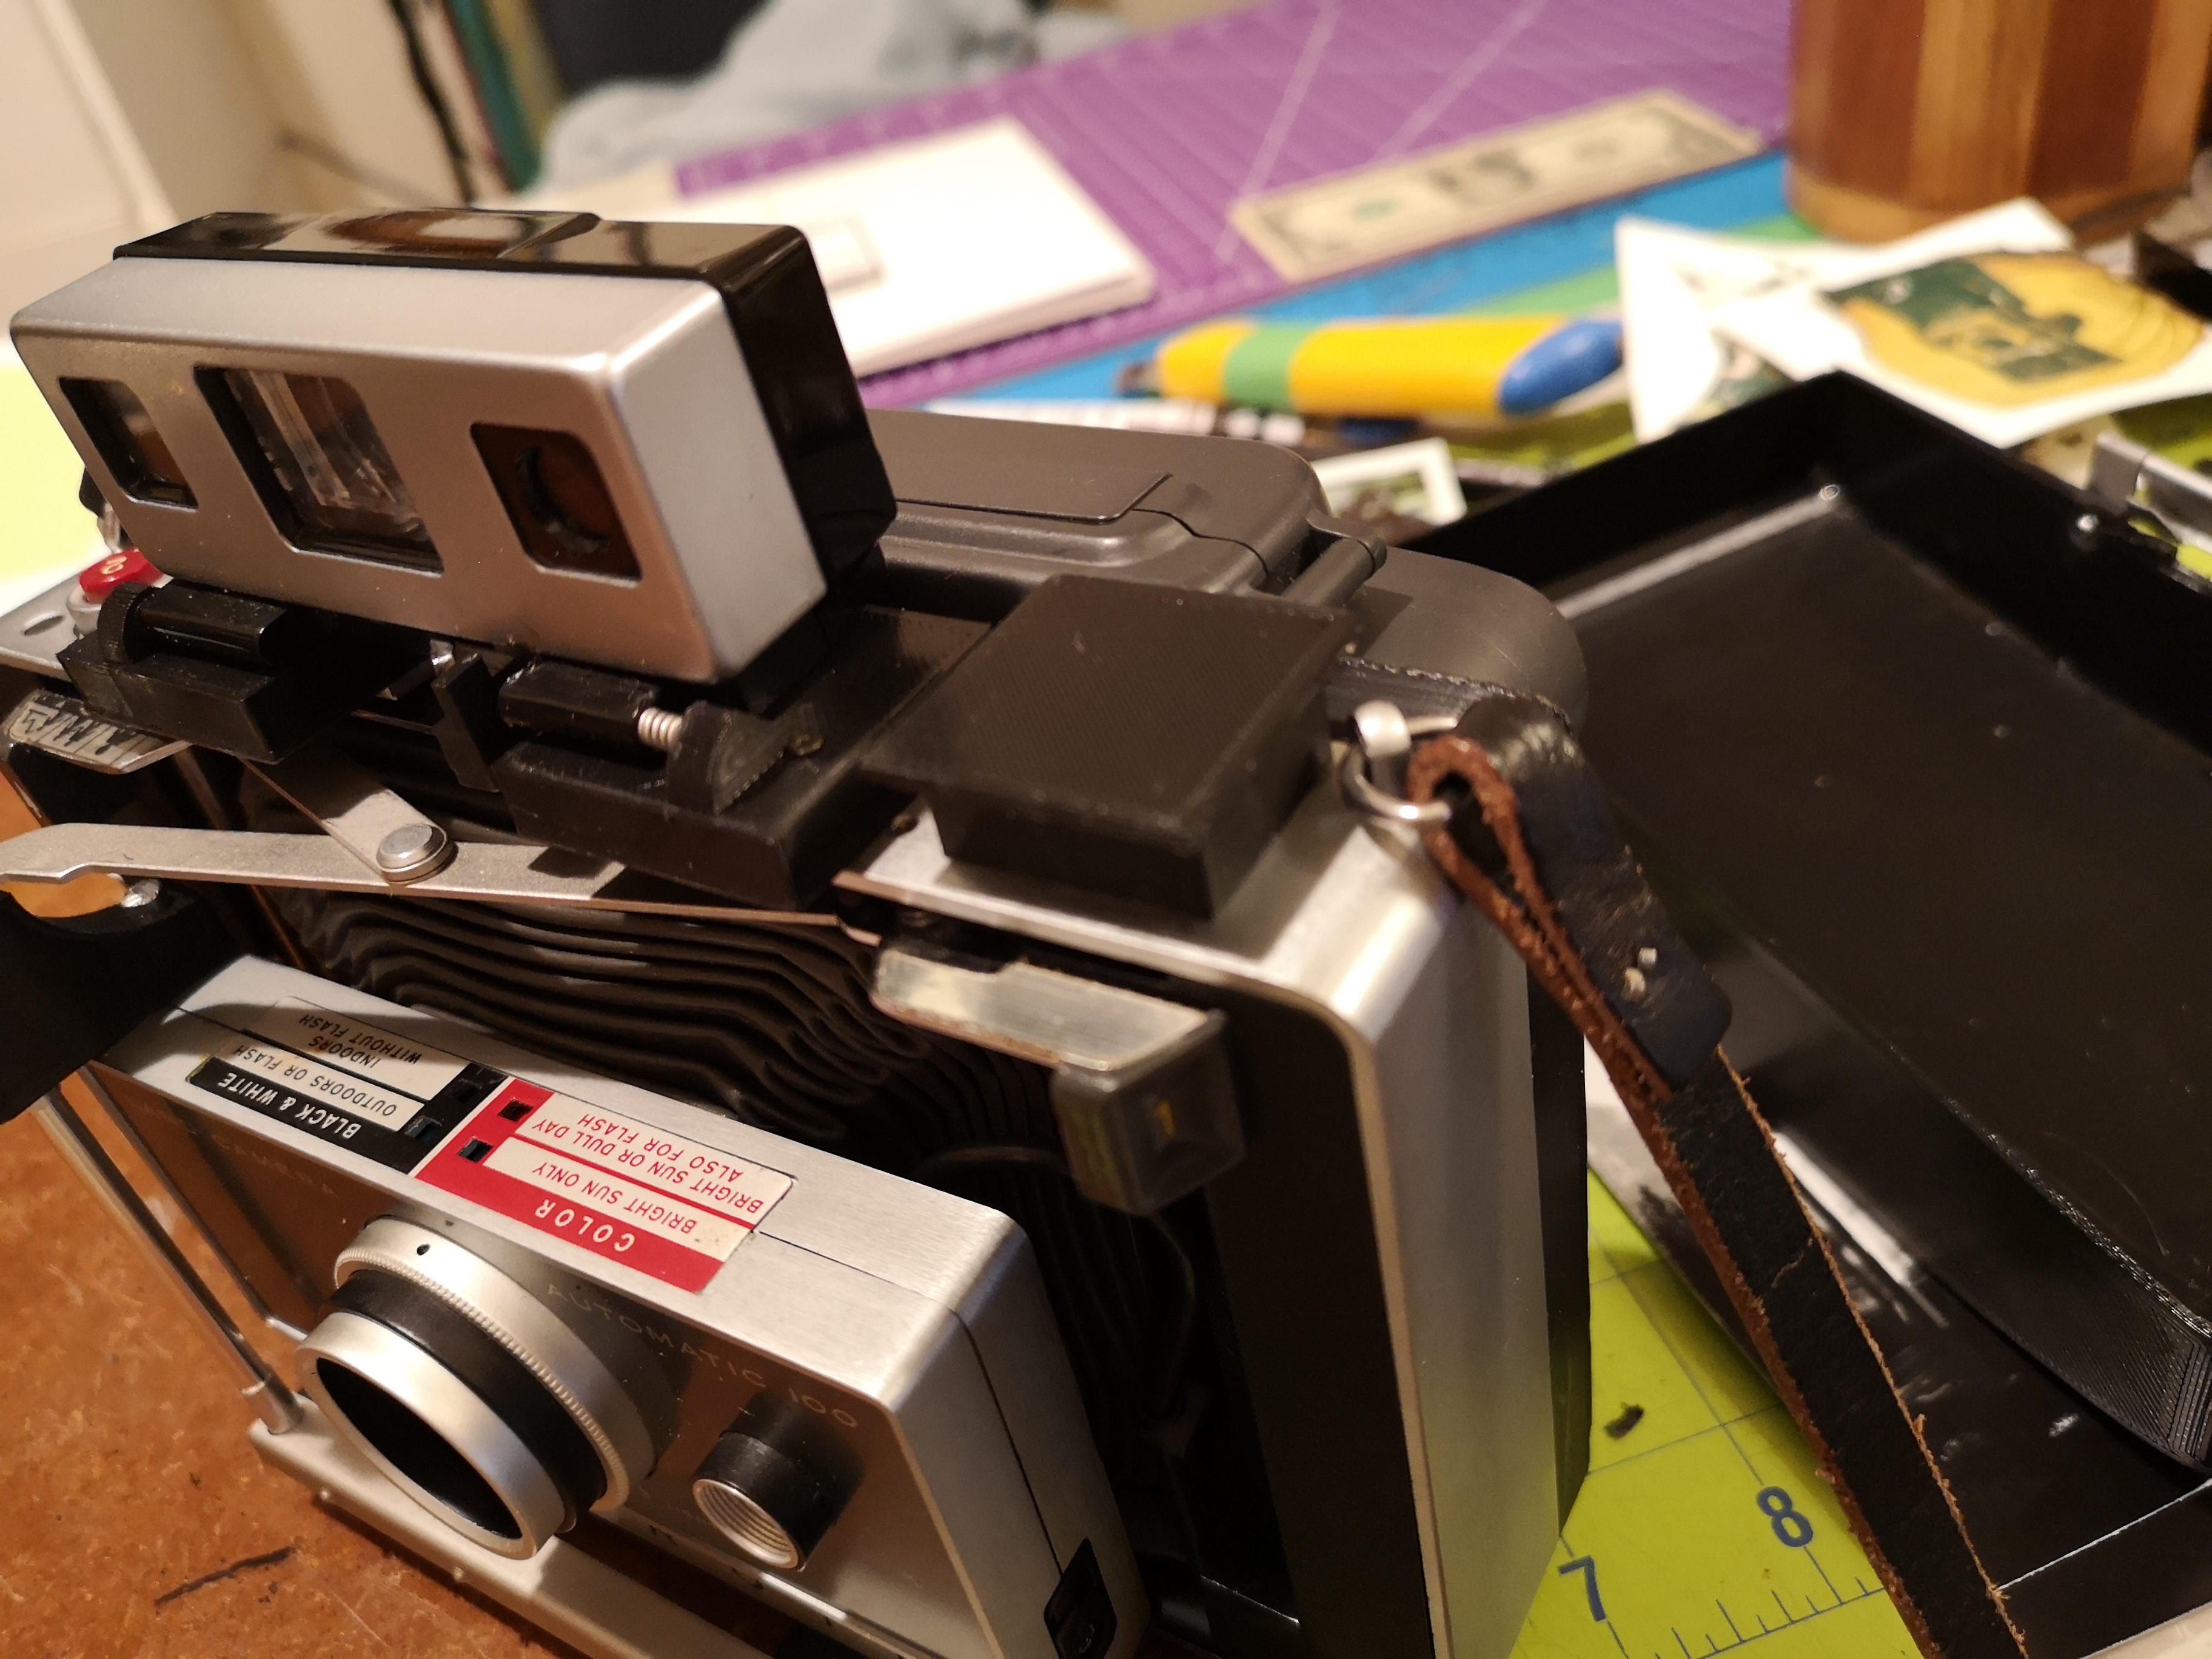
|
| The case should stay closed by friction with the top nut of the strut. It may need to be filed a bit to fit. | 
|
This is a more difficult conversion since it requires extensive cutting to the camera frame. This will make the camera more compact, but the tripod socket won't be available.
Counting the exposures can be done with a piece of paper with 10 tabs cut into it, taped onto the back or inside the case. One tab is ripped off when a photo is ejected.
There you have it! A Pola Instax camera in 33 easy steps! Contact me if you'd have questions or would like to share your build.