


First, download and 3d print the back, grip, hooks, end, infinity stop, and the film holder/pressure plates.
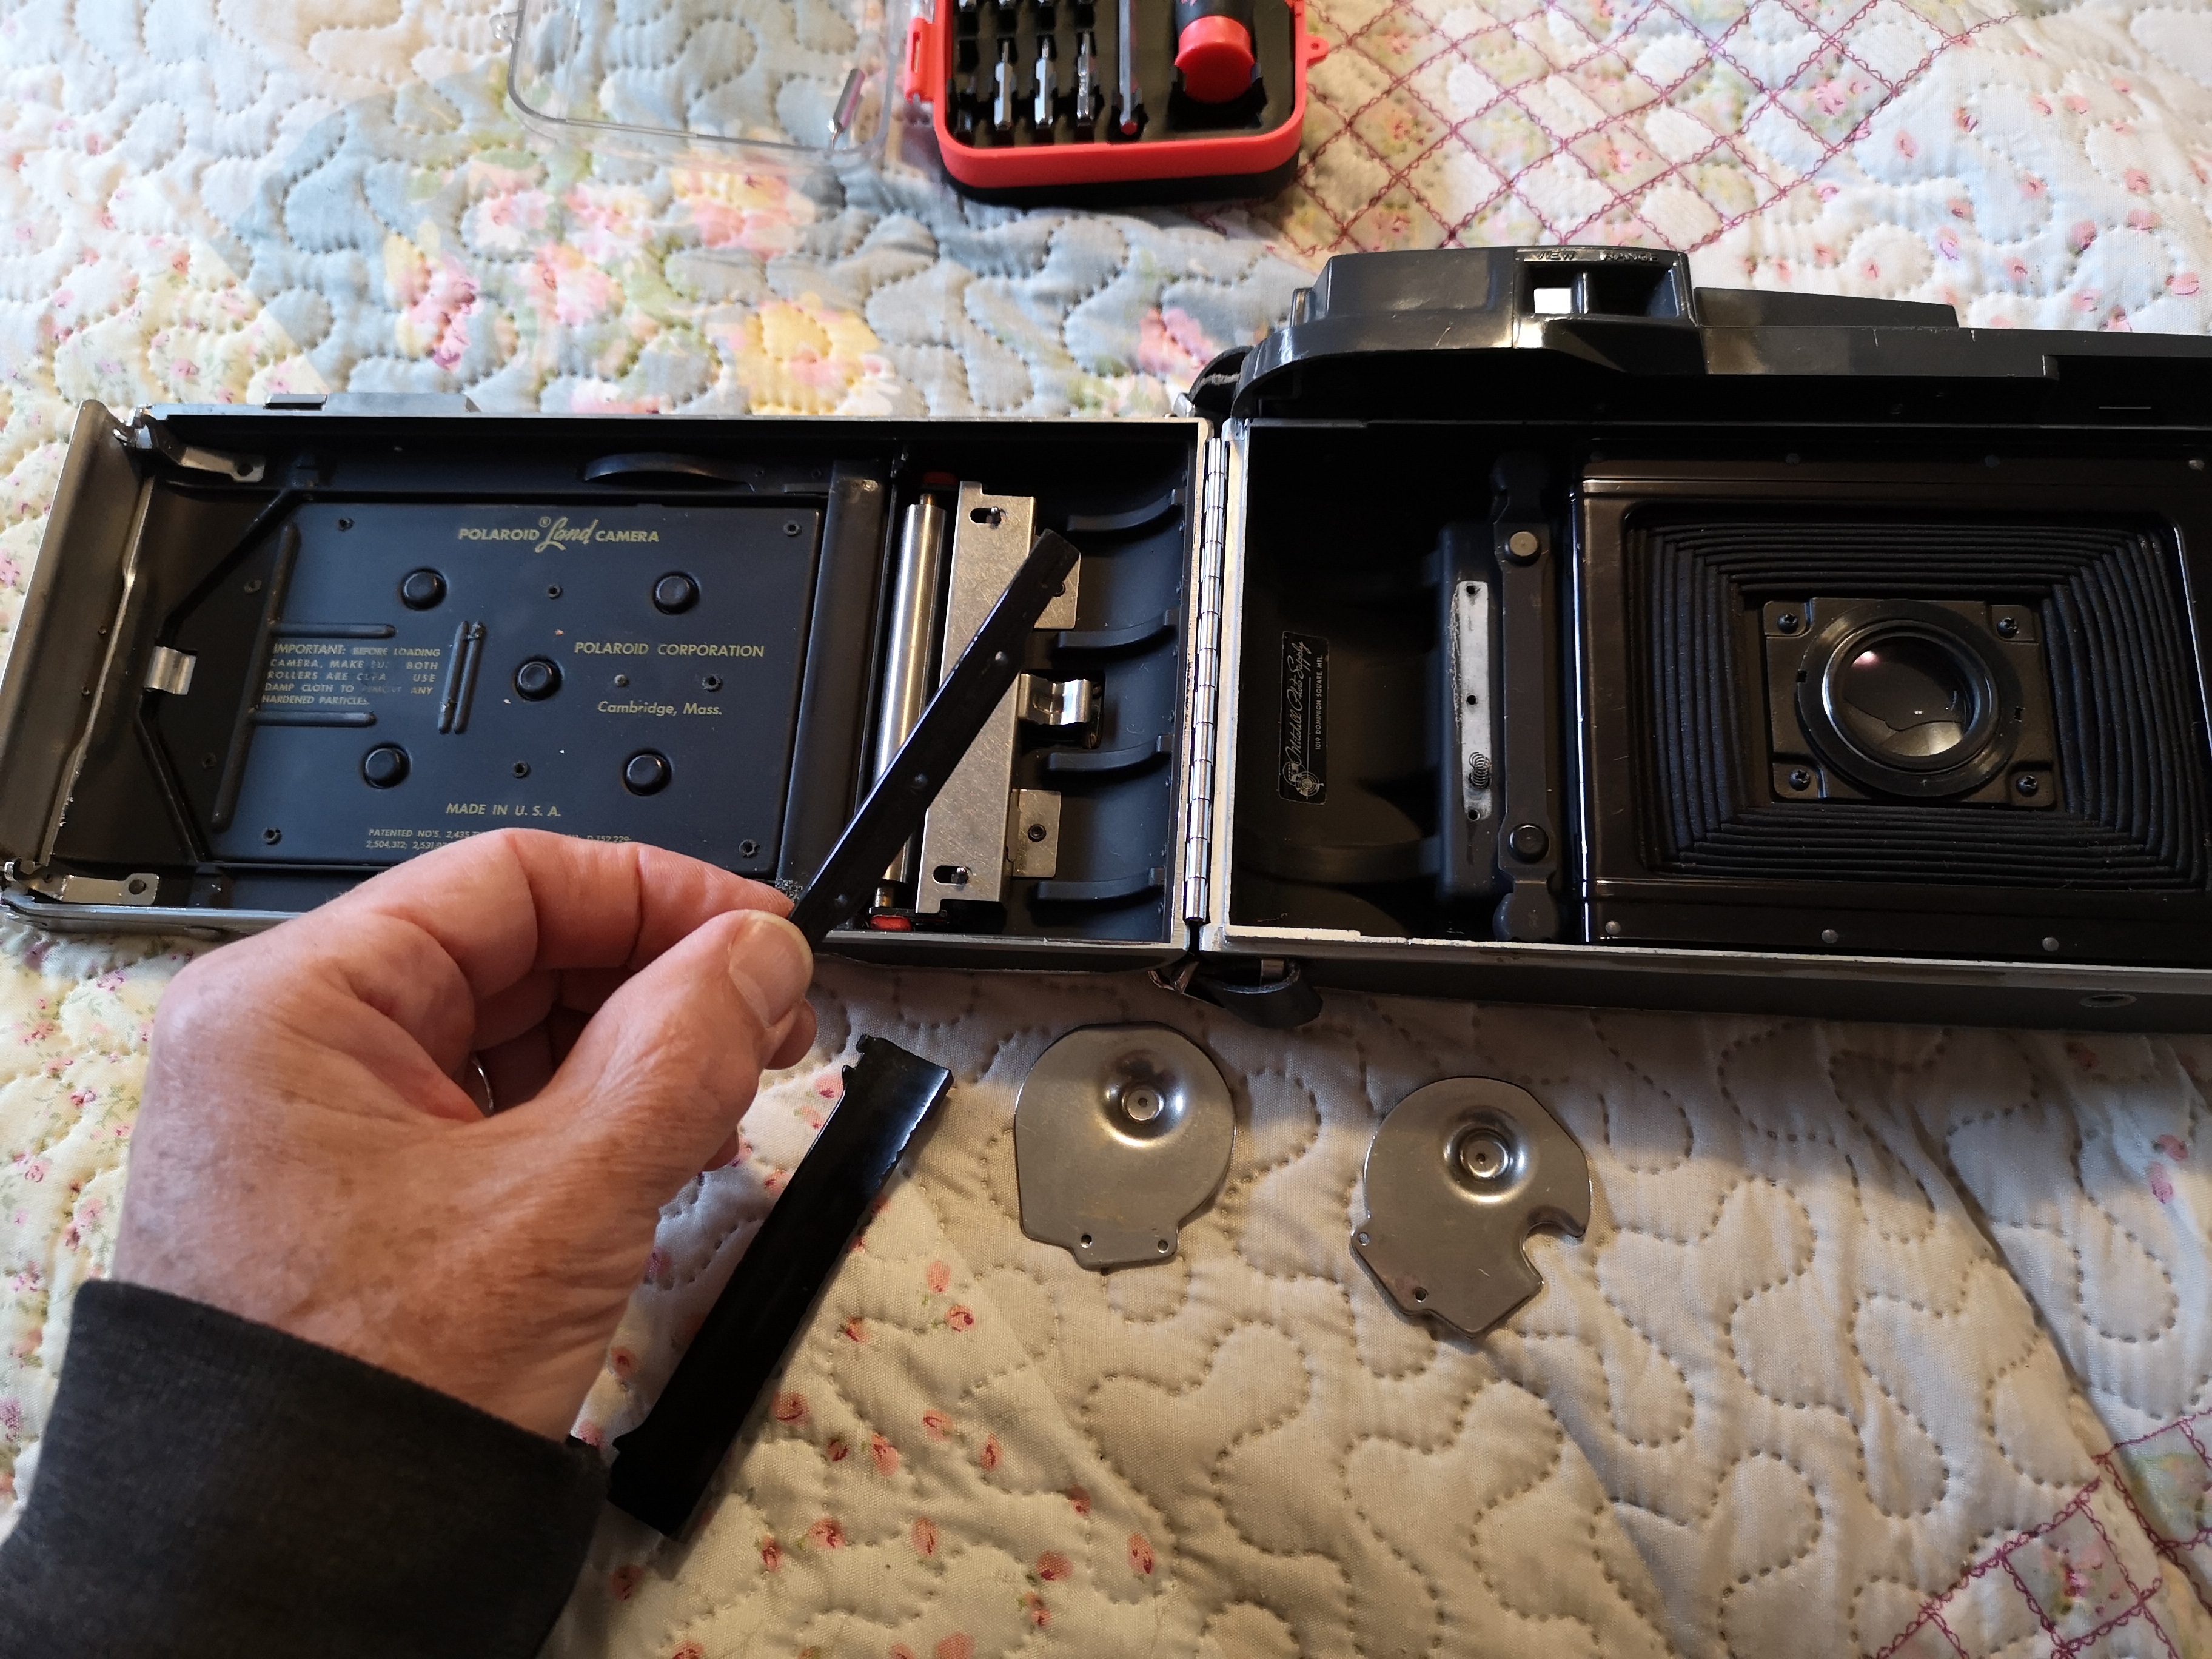
| Step 1: Remove both hinges and doors, then remove the positive film spool by removing the screws and prying off the ends from the rivets. |
|
| Step 2: You can cut the spool holder down and replace the bar to hold the spring in which opens the lens door. |
|
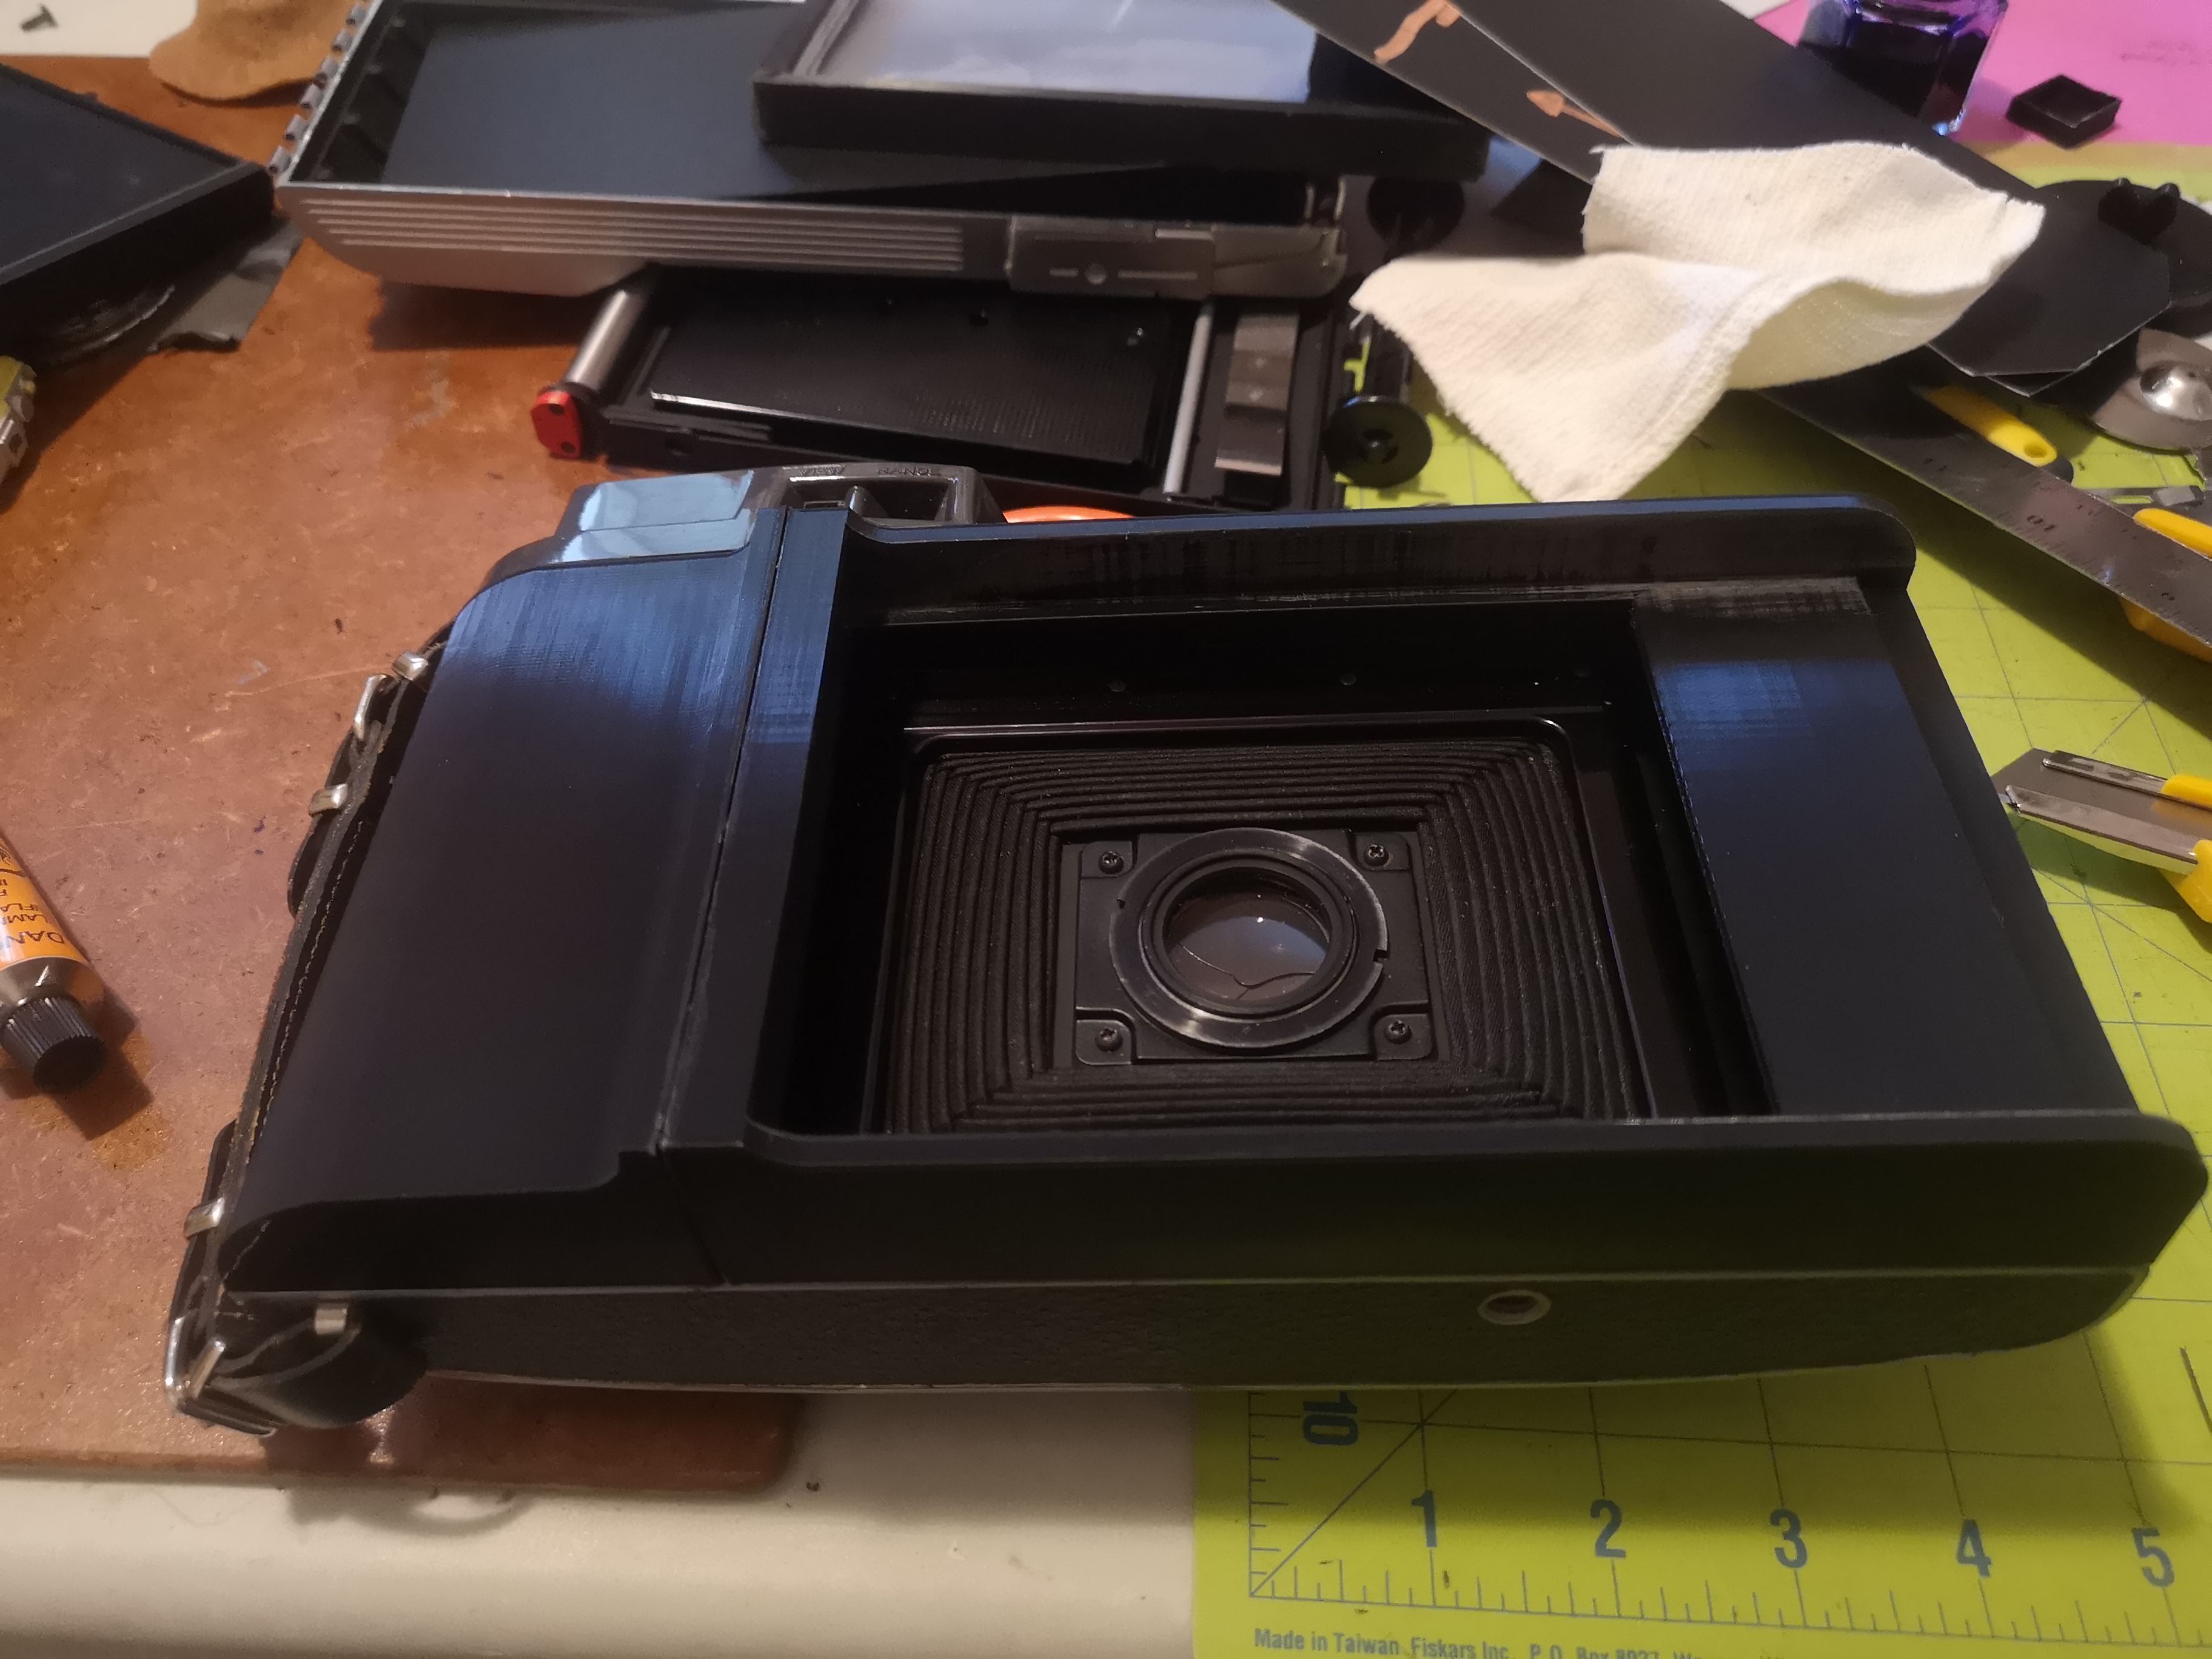
| Step 3: Install the grip and back by pressing them into place to be sure they fit. They should be a snug fit. Insert the hinge pin if possible through the grip. If it won't go, try using a thinner wire. It's not necessary, but may help keep the back in place if the camera takes a hit. |
|
| Step 4: Remove the back and glue in the hooks facing in. Use 5 minute epoxy since you'll need to align the hooks accurately in the next step |
|
| Step 5: Open the camera back latch and install the back until the hooks touch the latching mechanism in the camera. While pressing down on the back, be sure the hooks are lined up with the latching mechanism. Slowly close the latch while pressing down on the back to verify the hooks move down while the latch is being closed. DO NOT COMPLETLY CLOSE THE LATCH! You will pull the hooks out. Keep the pulling force off of the hooks until the glue is set. Once set, test by latching while pushing down on the back. The latch should close with some pressure but without undue strain. The back should be firmly in place, bottomed out on the body. Avoid using the latch and certainly don't use the latch to pull the back down or you will break/deform the hooks. The hooks are to ascertain the back is firmly against the camera. |
|
| Step 6: Open the back one last time by releasing the latch, line it up with the grip and tape it to the grip with hockey tape while open. |
|
| Step 7: Once lined up and taped, fold the back down and put contact cement on both surfaces, fold it back up to mate the surfaces and lower the back down into place, pushing it down while latching it in. |
|
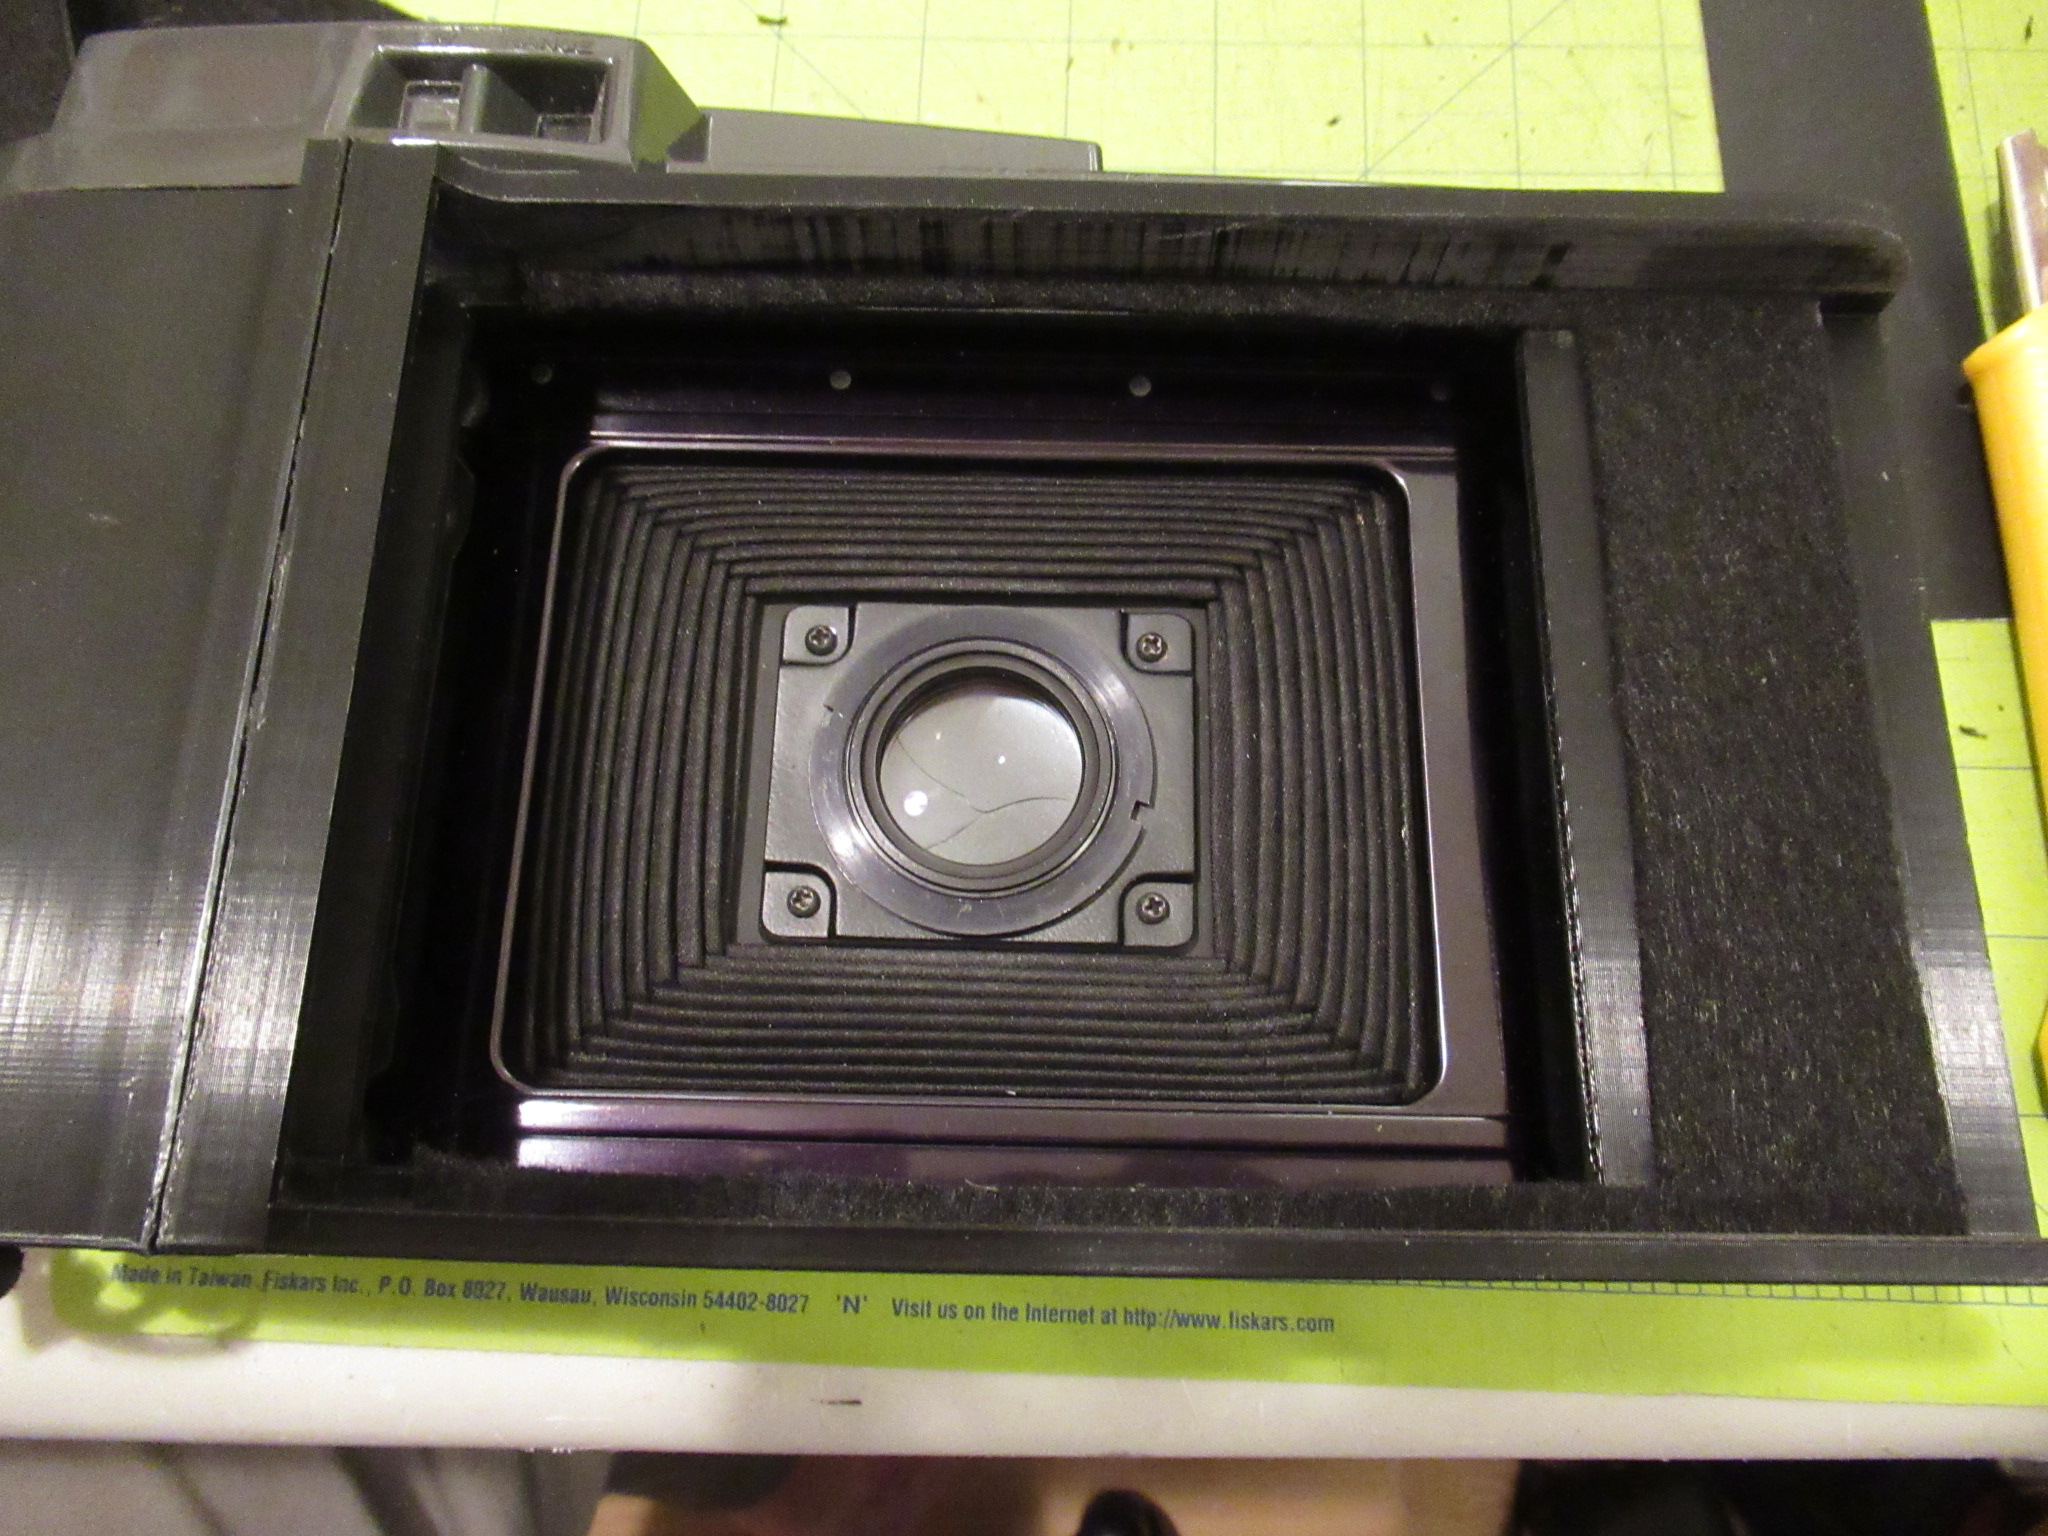
| Step 8: Line the surfaces of the back that contact the film holder with black felt. This helps seal out light. |
|
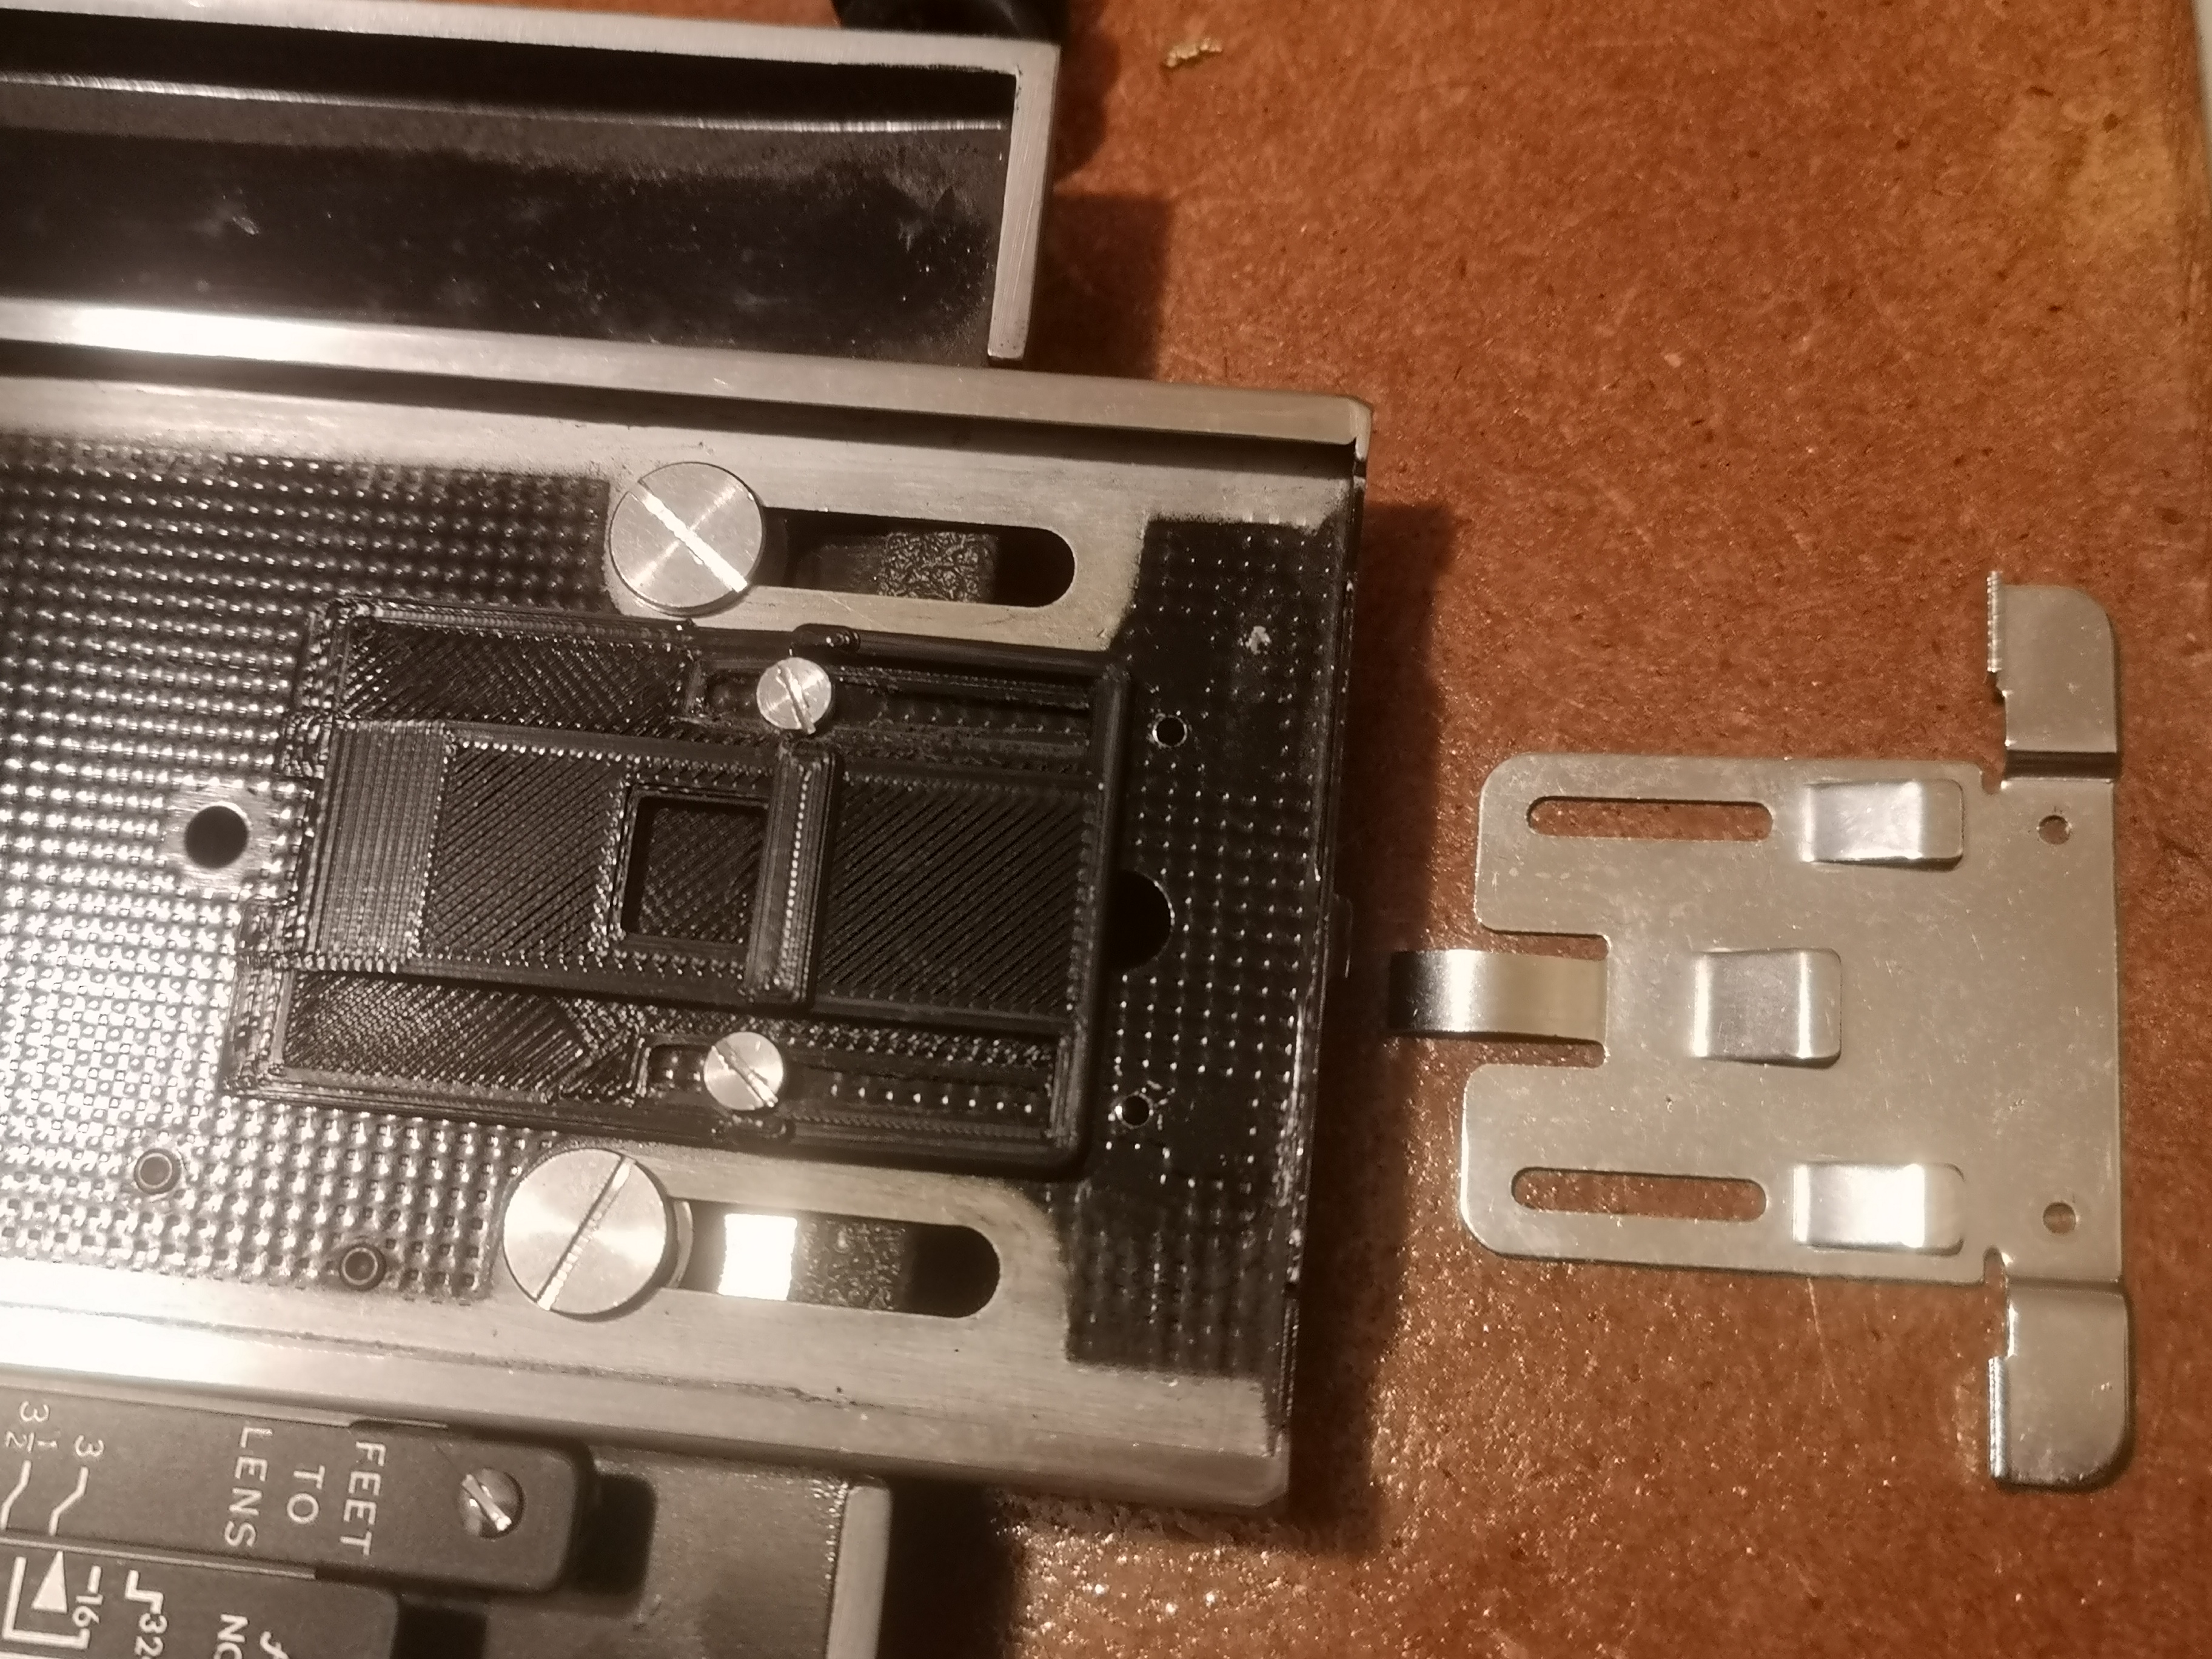
| Step 9: Drill out the 2 small rivets in the end of the infinity stop. You'll need to turn the focus knob to get at them. Remove the 2 screws and the infinity stop. |
|
| Step 10: Install the new infinity focus. The screws should be lined up near the stop. Check infinity focus against a ground glass offset around 4mm to the rear of the back, which is the distance the film holder will position the film with the felt in place. Adjust the infinity stop as necessary. |
|
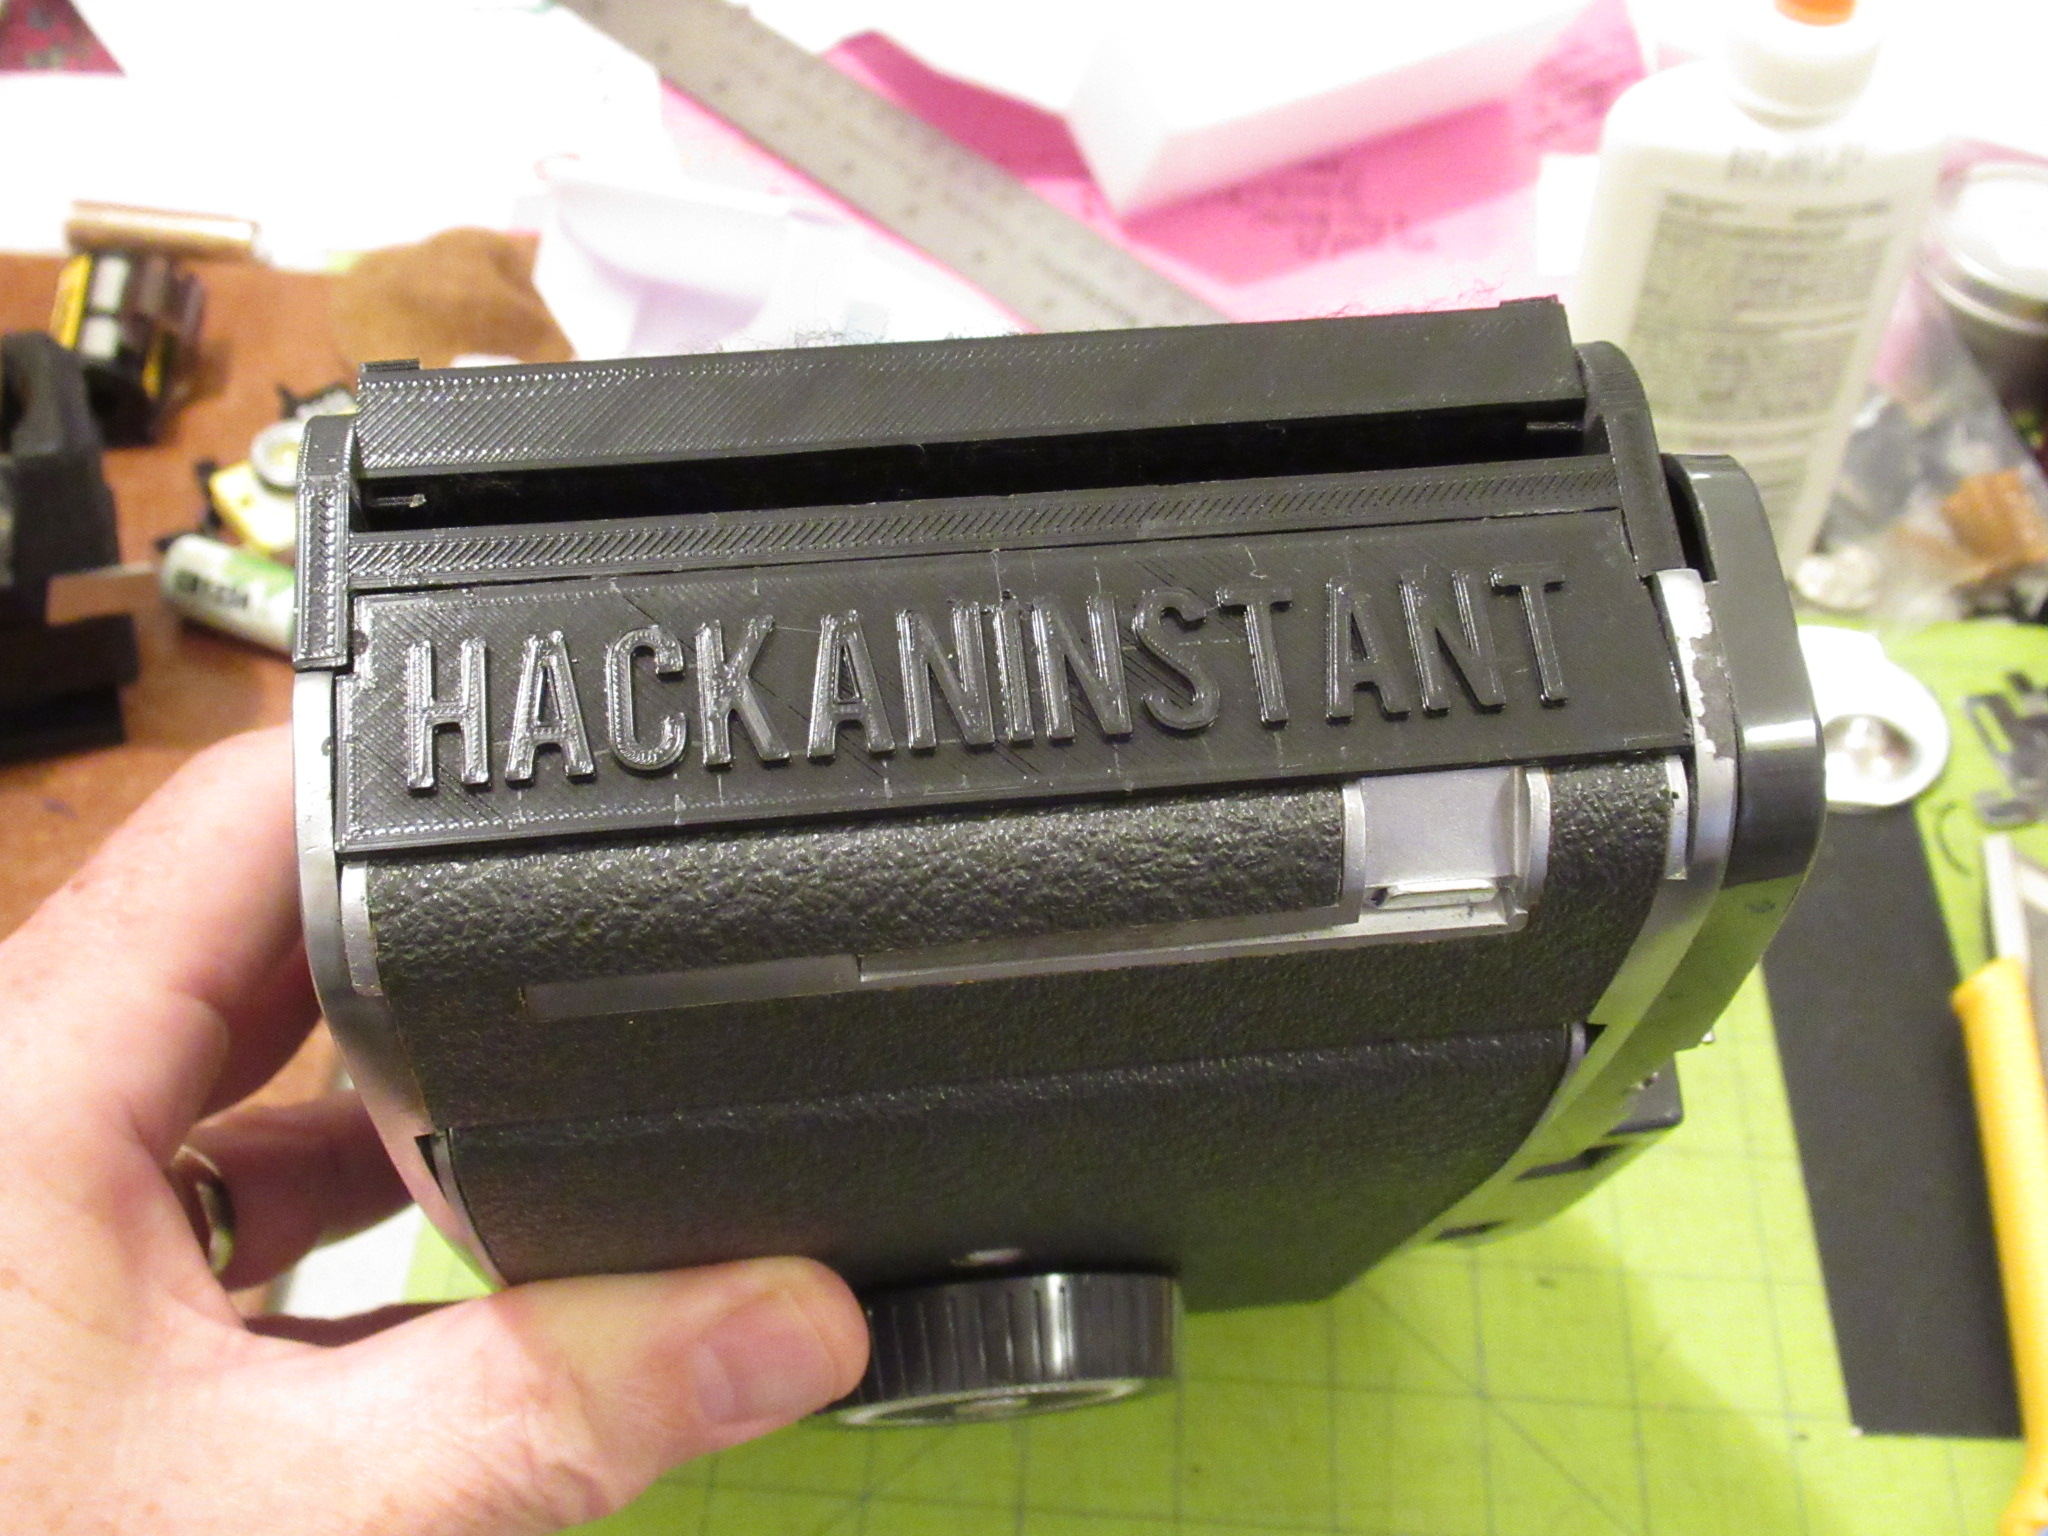
| Step 11: Glue on the end piece. This helps ensure a light seal and tidys up the finish. The logo is the name of my instagram account. |
|
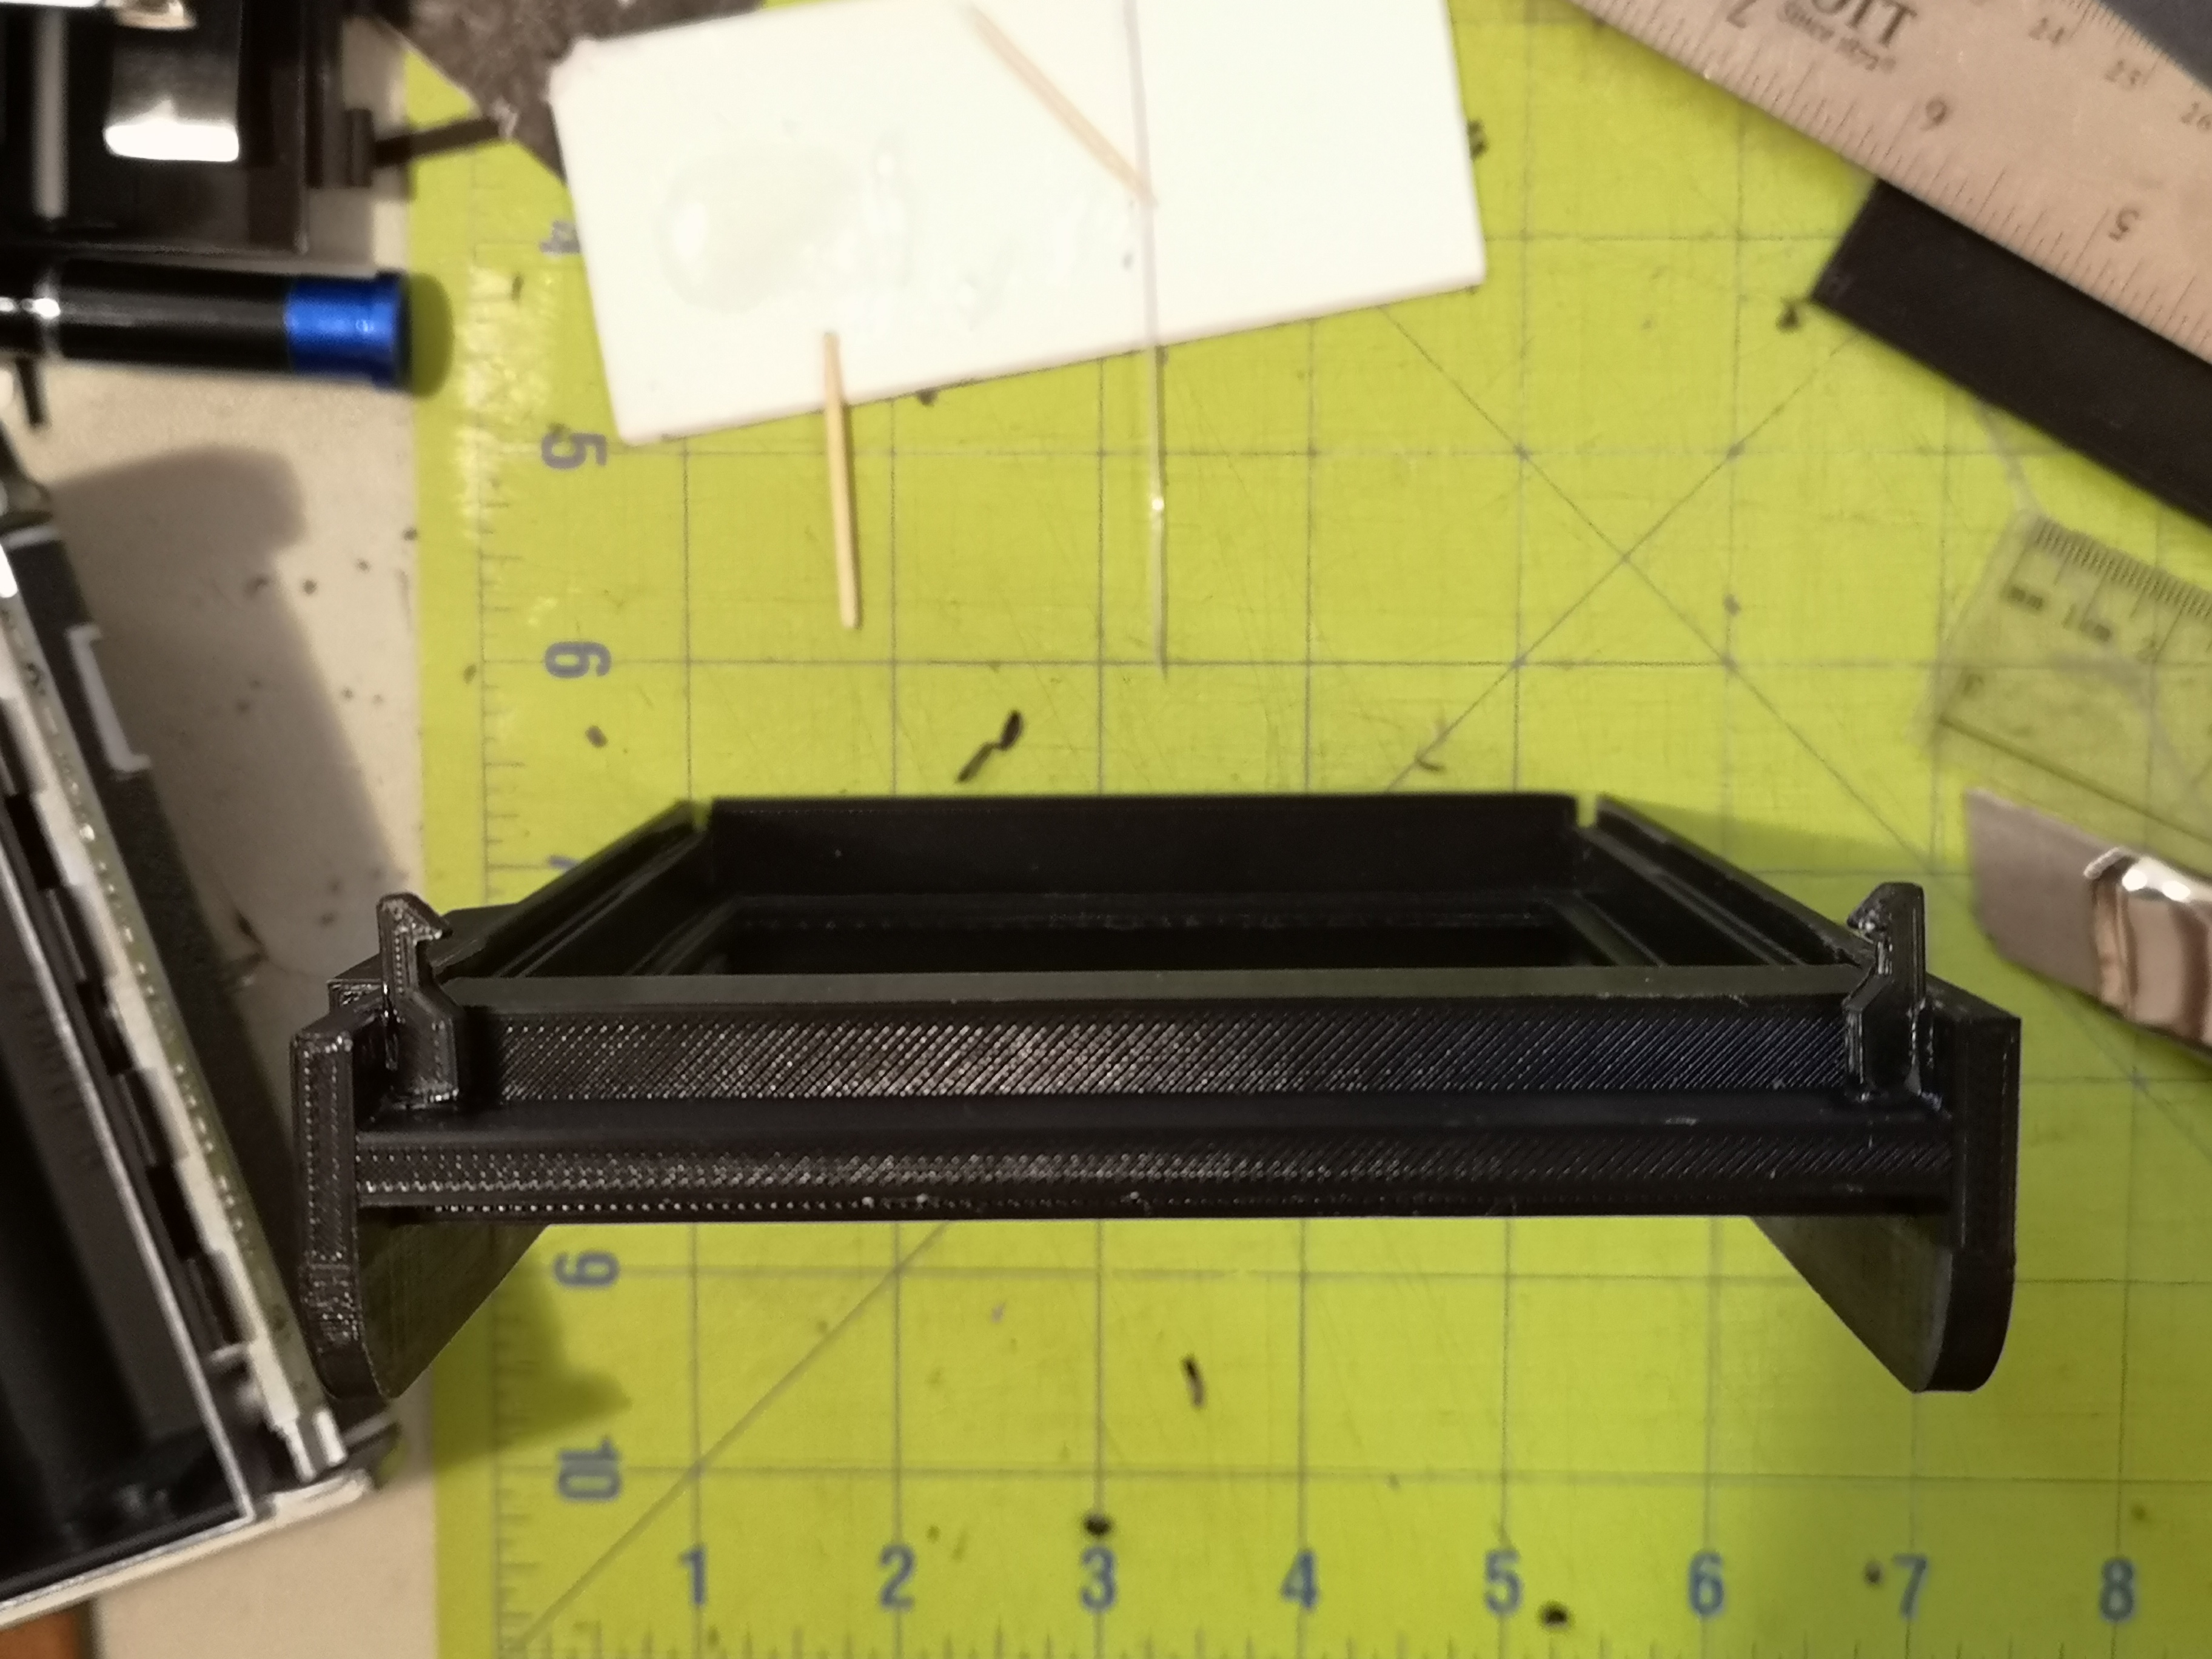
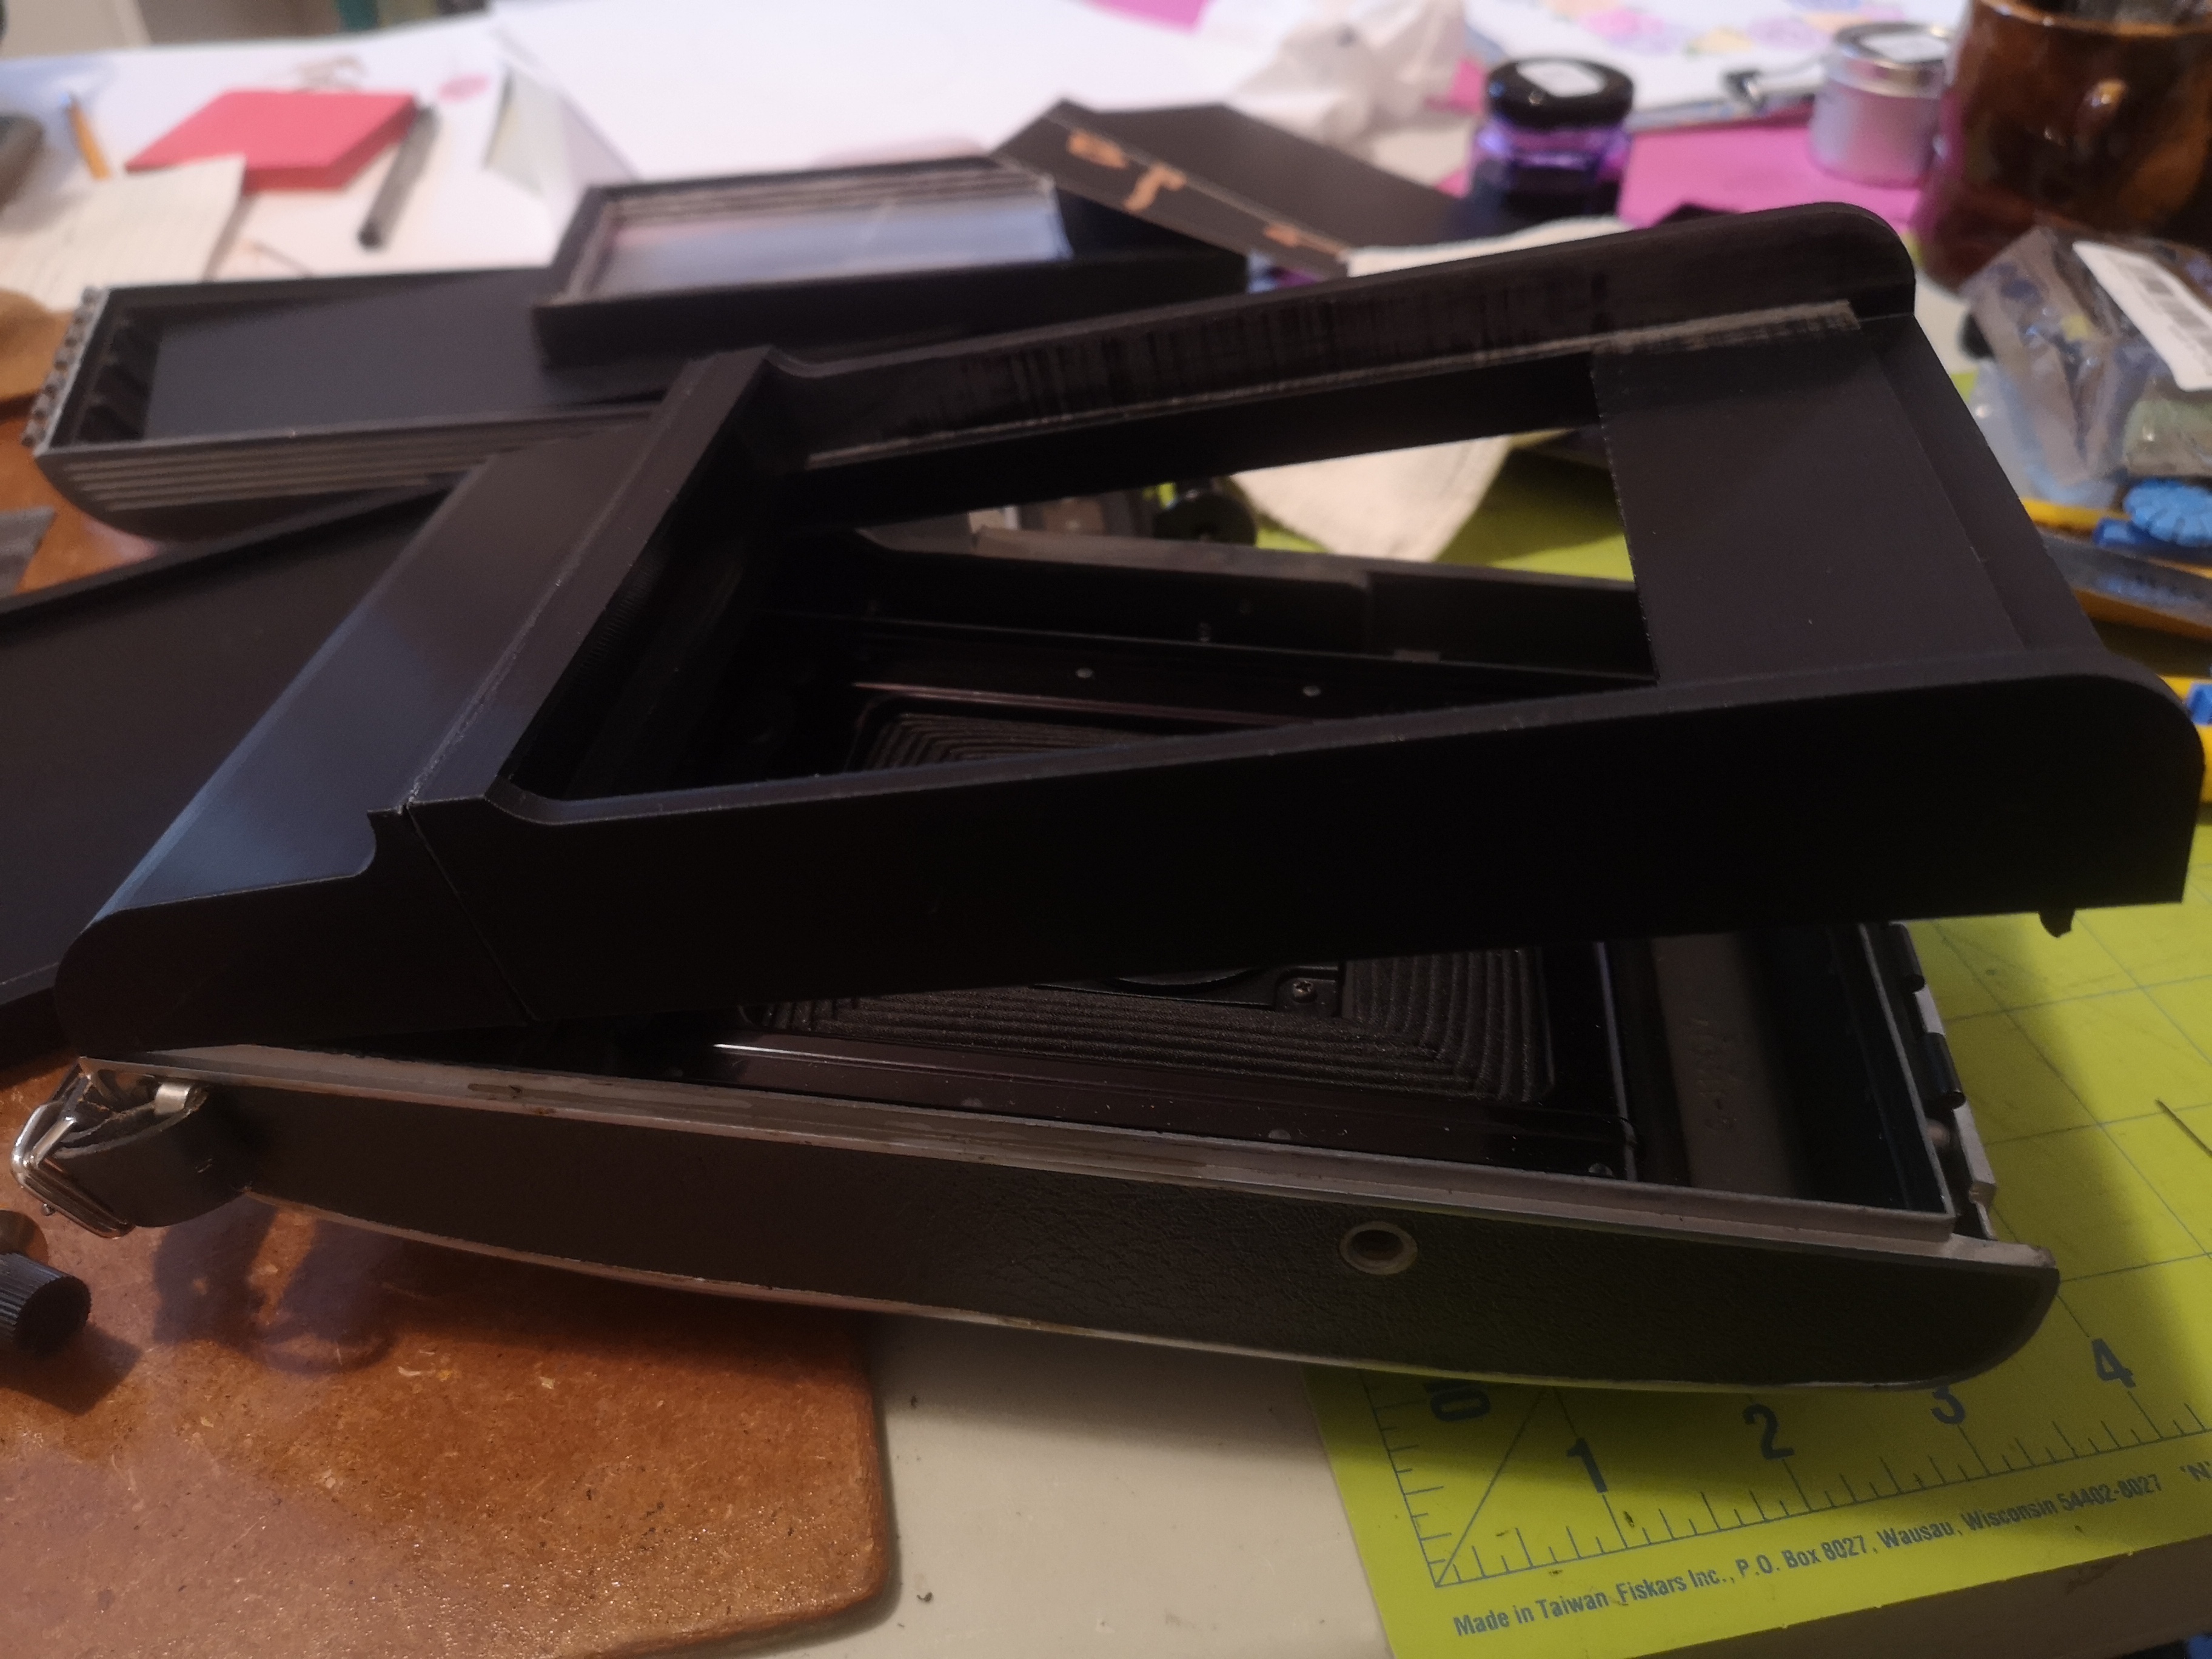
The camera is now ready to use a custom 4x5 film holder. You will need to prepare the film holder by cutting a 38mm wide piece of black felt and gluing it to the entrance (possibly shimmed a bit to give extra pressure), then cutting two dark slides out of bristle board, inserting them, then taping or gluing down the pressure plates.

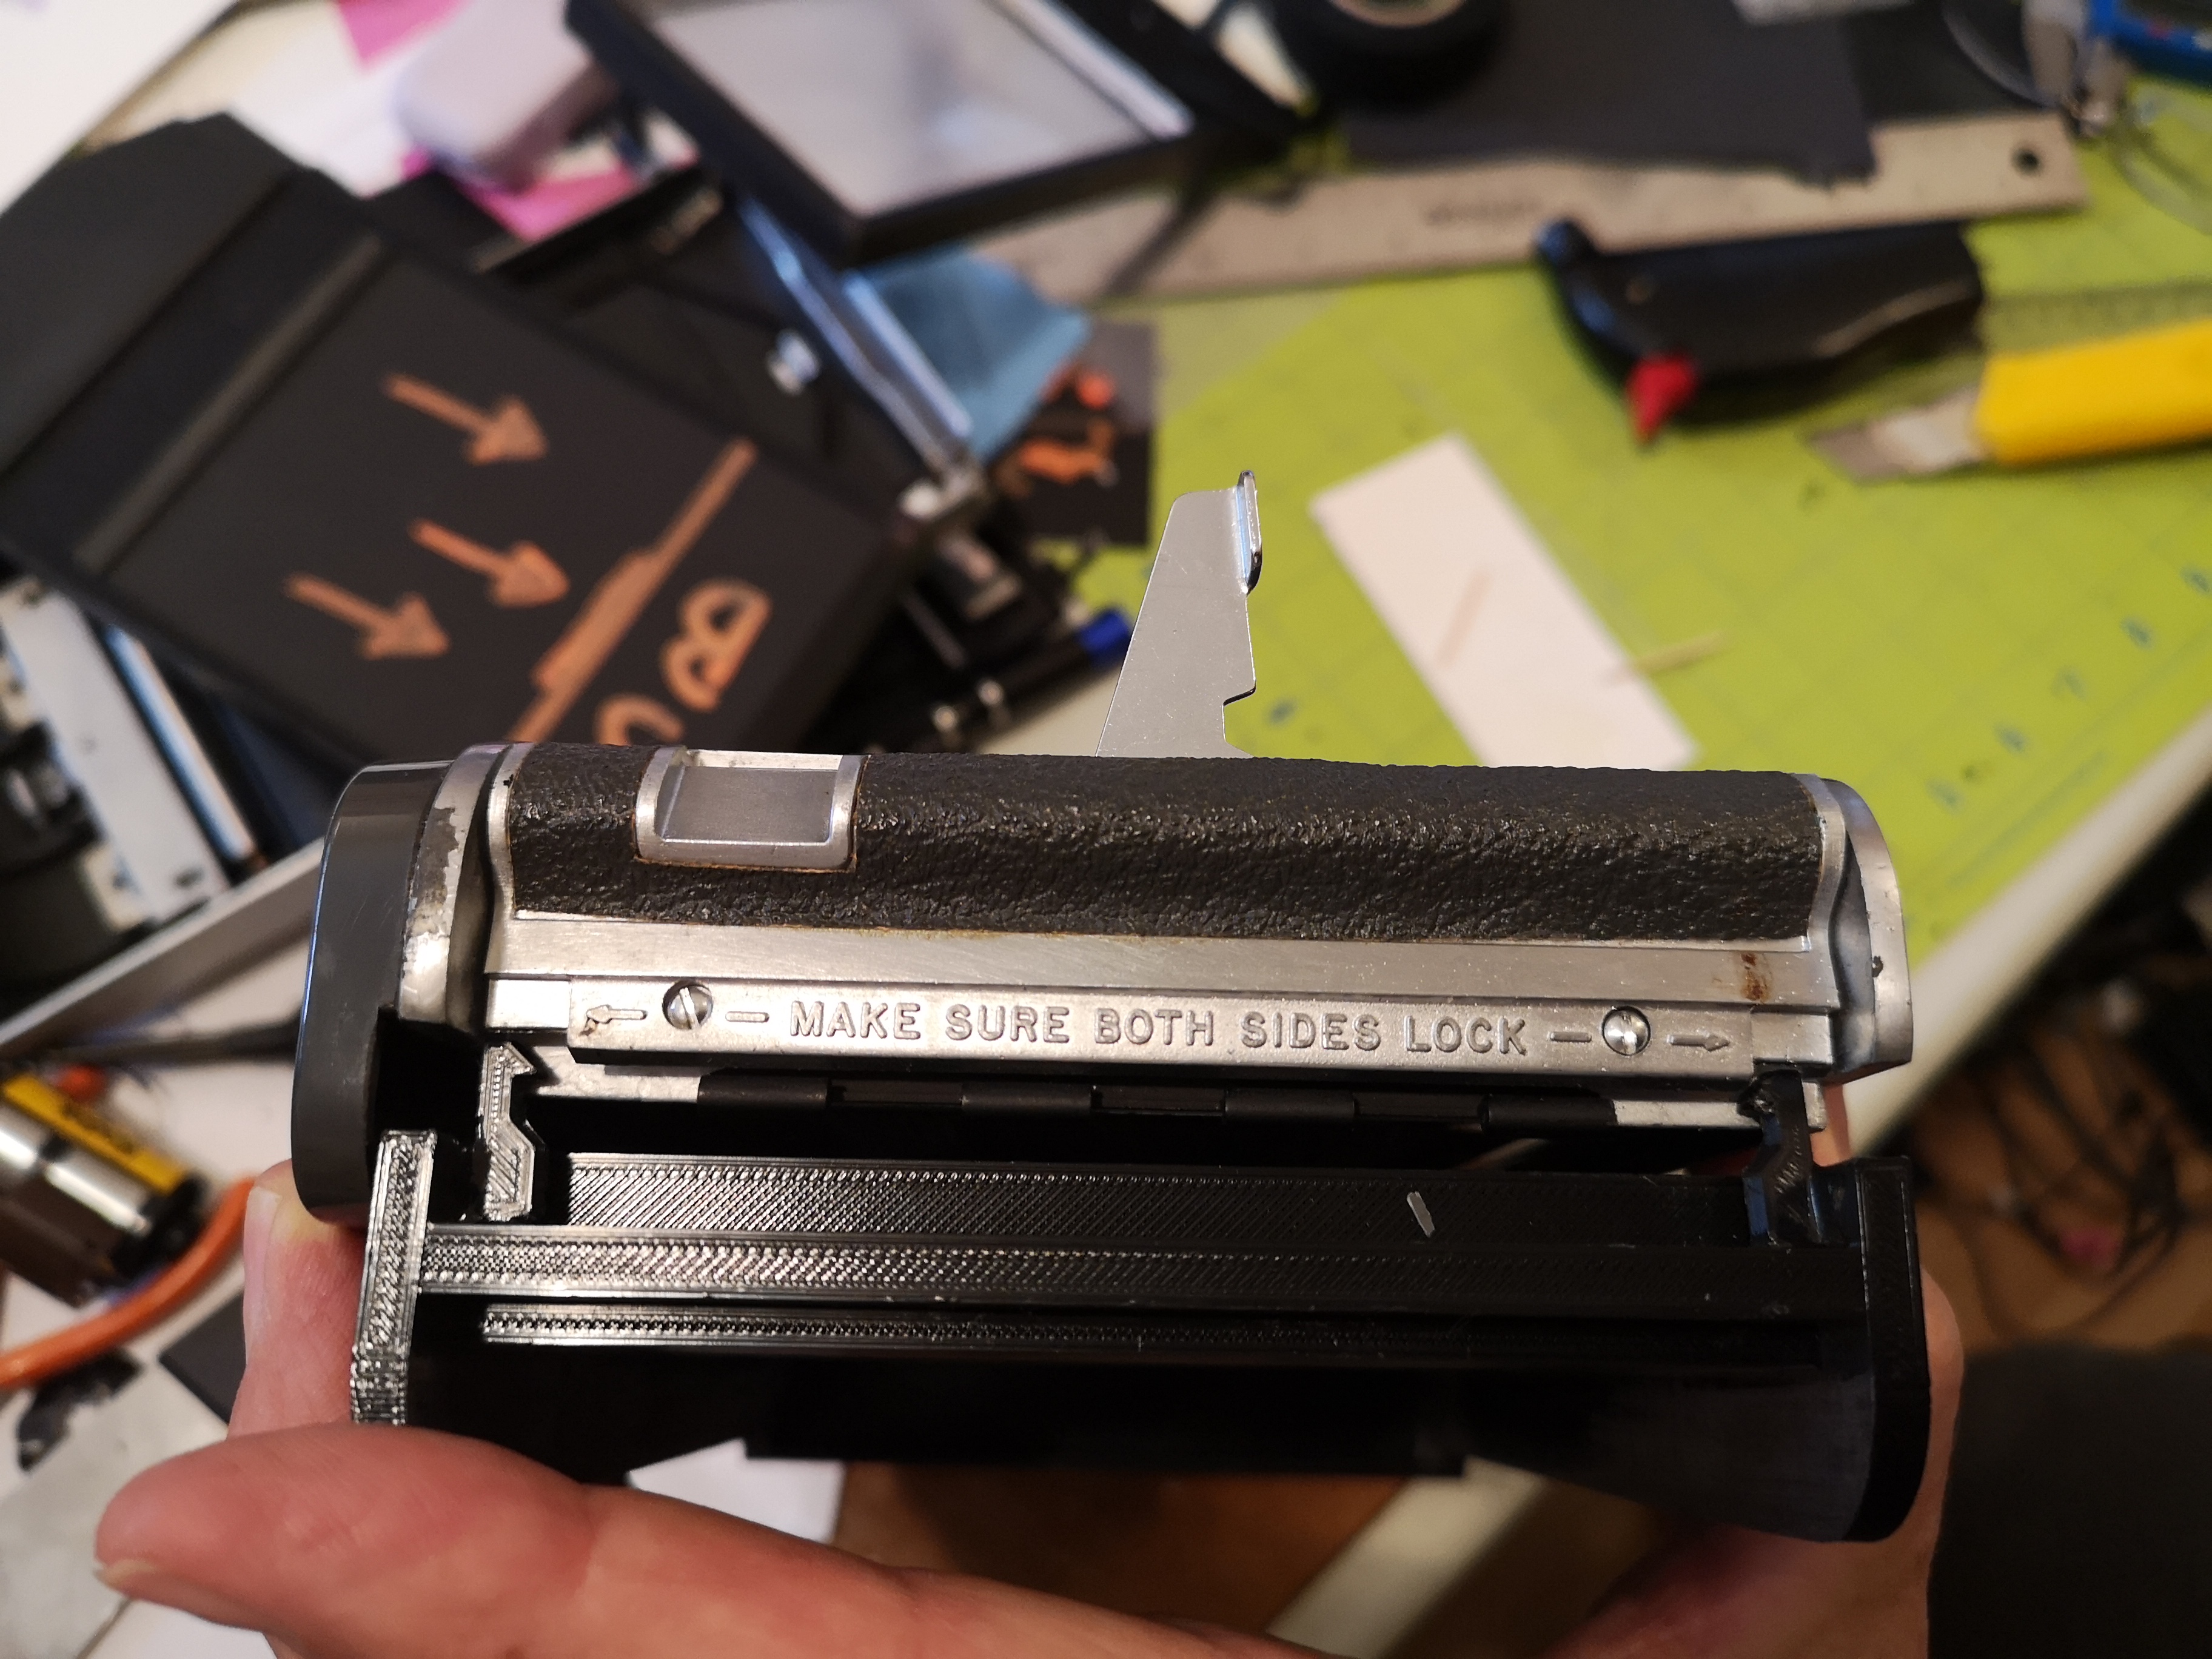
To use, load the film into the film holder, insert the film holder and press it down firmly. It should hold in place OK, but if it doesn't, you can line the edge with hocky tape, or make a elastic strap to hold it in place. Then, cock the shutter and pull out the dark slide, but not all the way. Take the picture and reinsert the dark slide.