Polaroid Film Conversions


Converting a Polaroid Super Shooter to 120 roll film, 6X6 format

This will require access to a 3D printer to print the cartridge and a replacement back.

Assembling the modification

Download the 3D files here and print each of the files using supports and 3 top and bottom layers for light tightness. Remove the Super Shooter back, then remove the closure wire from the back. Install the closure wire onto the 3d printed back and install the back onto the Super Shooter, making sure it closes and locks shut.

Using the 120 cartridge

Place the spool adapters onto the film rolls and the drive wheel on the bottom of the right empty spool
Thread the start of the 120 film onto the empty spool and place the two spools into their receptors.
Place the pressure plate over the film and make sure it is seated correctly
insert the knob and verify that the film is attached to the takeup spool
Insert the adapter into the camera. Be sure it is firmly bottomed out in the camera.
Close the door and advance the film to the first exposure. If there is too much friction, you are at risk of breaking the knob. Stop, unload the film in a changing bag or darkroom and investigate the source of friction.
The cartridge should have just enough friction to wind the film onto the takeup spool so there are no light leaks when removing the film from the camera.

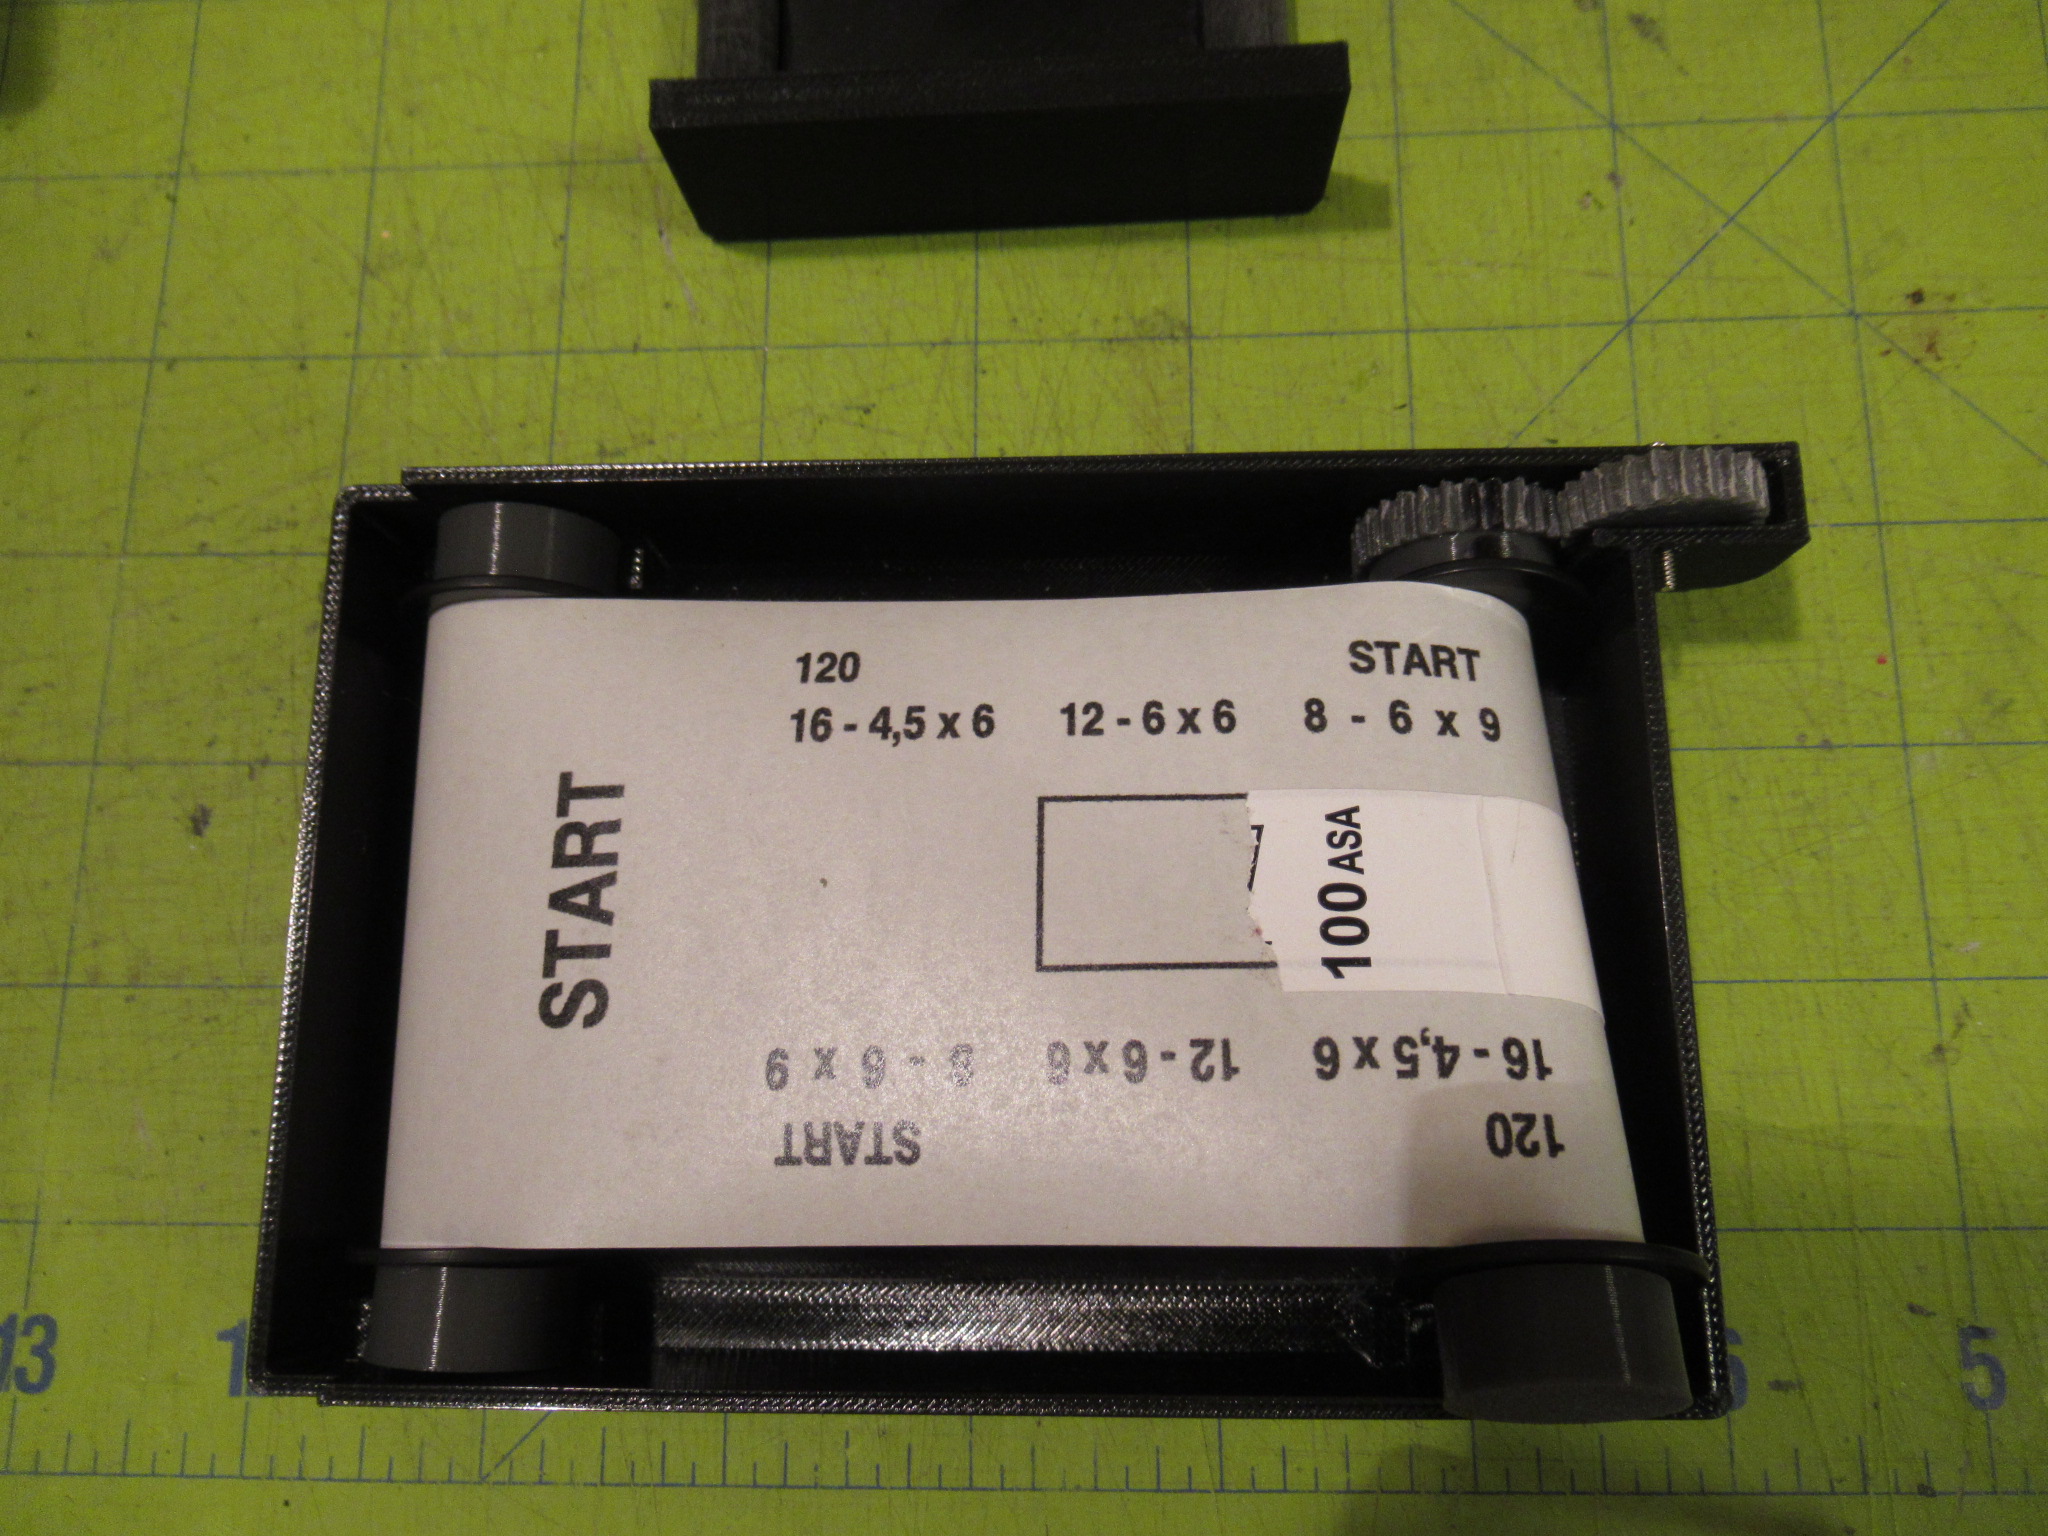
You can either find a red filter to cover the film counter hole, and/or you can place a piece of black tape over it so light won't get in between photos. It's best to advance the film in the shade. You may also need to seal the light from the hinge using black tape on the outside or inside of the hinge.